When setting up your RV at a campsite, knowing where the shore power connection is located is essential for a smooth experience. The shore power connection is typically found on the driver’s side of most RVs, but variations exist depending on the manufacturer and model.
Why Is the Shore Power Connection Usually on the Driver’s Side?
RV designers aim for functionality and safety. The driver’s side is standard because most campsite hookups for power, water, and sewer are positioned on that side. This ensures a streamlined setup without crossing utility cords and hoses in high-traffic areas.
Variations in Shore Power Connection Placement
Although the driver’s side is common, some RV types and models place the shore power connection in different locations:
- Class A and Class C Motorhomes: Commonly on the driver’s side at the rear quarter.
- Travel Trailers and Fifth-Wheels: Typically near the rear or back corner on the driver’s side.
- Truck Campers and Smaller RVs: Sometimes located on the rear panel or passenger’s side for compact designs.
It’s always a good idea to check your RV’s manual for the exact location.
- Use a Power Cord Organizer: Keep cords untangled and easy to manage.
- Check Connection Distance: Measure your power cord length to ensure it reaches the power pedestal.
- Invest in a Surge Protector: Protect your RV’s electrical system from surges and faults.
- Practice Good Cord Management: Avoid creating tripping hazards by running cords directly from the RV to the pedestal.
What Is the Meaning of Shore Power?
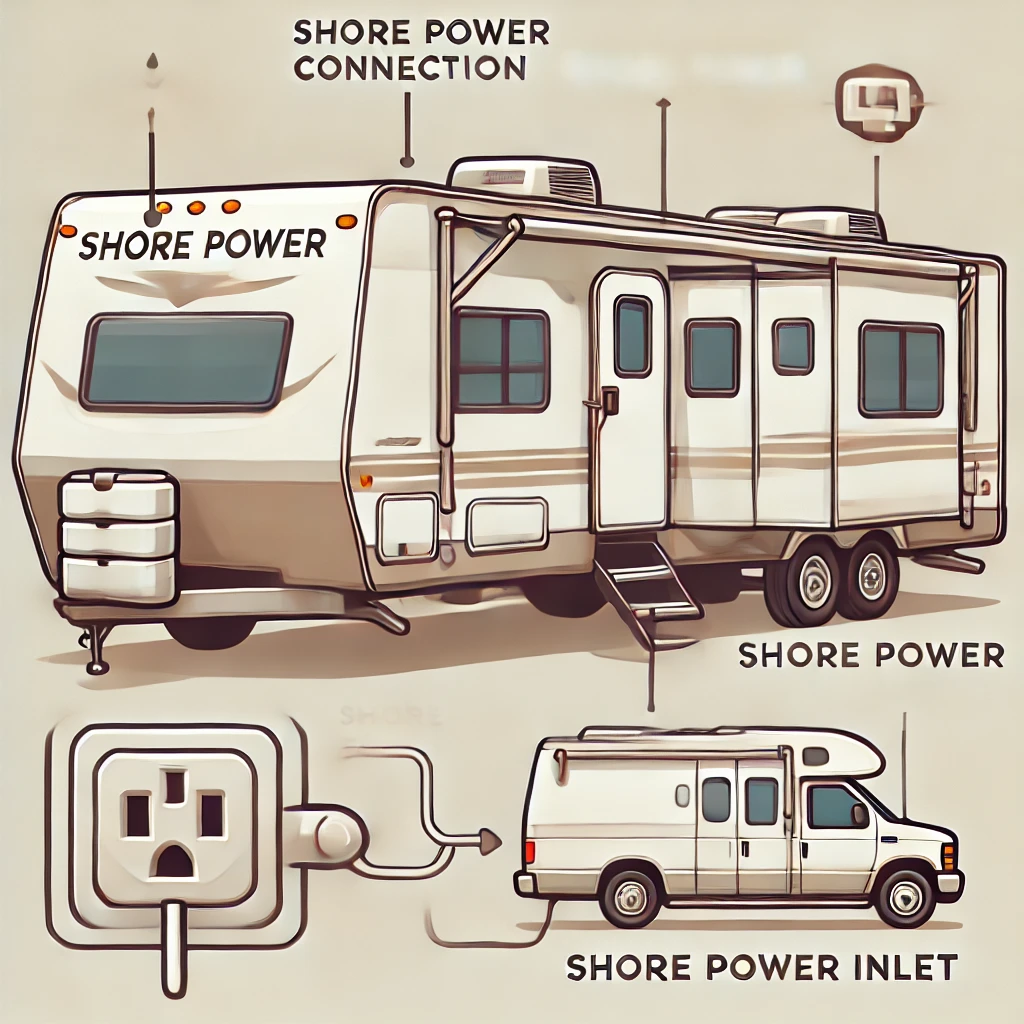
If you’re new to the RV lifestyle, you’ve probably heard the term shore power but might wonder what it means. In simple terms, shore power refers to the electrical power supplied to your RV from an external source, such as a campsite pedestal or a home outlet. This connection provides a reliable power supply to run your RV’s appliances, lights, and other systems without relying on your batteries or generator.
How Does Shore Power Work?
When you plug your RV into a shore power outlet, it connects to an electrical grid, delivering the power your RV needs. This eliminates the need for your onboard generator or batteries, making it ideal for extended stays or conserving fuel.
Shore Power Components
To understand shore power better, here are its key components:
- Power Cord: The cable that connects your RV to the power pedestal.
- Power Pedestal: Found at campsites, these pedestals provide standard power outputs (30-amp or 50-amp).
- RV Power Converter: Converts shore power into usable energy for charging your RV’s battery and running appliances.
Benefits of Using Shore Power
Switching to shore power offers multiple advantages:
- Unlimited Power: Access to a steady power supply for running air conditioning, refrigerators, and more.
- Noise-Free Operation: Unlike generators, shore power is silent, creating a peaceful environment.
- Battery Conservation: Keeps your RV batteries charged without depleting them.
- Eco-Friendly Option: Reduces the need to burn fuel in generators, lowering emissions.
Common Shore Power Options
- 30-Amp Connection: Common for smaller RVs and travel trailers.
- 50-Amp Connection: Designed for larger RVs with high-power requirements.
- Adapters: Used when your RV’s power cord type doesn’t match the available shore power outlet.
Travel Trailer Power Requirements: What You Need to Know
When planning your RV adventures, understanding the power requirements for your travel trailer is crucial. Travel trailers typically need either a 30-amp or 50-amp electrical connection, depending on their size and onboard appliances. Knowing your trailer’s power needs ensures you can safely and efficiently run all systems at campsites or other locations.
Understanding Travel Trailer Power Ratings
30-Amp Power Requirement
Most small-to-medium travel trailers use a 30-amp system, which provides 3,600 watts of power. This setup is ideal for basic appliances and systems, including:
- Air conditioners (1 unit)
- Refrigerators
- Microwaves
- Lights and outlets
A 30-amp connection is sufficient for travel trailers with fewer power-hungry devices.
50-Amp Power Requirement
Larger or luxury travel trailers typically require a 50-amp system, offering 12,000 watts of power. This allows you to run:
- Multiple air conditioners
- Electric heaters
- High-end kitchen appliances
- Additional devices like entertainment systems
A 50-amp connection is essential for travel trailers with significant power needs or those designed for extended stays.
How to Determine Your Travel Trailer’s Power Needs
To find your travel trailer’s power requirements, check these key details:
- Owner’s Manual: The manual will specify whether your trailer needs 30-amp or 50-amp service.
- Power Cord Plug Type: A 30-amp cord has three prongs, while a 50-amp cord has four.
- Label on Power Panel: The RV power panel typically lists the amperage rating.
Adapting to Different Power Sources
Sometimes, the power source available may not match your trailer’s requirements. In such cases:
- Use a 30-to-50-amp adapter for limited power.
- Use a 50-to-30-amp adapter to safely connect a 50-amp trailer to a 30-amp outlet.
However, avoid running multiple high-power appliances simultaneously when using an adapter to prevent tripping breakers.
Tips for Managing Power in Travel Trailers
- Monitor Power Usage: Keep track of your appliances to avoid overloading the circuit.
- Invest in a Surge Protector: Protect your trailer’s electrical system from power surges.
- Understand Wattage Limits: Know the wattage of each appliance to manage your load effectively.
How to Connect to Shore Power: A Step-by-Step Guide
Connecting your RV or travel trailer to shore power is essential for running appliances, charging batteries, and enjoying a comfortable camping experience. Follow these simple steps to safely and efficiently connect your RV to shore power, ensuring a smooth setup every time.
What You Need to Connect to Shore Power
Before you start, make sure you have the following essentials:
- Power Cord: A 30-amp or 50-amp cord depending on your RV’s requirements.
- Surge Protector: Protects your RV’s electrical system from power surges or faults.
- Adapter (If Necessary): Allows you to connect to different amperage outlets when needed.
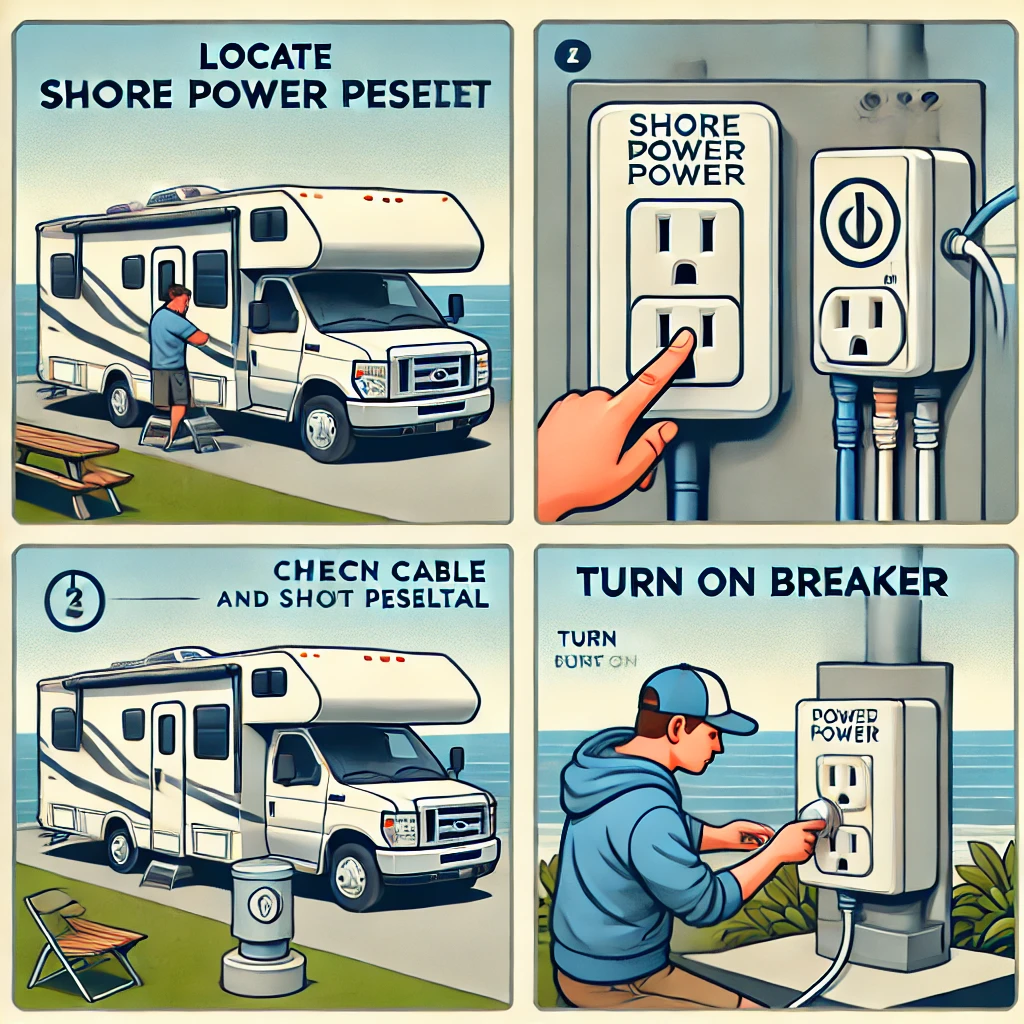
Step-by-Step Guide to Connecting to Shore Power
Step 1: Turn Off Your RV Appliances
Before connecting to shore power, turn off all major appliances, including your air conditioner, microwave, and water heater. This prevents a sudden surge when power is supplied.
Step 2: Inspect the Power Pedestal
Examine the power pedestal at the campsite or hookup point. Look for signs of damage, loose connections, or burnt outlets. If you notice any issues, notify the campsite staff before proceeding.
Step 3: Attach a Surge Protector
Plug the surge protector into the pedestal outlet. This device protects your RV from power fluctuations, which can damage sensitive electronics and appliances.
Step 4: Plug in Your RV’s Power Cord
Connect your RV’s power cord to the surge protector. Ensure the connection is secure and the prongs align correctly. For added safety, wear rubber-soled shoes while handling electrical connections.
Step 5: Switch on the Power Pedestal
Turn on the circuit breaker at the pedestal. This supplies power to your RV. Confirm the power is flowing by checking your RV’s power panel or testing appliances.
- Match the Amperage: Use the correct 30-amp or 50-amp connection for your RV.
- Avoid Overloading Circuits: Don’t run multiple high-power appliances simultaneously.
- Use a Cord Organizer: Keep power cords tidy to prevent tripping hazards.
- Inspect Cords Regularly: Check for wear or damage to ensure safe operation.
Here’s a concise and SEO-friendly blog post addressing how to switch different RV classes to shore power:
How to Switch Different RV Classes to Shore Power
Switching your RV to shore power is a vital step to enjoy electrical systems without draining your batteries. While the general process is similar across all RV classes, minor differences exist based on the RV type. Here’s a detailed guide for motorhomes, travel trailers, and fifth wheels.
General Steps for All RVs
Before diving into the specifics, here are the common steps for switching any RV to shore power:
- Turn Off Appliances: Power down major appliances to avoid surges.
- Inspect the Power Pedestal: Ensure the outlet is in good condition.
- Use a Surge Protector: Plug in a surge protector to safeguard your RV.
- Connect the Power Cord: Attach your RV’s power cord to the surge protector.
- Activate the Breaker: Flip the circuit breaker on the power pedestal to supply power to your RV.
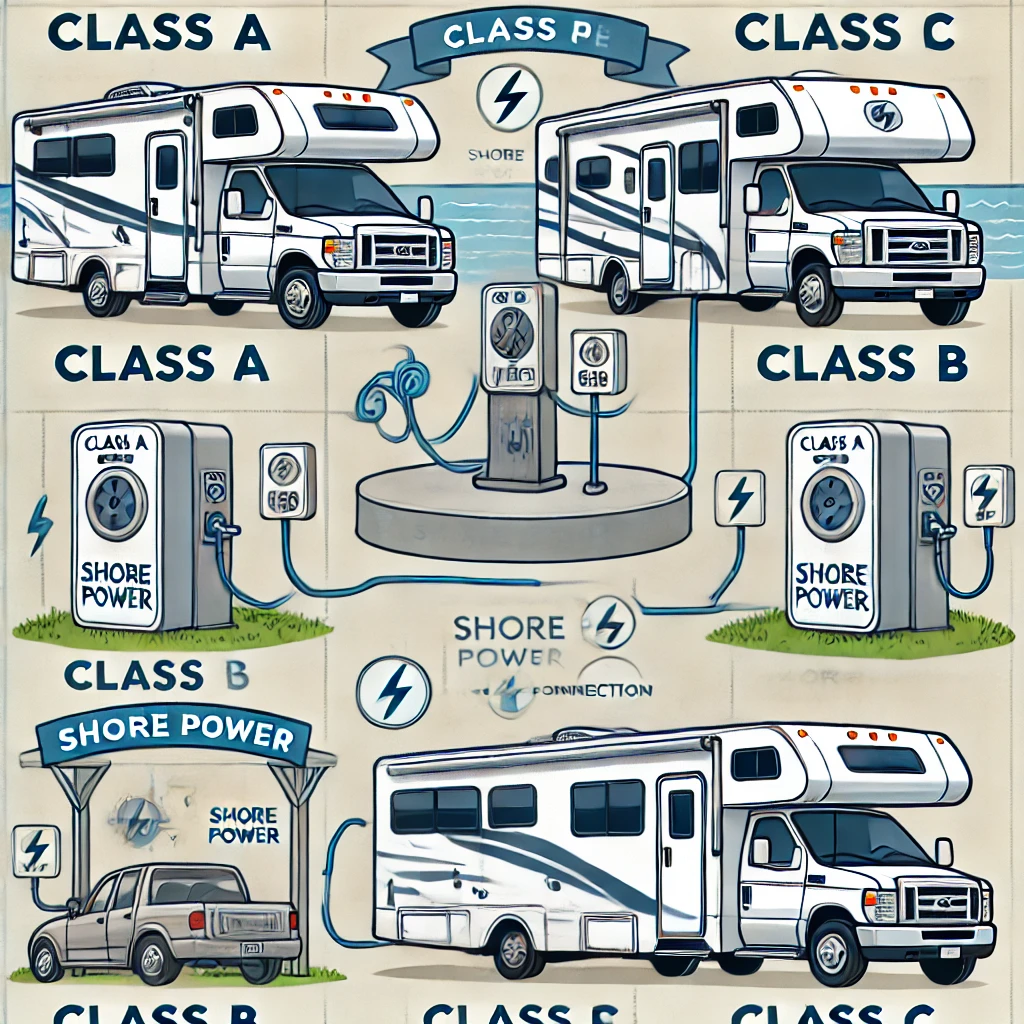
Switching Shore Power for Different RV Classes
A
typically have advanced electrical systems:
- Locate the power inlet, usually on the driver’s side near the rear.
- After plugging in, check the control panel to confirm power flow and monitor battery charging.
- Large Class A rigs often require a 50-amp connection.
B
Class B motorhomes are smaller, so their process is straightforward:
- Shore power inlets are often located near the rear on either side.
- Use a 30-amp connection unless stated otherwise in the manual.
- Turn on individual appliances gradually after confirming the connection.
C
Class C motorhomes share similarities with both Class A and B setups:
- The shore power inlet is usually on the driver’s side.
- Plug in using a 30-amp or 50-amp cord based on your RV’s requirements.
- Check the converter panel to ensure the system switches from battery to shore power.
Travel Trailers and Fifth Wheels
Towable RVs like travel trailers and fifth wheels often have simpler setups:
- The power inlet is typically located near the rear or on the driver’s side.
- Use the correct 30-amp or 50-amp cord, depending on the trailer’s size and power needs.
- Verify that the power converter is working to charge the battery and supply electricity.
Safety Measures for Connecting to Shore Power
Connecting your RV to shore power provides the energy you need to run appliances, charge batteries, and enjoy a comfortable camping experience. However, following proper safety measures is essential to protect yourself and your RV’s electrical system.
Why Are Shore Power Safety Measures Important?
Electrical systems in RVs are powerful but delicate. Without proper precautions, power surges, faulty connections, or incorrect setups can lead to damaged appliances, system failures, or even electrical fires. By following safety measures, you ensure a smooth and risk-free experience every time you hook up to shore power.
Essential Safety Measures for Connecting to Shore Power
1. Inspect the Power Pedestal
Before plugging in:
- Check the pedestal for signs of damage, such as burnt outlets or frayed wires.
- Ensure the breaker switch is in the off position before connecting.
- If the pedestal looks unsafe, contact the campsite staff.
2. Use a Surge Protector
A surge protector is a must-have for every RV. It:
- Protects your RV from power surges and voltage irregularities.
- Prevents damage to appliances and electrical systems.
Invest in a high-quality surge protector compatible with your RV’s power requirements (30-amp or 50-amp).
3. Match the Amperage
Always ensure your RV’s power cord matches the outlet:
- 30-amp RVs should use a 30-amp outlet.
- 50-amp RVs require a 50-amp outlet.
Using the wrong connection can overload circuits and cause damage. If needed, use a proper adapter.
4. Turn Off Appliances Before Connecting
Switch off all major appliances, such as the air conditioner and water heater, before plugging in. This prevents a power surge when the connection is established.
5. Inspect Your Power Cord
Before plugging in, check your RV’s power cord for:
- Frayed or exposed wires.
- Cracks in the insulation.
- Secure and undamaged prongs on the plug.
Replace damaged cords immediately to avoid hazards.
6. Wear Rubber-Soled Shoes
When handling electrical connections, wear rubber-soled shoes to minimize the risk of electric shock, especially on wet surfaces.
7. Avoid Overloading the Circuit
Be mindful of your RV’s power consumption:
- Turn on appliances gradually to distribute the load evenly.
- Avoid running multiple high-power appliances (e.g., the air conditioner and microwave) simultaneously.
8. Monitor Power Flow
After connecting to shore power:
- Check the control panel or surge protector to ensure steady power flow.
- Confirm that your RV’s battery is charging (if applicable).
9. Unplug Safely
When disconnecting:
- Turn off the breaker switch at the power pedestal.
- Unplug your RV’s power cord and surge protector.
- Store cords neatly to prevent damage or tripping hazards.
More related info will be available on Flamingo Motorhomes.