Winterizing your RV is a crucial step in protecting it from harsh winter conditions. Proper winterization ensures your recreational vehicle remains in top shape and prevents costly damage. In this guide, we’ll discuss the best time to winterize your RV, why it’s important, and some essential tips to make the process easier.
Why Winterize Your RV?
Winterizing is essential for safeguarding your RV’s plumbing system, exterior, and interior. Freezing temperatures can cause water lines to burst, damage tanks, and lead to mold or mildew inside your RV. Taking preventative measures ensures your RV will be ready to hit the road in spring without unexpected repairs.
When Should You Winterize Your RV?
The best time to winterize your RV is before temperatures drop consistently below freezing.
Factors to Consider
- Your Location: If you live in colder climates, you may need to winterize as early as late September or October.
- Travel Plans: For those who camp year-round, winterize only if you’re storing your RV for an extended period.
- Weather Forecast: Keep an eye on the forecast for sudden temperature drops. Acting early prevents emergency winterization.
How to Know It’s Time to Winterize Your RV
- Consistent Freezing Nights: If nightly temperatures dip below 32°F (0°C) regularly, it’s time.
- End of Camping Season: Once your trips are over, winterization ensures your RV stays safe during storage.
- Pre-Winter Maintenance: Combine winterization with other maintenance tasks for efficiency.
Factors That Force You to Winterize Your RV
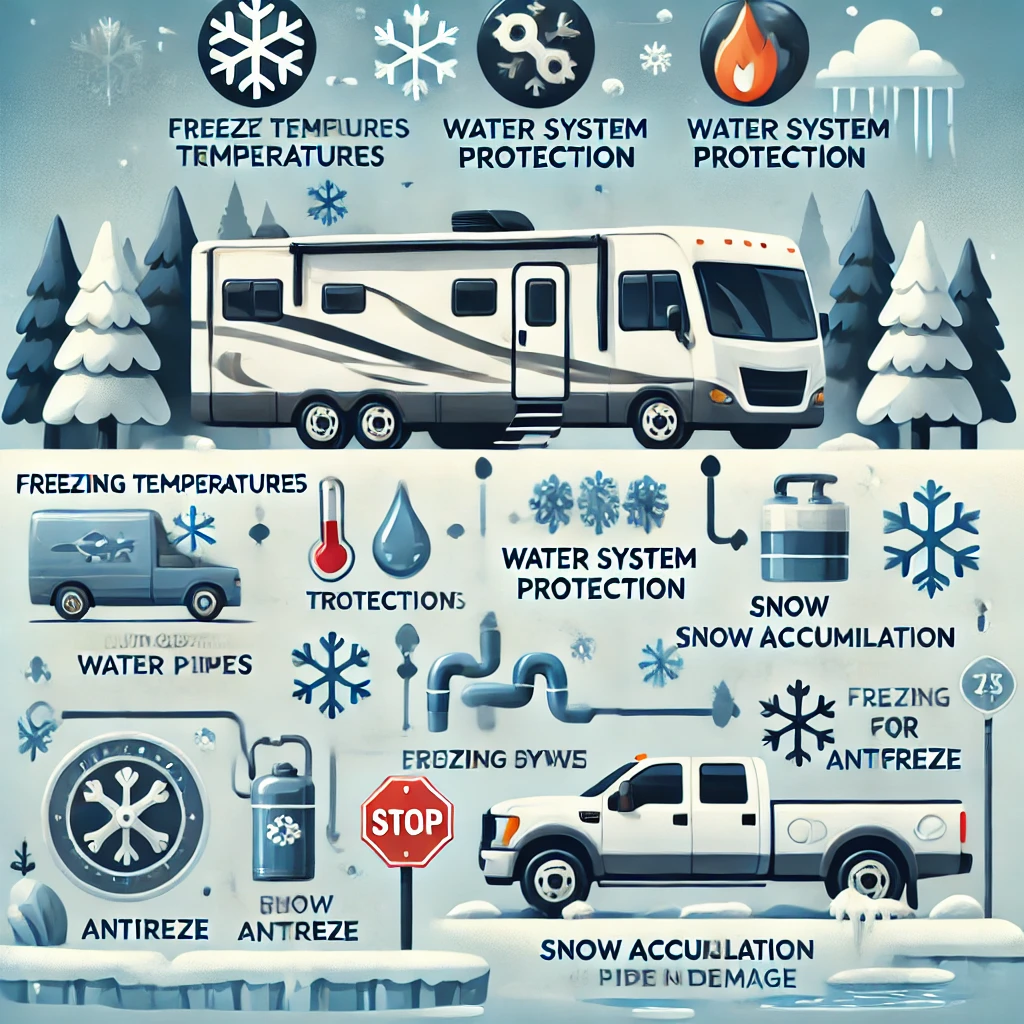
Winterizing your RV is essential to prevent damage caused by freezing temperatures and harsh weather conditions. Understanding the factors that make winterizing a necessity will help you protect your investment and avoid costly repairs. Let’s explore these critical reasons in detail.
Why You Need to Winterize Your RV
Failing to winterize your RV can lead to severe damage, especially in cold climates. The plumbing system, exterior components, and interior features are all vulnerable during winter months. Here are the top factors that force you to winterize your RV.
1. Freezing Temperatures Can Damage Plumbing
Why Plumbing is Vulnerable
The plumbing system in your RV is particularly susceptible to freezing. Water trapped in pipes, tanks, or faucets expands as it freezes, causing cracks and leaks.
- Water Tanks: Frozen tanks can crack, leading to expensive replacements.
- Pipes: Burst pipes disrupt water flow and require major repairs.
Preventive Action
- Drain all water systems thoroughly.
- Use RV antifreeze to protect pipes and tanks.
2. Extended RV Storage in Winter
Risks of Long-Term Storage
If you’re not using your RV during the winter months, stagnant water and freezing temperatures can wreak havoc on your vehicle.
- Interior Moisture: Increases the risk of mold and mildew.
- System Corrosion: Standing water can corrode metal parts.
Solution
- Drain water and add antifreeze.
- Use a breathable RV cover to protect against snow and ice.
3. Harsh Weather Conditions
How Weather Impacts Your RV
Winter storms, snow, and ice can damage the exterior and interior of your RV.
- Roof and Seals: Ice buildup causes cracks and leaks.
- Electrical Systems: Cold temperatures strain batteries and wiring.
Protection Tips
- Inspect and seal any gaps or cracks.
- Store your RV in a covered or sheltered area.
4. Camping in Cold Climates
When Winter Camping Forces Winterization
If you plan to use your RV in freezing temperatures, you’ll need partial winterization.
- Heated Systems: Heated tanks prevent freezing.
- Insulation: Skirting helps maintain internal warmth.
5. Unpredictable Temperature Drops
Why Acting Early is Crucial
Sudden cold snaps can catch RV owners off guard. Freezing can happen overnight, even in milder climates.
- Plumbing Systems: These are often the first to freeze.
- Interior Damage: Frost can affect upholstery and electronics.
Quick Action
- Monitor local weather forecasts.
- Winterize as soon as freezing temperatures are expected.
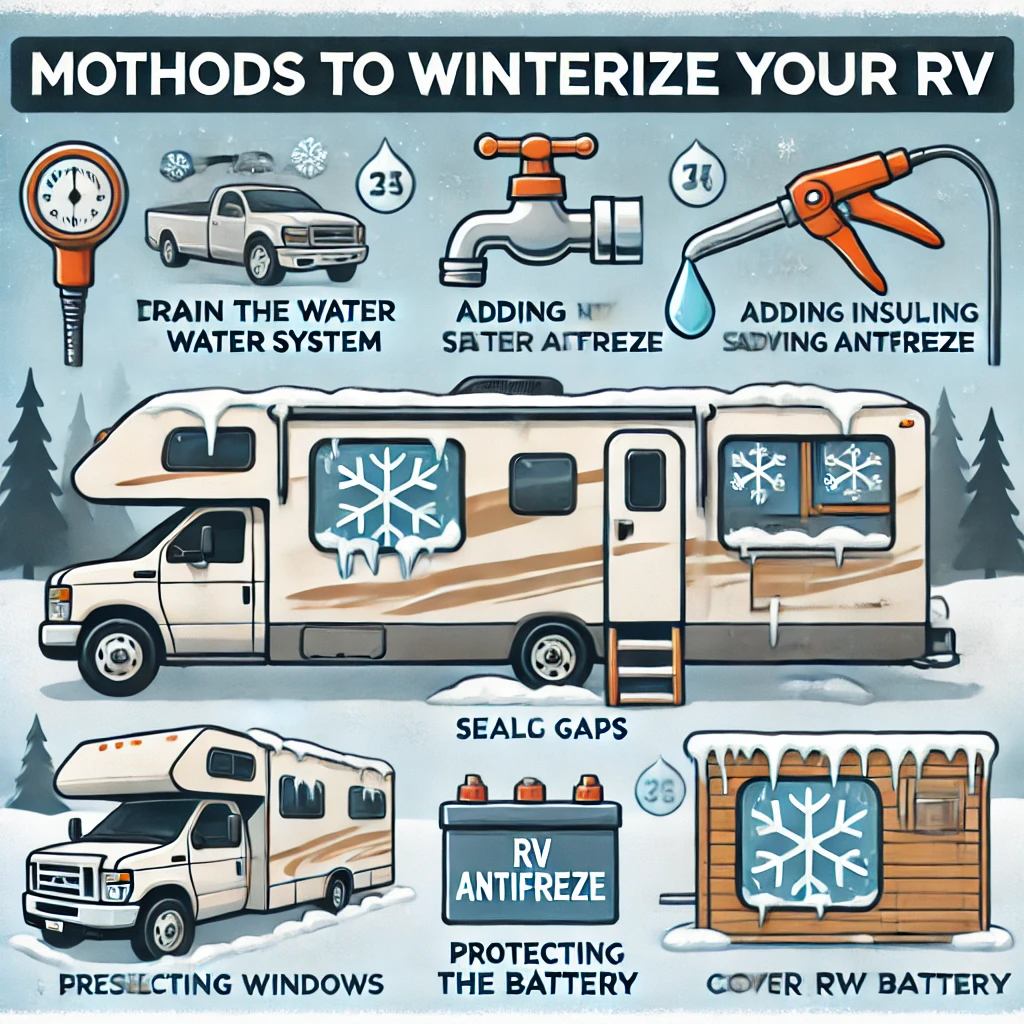
Methods to Winterize Your RV: Step-by-Step Guide
Winterizing your RV is essential to protect it from freezing temperatures and harsh winter conditions. Proper preparation helps avoid costly damage and ensures your RV is ready to hit the road when warmer weather returns. Here’s a comprehensive guide to the best methods for winterizing your RV.
Why Winterize Your RV?
Winterizing your RV protects its plumbing, exterior, and interior from damage caused by freezing temperatures and moisture. By following the right methods, you’ll extend your RV’s lifespan and minimize repair costs.
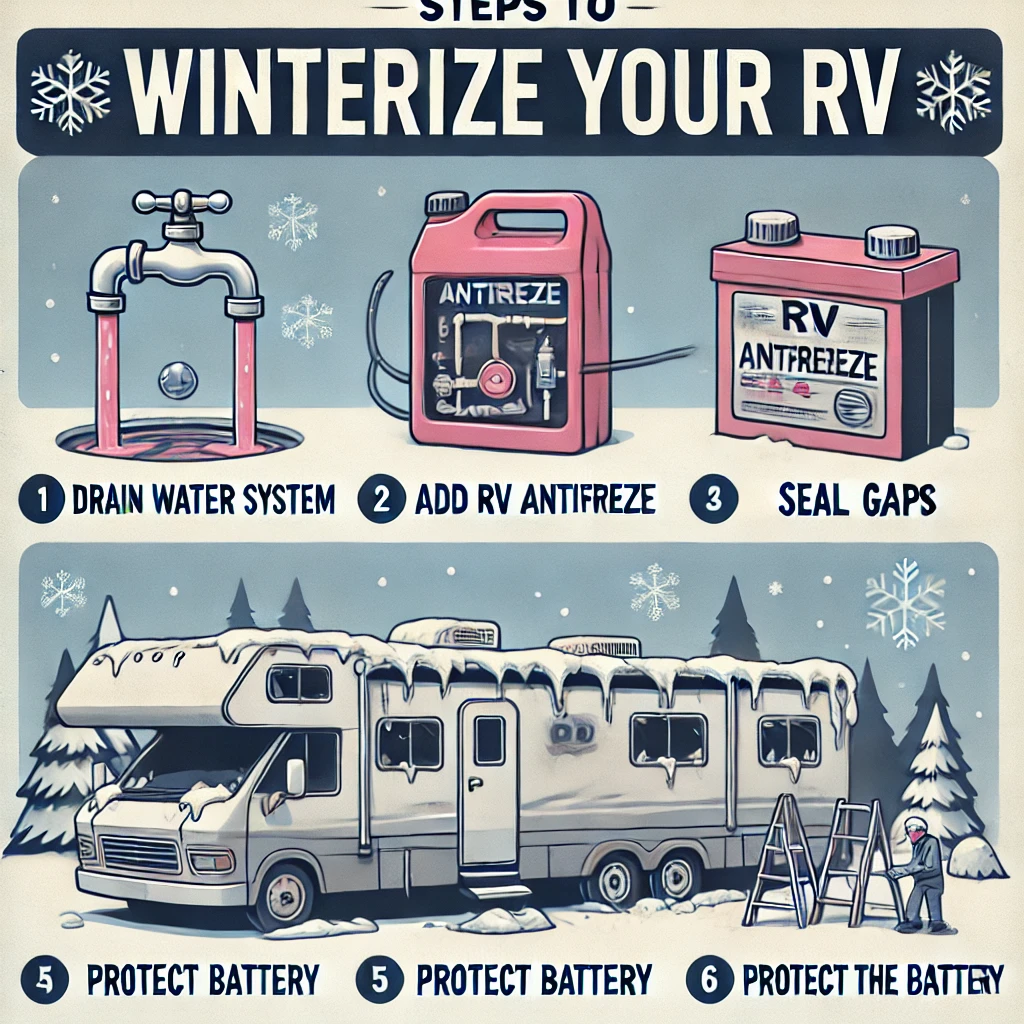
1. Drain the Water System
Why This is Crucial
Water left in the plumbing system can freeze and expand, causing pipes, tanks, and fittings to crack.
Steps to Drain Your RV
- Empty the Freshwater Tank: Open the drain valve and let all water flow out.
- Drain the Water Heater: Turn off the water heater and open the drain plug to remove water.
- Open All Faucets: Let residual water flow from taps, showers, and toilets.
- Use Compressed Air (Optional): Blow out remaining water in the lines for added safety.
2. Add RV Antifreeze
Why RV-Safe Antifreeze is Essential
RV-specific antifreeze prevents water from freezing in the plumbing system. Unlike automotive antifreeze, it’s non-toxic and safe for use in drinking water systems.
How to Apply Antifreeze
- Close all drains after removing water.
- Add antifreeze to the fresh water tank or directly into the lines using a pump.
- Open faucets and let the antifreeze run through until you see pink fluid.
3. Seal Cracks and Gaps
Preventing Cold Air and Moisture
Inspect your RV for cracks, gaps, or damaged seals. These areas can allow moisture or pests to enter, causing damage over winter.
How to Seal Your RV
- Use RV caulk to seal any gaps around windows, doors, and vents.
- Inspect the roof for leaks and repair as needed.
- Apply a weatherproof cover to protect your RV.
4. Protect the Interior
Prevent Mold, Mildew, and Damage
A clean, dry interior is key to preventing wintertime issues.
Interior Winterizing Tips
- Clean Thoroughly: Remove food, trash, and perishable items.
- Use Moisture Absorbers: Place desiccants inside to prevent dampness.
- Store Cushions Upright: Allow airflow to reduce mold risk.
- Disconnect Appliances: Unplug electronics to save battery power and prevent surges.
5. Maintain Batteries and Tires
Keep Your RV Components in Top Shape
Cold temperatures can drain batteries and damage tires if left unchecked.
What to Do
- Batteries: Disconnect and store in a warm, dry place. Check charge levels regularly.
- Tires: Inflate to the manufacturer’s recommended pressure and consider using tire covers.
6. Cover Your RV
Why a Quality RV Cover is Necessary
Protecting your RV’s exterior from snow, ice, and UV rays prevents long-term damage.
Tips for Covering Your RV
- Use a breathable, water-resistant RV cover to avoid trapped moisture.
- Cover vents, AC units, and other external components.
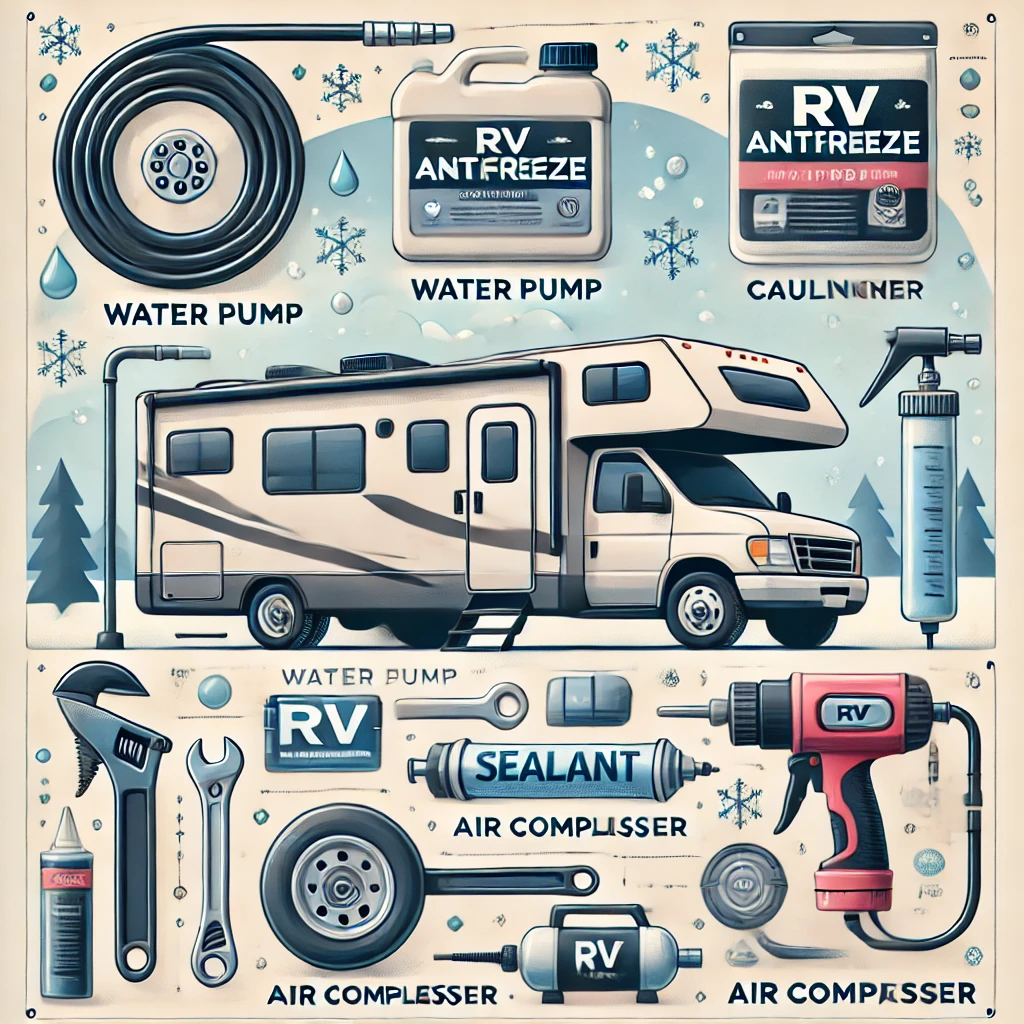
Essential Tools to Winterize Your RV
Winterizing your RV is crucial to protect it from freezing temperatures and harsh weather conditions. Having the right tools ensures the process is efficient, safe, and thorough. In this guide, we’ll outline the must-have tools to winterize your RV properly.
Why You Need the Right Tools to Winterize Your RV
Using the correct tools not only saves time but also prevents damage to your RV’s plumbing and exterior during winterization. These tools make the process easier and help you avoid costly repairs caused by freezing temperatures.
1. RV-Safe Antifreeze
Why It’s Essential
RV-specific antifreeze is non-toxic and protects your RV’s plumbing system from freezing. Unlike automotive antifreeze, it’s safe for use in potable water systems.
How to Use It
- Pump antifreeze into the water lines.
- Ensure it runs through faucets, toilets, and showers until the fluid turns pink.
2. Water Pump Converter Kit
What It Does
This kit allows you to bypass the fresh water tank and pump antifreeze directly into the plumbing system.
Key Benefits
- Saves time during the winterization process.
- Prevents unnecessary antifreeze waste.
3. Air Compressor and Blowout Plug
Why It’s Useful
An air compressor, combined with a blowout plug, clears water from the RV’s plumbing system. This step reduces the risk of residual water freezing and damaging the pipes.
Tips for Use
- Set the compressor to a low pressure (30–50 PSI).
- Attach the blowout plug to the city water inlet and blow out each line.
4. Wrenches and Pliers
Why You Need Them
These basic tools help remove drain plugs from water heaters and tanks.
Pro Tip
Always use the correct-sized wrench to avoid damaging the plug or fittings.
5. Hose and Bucket
For Draining Water Systems
A simple garden hose and a bucket are essential for draining fresh, gray, and black water tanks.
Bonus Tip
Flush your tanks thoroughly before winterizing to prevent odors and residue buildup.
6. Sealant and Caulking Gun
For Exterior Protection
Inspect your RV for cracks and gaps that could allow moisture or pests inside. A good RV sealant and caulking gun make sealing these areas quick and effective.
7. Moisture Absorbers
Why They’re Important
Moisture absorbers prevent mold and mildew inside your RV during storage.
Placement Tips
- Place them in areas prone to dampness, like the kitchen, bathroom, and storage compartments
8. RV Cover
Protection for the Entire RV
A breathable, weatherproof RV cover shields your RV from snow, ice, and UV damage.
9. Battery Maintenance Tools
- Multimeter: To check battery charge levels.
- Battery Disconnect Switch: Prevents parasitic drain during storage.
10. Cleaning Supplies
For Pre-Winter Cleaning
- All-purpose cleaner for surfaces.
- Tank cleaning solutions for fresh, gray, and black water systems.
Steps to Winterize Your RV: A Comprehensive Guide
Winterizing your RV is an essential task to protect it from freezing temperatures and prevent costly damage. By following the steps below, you’ll ensure your RV stays in great condition throughout the winter.
Why Winterizing Your RV is Important
Winterization safeguards your RV’s plumbing system, exterior, and interior from freezing temperatures, moisture, and weather-related damage. Proper preparation extends the life of your RV and makes spring camping stress-free.
Step 1: Drain All Water Systems
Why This is Crucial
Any remaining water in your plumbing system can freeze, expand, and cause pipes and tanks to crack.
How to Drain Your RV
- Turn Off the Water Heater: Allow it to cool before draining.
- Open the Drain Valves: Empty the fresh, gray, and black water tanks.
- Drain the Water Heater: Remove the drain plug or anode rod to empty it completely.
- Flush the Tanks: Use a tank-flushing wand or built-in system to clean out residue.
Step 2: Use an Air Compressor to Blow Out Water (Optional)
Why It’s Helpful
Clearing water from the lines with compressed air reduces the chance of freezing.
How to Do It
- Attach a blowout plug to the city water inlet.
- Set the air compressor to 30–50 PSI and blow out the water.
- Open all faucets, showers, and drains to remove residual water.
Step 3: Add RV Antifreeze to the Plumbing System
Why Use RV Antifreeze?
It prevents freezing in water lines, pumps, and faucets.
Steps to Add Antifreeze
- Close all drain valves.
- Use a water pump converter kit to draw antifreeze into the system.
- Open faucets and showerheads one at a time until pink antifreeze appears.
- Flush the toilet until you see antifreeze.
Step 4: Protect the Exterior
Why Exterior Maintenance Matters
Winter weather can cause cracks, leaks, and damage to the RV’s exterior.
Steps to Protect the Exterior
- Inspect and Seal: Check for cracks or gaps and seal them with RV caulk.
- Clean and Cover: Wash your RV and apply a breathable RV cover to shield it from snow and ice.
Step 5: Prepare the Interior
Preventing Mold, Mildew, and Damage
A clean, dry interior is key to preventing wintertime issues.
Interior Winterizing Steps
- Remove Perishables: Clear out all food and personal items.
- Clean Thoroughly: Vacuum, wipe surfaces, and deodorize.
- Add Moisture Absorbers: Place them in kitchens, bathrooms, and storage areas to prevent dampness.
- Protect Upholstery: Store cushions upright to allow airflow.
Step 6: Maintain Batteries and Tires
Cold Weather Effects on Components
Winter conditions can drain batteries and damage tires.
Steps to Protect Batteries and Tires
- Disconnect Batteries: Store them in a cool, dry place and charge periodically.
- Inflate Tires: Maintain proper air pressure and use tire covers to prevent cracking.
Step 7: Final Checks
Ensure Everything is Ready for Winter
- Verify all systems are drained or filled with antifreeze.
- Check for any leaks or open seals.
- Lock and secure your RV to keep it safe during storage.
How to Winterize RVs for Different Classes
Winterizing your RV protects it from harsh winter weather, but the process can vary depending on the type of RV you own. Whether you have a Class A, Class B, Class C, or towable RV, when to winterize rv here’s how to winterize each type to ensure it stays in excellent condition during the off-season.
Why Winterizing is Important for All RV Classes
All RV classes have water systems, exterior features, and interior components that can suffer damage from freezing temperatures. Proper winterization prevents cracked pipes, tank leaks, and other costly repairs.
Winterizing a Class A RV
Luxury Features Require Extra Care
Class A RVs are large, motorized vehicles with advanced features, which means winterizing them can take more time.
Steps to Winterize a Class A RV
- Drain the Water System: Empty fresh, gray, and black tanks. Remove water from the water heater and use compressed air or RV antifreeze.
- Protect Slide-Outs: Lubricate seals and clean thoroughly to prevent weather damage.
- Inspect Roof and Seals: Check for leaks and reseal as needed.
- Winterize Appliances: Follow the manufacturer’s guidelines for protecting washing machines, dishwashers, and ice makers.
- Prepare the Interior: Remove food, clean thoroughly, and use moisture absorbers to prevent mildew.
Winterizing a Class B RV
Compact Yet Efficient
Class B RVs, also known as camper vans, are smaller and easier to winterize, but attention to detail is still crucial.
Steps to Winterize a Class B RV
- Drain and Flush Water Lines: Use an air compressor or pump antifreeze through the system.
- Protect Small Appliances: Remove or winterize portable fridges, microwaves, and coffee makers.
- Check the Exterior: Cover windows and vents to prevent cold drafts.
- Battery Maintenance: Disconnect the battery if storing for an extended period.
Winterizing a Class C RV
Family-Friendly RVs Need Special Care
Class C RVs combine motorized features with the space of a towable RV. Winterizing involves addressing both the plumbing and living areas.
Steps to Winterize a Class C RV
- Drain Tanks and Water Heater: Remove all water and run antifreeze through faucets, toilets, and showers.
- Seal Cabover Area: Inspect the cabover area for leaks or moisture.
- Prepare the Roof:
- Inspect for Damage: Ensure there are no cracks or leaks in the roof.
- Clean and Cover: Clean the roof and apply a quality RV cover to protect against snow and ice.
- Protect Interior Storage: Remove valuables and store soft furnishings to avoid dampness.
Winterizing Towable RVs (Travel Trailers, Fifth-Wheels, and Pop-Ups)
Unique Challenges for Towables
Since towable RVs are not motorized, their winterization focuses on plumbing, exterior, and interior systems.
Steps to Winterize Towable RVs
- Drain All Tanks: Remove water from fresh, gray, and black tanks, as well as the water heater.
- Blow Out Water Lines: Use compressed air or pump RV antifreeze through the plumbing system.
- Check Slides and Awnings: Clean and lubricate seals to prevent ice buildup.
- Inspect Tires and Stabilizers: Cover tires to avoid cracking and check stabilizers for rust or wear.
- Protect Pop-Up Features (for Pop-Up Campers): Lower the canvas, clean thoroughly, and ensure it’s dry before covering.
Tips for All RV Classes
- Use RV-Safe Antifreeze: Ensure it runs through all plumbing lines, including the shower, toilet, and sinks.
- Inspect Regularly During Winter: Check for pests, moisture, or snow buildup.
- Store Batteries Properly: Disconnect and store batteries in a cool, dry place.
Do You Need a Professional to Winterize Your RV, or Can You Do It Yourself?
Winterizing your RV is a vital step to protect it from freezing temperatures and potential damage. Many RV owners wonder whether they need a professional to handle this process or if they can do it themselves. The answer depends on your comfort level, experience, and access to the right tools. Let’s explore both options to help you decide.
Why Winterizing is Important
Whether you do it yourself or hire a professional, winterizing prevents costly repairs from frozen pipes, cracked tanks, and water damage. It ensures your RV is ready for the next camping season.
DIY RV Winterization: Is It Right for You?
Benefits of DIY Winterization
- Cost Savings: Doing it yourself is often cheaper. RV antifreeze and basic tools are all you need, saving you the labor fees.
- Convenience: You can work on your schedule without waiting for appointments.
- Learning Experience: DIY winterization helps you understand your RV’s plumbing and systems, which is helpful for future maintenance.
Steps for DIY Winterization
- Drain water tanks and lines completely.
- Add RV-safe antifreeze to the plumbing system.
- Inspect and seal any exterior gaps.
- Protect the interior with moisture absorbers and thorough cleaning.
Challenges of DIY Winterization
- Time-Consuming: Winterizing requires patience and attention to detail.
- Risk of Mistakes: Missing a step, such as leaving water in the lines, can lead to costly damage.
- Special Tools Needed: Some tasks, like blowing out water lines, may require an air compressor and blowout plug.
When to Hire a Professional
Benefits of Professional Winterization
- Expertise and Precision: Professionals are trained to handle all RV systems, ensuring nothing is missed.
- Time-Saving: You can focus on other tasks while they handle the job efficiently.
- Warranty Protection: Some RV warranties require professional winterization to remain valid.
- Complex Systems: If your RV has advanced features like washing machines, ice makers, or multiple water heaters, a professional ensures proper care.
Costs of Professional Winterization
- The cost typically ranges between $100 and $300, depending on your RV’s size and complexity.
When It’s Best to Hire a Pro
- You’re new to RV ownership and unfamiliar with its systems.
- Your RV has multiple water systems or advanced appliances.
- You lack the tools or time for a thorough DIY process.
Common Mistakes When Winterizing Your RV and Their Solutions
Winterizing your RV is essential, but even small mistakes can lead to costly damage. Whether you’re a seasoned RV owner or a beginner, avoiding these common mistakes will save you time, money, and frustration. Below, we’ve outlined the most frequent errors and their solutions to ensure your RV stays safe throughout the winter.
1. Forgetting to Drain All Water Systems
The Problem
Leaving water in your plumbing system, water heater, or tanks can lead to freezing, which causes pipes and fittings to crack.
Solution
- Drain the fresh, gray, and black water tanks completely.
- Remove the drain plug or anode rod to empty the water heater.
- Use an air compressor or RV-safe antifreeze to clear water from all lines, faucets, and toilets.
2. Using the Wrong Antifreeze
The Problem
Automotive antifreeze is toxic and not suitable for RV plumbing systems. Using the wrong type can damage your pipes and water system.
Solution
- Always use RV-safe, non-toxic antifreeze designed for potable water systems.
- Verify the antifreeze label to ensure it meets RV standards.
3. Neglecting to Bypass the Water Heater
The Problem
If you don’t bypass the water heater, you’ll waste gallons of antifreeze filling it unnecessarily.
Solution
- Install or activate a water heater bypass kit before adding antifreeze to the system.
- Follow the manufacturer’s instructions to ensure proper operation.
4. Ignoring Appliances with Water Connections
The Problem
Water left in appliances like washing machines, ice makers, or outdoor showers can freeze and cause damage.
Solution
- Consult the manufacturer’s guide for winterizing each appliance.
- Run antifreeze through all water-connected appliances and accessories, including outdoor showers and kitchen sprayers.
5. Skipping the Exterior Sealing
The Problem
Cracks, gaps, or worn seals in your RV’s exterior can allow moisture to enter, leading to mold, mildew, and water damage.
Solution
- Inspect all windows, doors, vents, and roof seams for damage.
- Reseal gaps with RV-approved caulk or sealant.
- Use a breathable RV cover to protect the exterior from snow and ice.
6. Failing to Protect Batteries
The Problem
Cold weather drains battery power and can lead to permanent damage if batteries are not stored correctly.
Solution
- Disconnect the batteries and store them in a cool, dry location.
- Charge the batteries periodically to maintain their lifespan.
- Use a battery disconnect switch if leaving the RV in storage.
7. Overlooking Tires
The Problem
Tires left exposed to freezing temperatures can crack and lose air pressure, leading to flat spots during long storage periods.
Solution
- Inflate tires to the manufacturer’s recommended PSI before storage.
- Use tire covers to protect them from the elements.
- If possible, store the RV on jack stands to relieve pressure on the tires.
8. Not Cleaning the Interior
The Problem
Failing to clean the interior before winter storage can attract pests and cause unpleasant odors.
Solution
- Remove all food, perishable items, and trash from the RV.
- Clean the kitchen, bathroom, and storage areas thoroughly.
- Place moisture absorbers and pest deterrents, such as mothballs or cedar blocks, in critical areas.
9. Overlooking the Roof
The Problem
A poorly maintained roof can develop leaks, leading to water damage during the winter.
Solution
- Inspect the roof for cracks, worn seals, or damage.
- Reseal any vulnerable areas with RV roof sealant.
- Clear debris and ensure vents are securely closed.
10. Rushing the Process
The Problem
Hastily winterizing your RV increases the likelihood of missing critical steps, leading to potential damage.
Solution
- Plan ample time for the winterization process.
- Follow a detailed checklist to ensure every step is completed.
- If unsure, consult your RV’s owner manual or seek professional help.
Safety Precautions to Winterize Your RV
Winterizing your RV is a crucial process, but safety should always come first. Taking proper precautions ensures you, your RV, and the environment are protected during the process. Below are essential safety tips to keep in mind when preparing your RV for winter storage.
Why Safety Precautions Are Important
Winterization involves handling tools, chemicals, and electrical systems, which can pose risks if not done correctly. By following safety guidelines, you can avoid injuries, prevent damage, and ensure a successful winterization process.
1. Use RV-Safe Antifreeze
Why It’s Important
Automotive antifreeze is toxic and harmful to the environment. Using the wrong antifreeze can damage your RV’s plumbing system.
Safety Tips
- Always use non-toxic, RV-safe antifreeze designed for potable water systems.
- Avoid spilling antifreeze on the ground to prevent environmental harm.
- Dispose of leftover antifreeze according to local regulations.
2. Turn Off Power Sources
Why It’s Important
Electrical systems can pose shock or fire hazards during winterization.
Safety Tips
- Disconnect the RV from shore power.
- Turn off all appliances, including the water heater, refrigerator, and furnace.
- Switch off the main breaker and any other power sources, including propane.
3. Allow the Water Heater to Cool
Why It’s Important
Draining a hot water heater can cause burns or damage the system.
Safety Tips
- Turn off the water heater several hours before winterizing.
- Ensure it is completely cool before removing the drain plug or anode rod.
4. Wear Protective Gear
Why It’s Important
Chemicals and debris can irritate your skin, eyes, or lungs during the winterization process.
Safety Tips
- Wear gloves when handling antifreeze or cleaning products.
- Use safety goggles to protect your eyes when working on plumbing or blowing out water lines.
- Wear a mask if you’re working in a dusty or confined space.
5. Ventilate the RV Properly
Why It’s Important
Fumes from antifreeze, sealants, or cleaning products can accumulate in a poorly ventilated RV.
Safety Tips
- Open windows or vents while working inside the RV.
- Use fans to circulate air if necessary.
- Avoid using products with strong fumes in enclosed spaces.
6. Follow Manufacturer Guidelines
Why It’s Important
Each RV has unique systems and components that require specific care during winterization.
Safety Tips
- Refer to your RV’s owner manual for instructions on draining tanks, adding antifreeze, and preparing appliances.
- Use tools and equipment as directed to prevent damage.
- Don’t bypass safety features, such as water heater bypass valves, incorrectly.
7. Secure Your Workspace
Why It’s Important
A cluttered or unsafe workspace can lead to accidents or damage to your RV.
Safety Tips
- Ensure your RV is parked on a level surface with the brakes engaged.
- Keep your workspace free of tools, hoses, and other tripping hazards.
- Use a sturdy ladder when inspecting the roof or exterior.
8. Handle Compressed Air with Care
Why It’s Important
Compressed air can damage plumbing lines or cause injury if not used correctly.
Safety Tips
- Use an RV-specific blowout plug to attach the air compressor to the water inlet.
- Set the air compressor pressure to 30–50 PSI to avoid over-pressurizing water lines.
- Wear hearing protection if using a loud air compressor.
9. Dispose of Waste Responsibly
Why It’s Important
Improperly disposed waste can harm the environment and violate local laws.
Safety Tips
- Empty gray and black water tanks at an approved dump station.
- Dispose of antifreeze, sealants, and cleaning chemicals according to local guidelines.
10. Inspect for Safety Hazards Post-Winterization
Why It’s Important
Leaving potential hazards unchecked can lead to issues during storage.
Safety Tips
- Check for leaks in water lines or tanks after adding antifreeze.
- Ensure propane lines are shut off and free of leaks.
- Secure all doors, windows, and vents to prevent pests or moisture.
More related info will be available at Flamingo Motorhomes.

