What is Winterization?
Winterization is the process of preparing your motorhome for cold weather to prevent damage caused by freezing temperatures. It involves protecting the water system, engine, exterior, and interior components to ensure they remain functional and safe during the winter months. Properly winterizing your motorhome is essential to protect it from severe winter conditions. If you don’t winterize your motorhome, you risk facing costly damage to the plumbing, engine, and other key components. Neglecting to take preventive measures can lead to burst pipes, battery failure, and mold growth, among other issues. Read on to discover the problems that arise when winterization is skipped.
Why is Winterization Important for Your Motorhome?
Winterization is crucial because freezing temperatures can wreak havoc on your motorhome. Without proper preparation, water in pipes and tanks can freeze, expand, and cause costly damage. Additionally, unprotected engines, batteries, and seals are susceptible to wear and tear during winter.
Step 1: Drain and Protect Your Water System
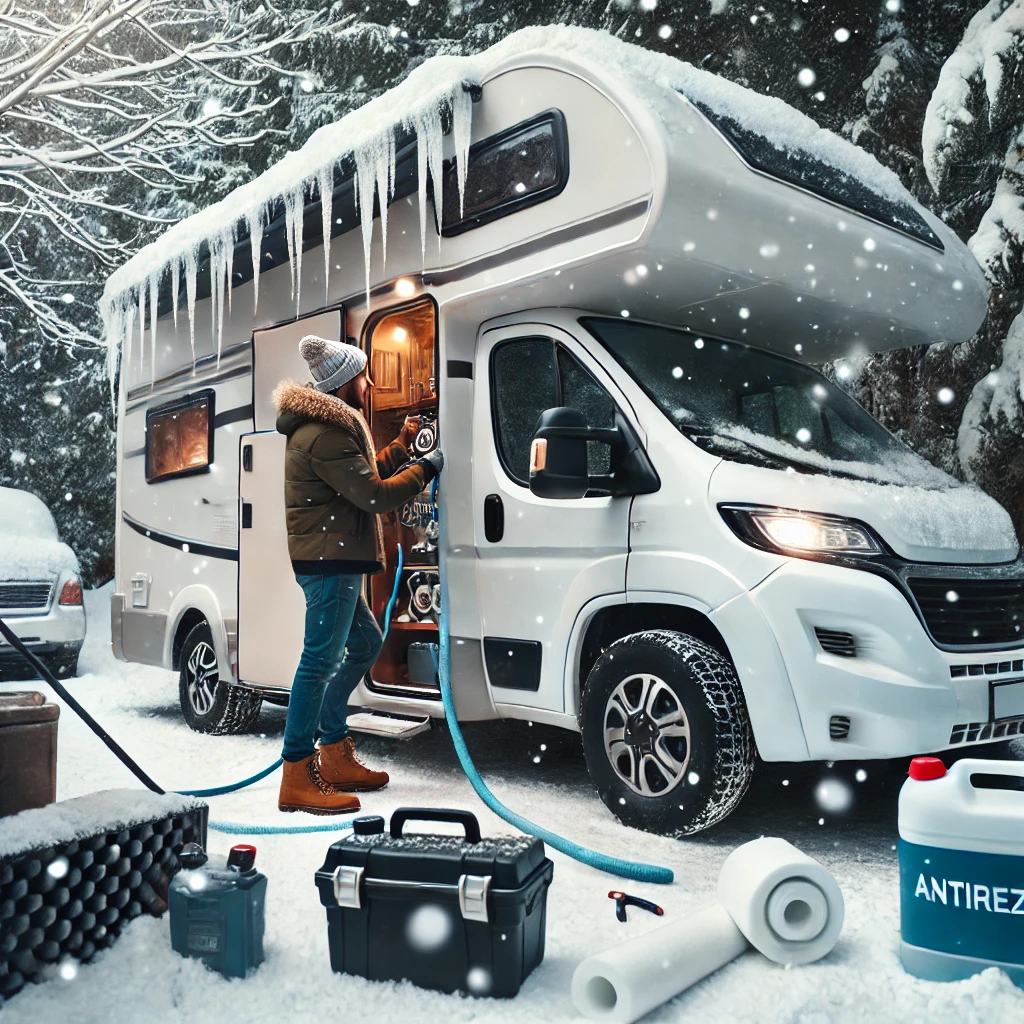
Drain the Water Tanks
- Empty the freshwater, gray water, and black water tanks completely.
- Use a tank cleaner to remove any residue and odors.
Flush the Plumbing
- Open all faucets, showers, and low-point drains.
- Run the water pump until no water remains in the system.
Add Antifreeze
- Pour non-toxic RV antifreeze into the water system.
- Open faucets and run the pump to circulate antifreeze through the pipes.
Step 2: Prepare the Engine and Batteries
Protect the Engine
- Change the oil and top off all fluids.
- Add a fuel stabilizer to the gas or diesel tank to prevent condensation.
Disconnect and Store Batteries
- Disconnect the motorhome battery and store it in a warm, dry place.
- Check auxiliary batteries and maintain their charge during winter.
Step 3: Seal and Protect the Exterior
Inspect for Leaks
- Check the roof, windows, and doors for any cracks or gaps or water lines.
- Apply a weatherproof sealant where needed.
Clean and Cover
- Wash and wax your motorhome to protect it from snow and ice.
- Cover your motorhome with a breathable, waterproof cover to prevent moisture buildup.
Step 4: Interior Preparations
Clean and Declutter
- Remove food, valuables, and anything that could freeze or attract pests.
- Vacuum and wipe down all surfaces.
Prevent Mold and Odors
- Place moisture absorbers inside the motorhome.
- Leave refrigerator doors slightly open to prevent mold growth.
Step 5: Store Your Motorhome Safely
Choose the Right Storage Location
- Store your motorhome in a covered garage or under a sturdy RV cover.
- If storing outdoors, avoid areas with heavy snow accumulation.
Check Periodically
- Inspect your motorhome regularly during winter for any signs of damage.
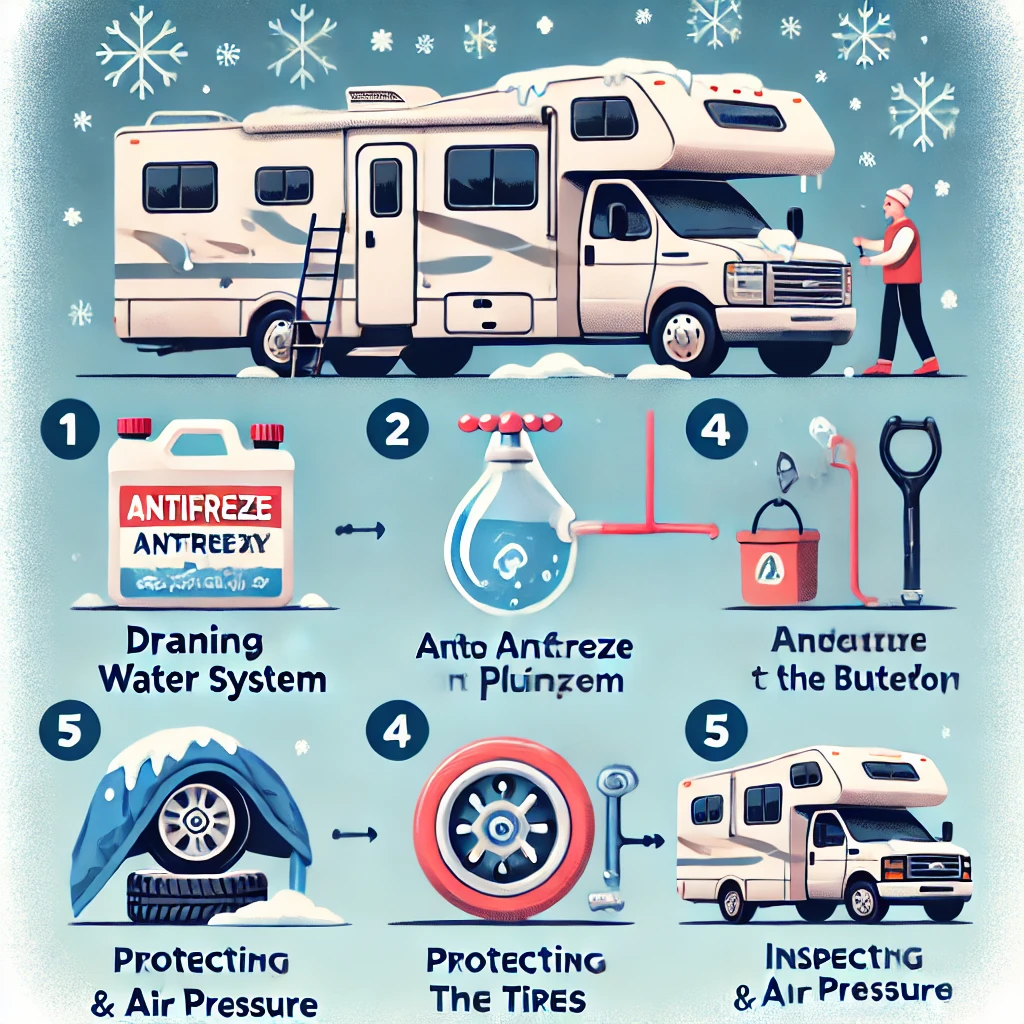
Steps to Winterize a Motorhome and Their Approximate Time Duration
| Step | Description | Time Duration |
|---|---|---|
| Drain All Water Systems | Empty fresh, grey, and black water tanks, open all faucets | 20–30 minutes |
| Bypass the Water Heater | Install a bypass kit to protect the water heater | 10–15 minutes |
| Blow Out Water Lines | Use an air compressor to remove water from pipes | 15–25 minutes |
| Pump in RV Antifreeze | Add antifreeze to all plumbing lines | 20–30 minutes |
| Insulate Windows and Doors | Install thermal covers and weatherstripping | 30–45 minutes |
| Protect Tires | Inflate tires and cover them | 10–20 minutes |
| Disconnect Batteries | Remove and store batteries in a warm location | 15–20 minutes |
| Moisture Protection | Place moisture absorbers and seal vents | 10–15 minutes |
| Cover the Motorhome | Install an RV cover to protect from snow and ice | 30–60 minutes |
Tools for Winterizing Your Motorhome
Following are the tools ;
1. Water System Tools
RV Antifreeze
- Non-toxic and safe for plumbing systems, this is a must-have for preventing frozen pipes.
Water Pump Converter Kit
- Allows you to pump antifreeze directly into the water system without wasting it.
Blow-Out Plug
- Attaches to your air compressor to blow out any remaining water in the plumbing system.
Flexible Tank Wand
- Cleans out holding tanks thoroughly to prevent residue buildup and odors.
2. Exterior Protection Tools
Weatherproof Sealant
- Fills cracks and gaps around windows, doors, and seams to prevent moisture intrusion.
RV Cover
- A breathable, waterproof cover protects the motorhome from snow, ice, and UV rays.
Ladder and Roof Inspection Kit
- Ensures you can safely inspect and repair roof seals before winter hits.
3. Engine and Battery Tools
Fuel Stabilizer
- Prevents condensation and keeps fuel fresh during long periods of inactivity.
Battery Disconnect Tool
- Helps safely disconnect batteries for winter storage.
Trickle Charger
- Maintains battery charge during storage without overcharging.
4. Cleaning and Interior Maintenance Tools
Moisture Absorbers or Dehumidifiers
- Reduces humidity inside the motorhome to prevent mold and mildew.
Vacuum and Cleaning Supplies
- Removes crumbs and debris to avoid pest infestations.
Fridge Door Clip
- Keeps refrigerator doors slightly open for airflow, preventing odors and mold.
5. Miscellaneous Handy Tools
Tool Kit
- A standard toolkit with wrenches, screwdrivers, and pliers is useful for quick repairs during winterization.
Hose and Bucket
- Necessary for draining and flushing water tanks.
Flashlight or Work Lamp
- Helps illuminate tight or dark areas while working.
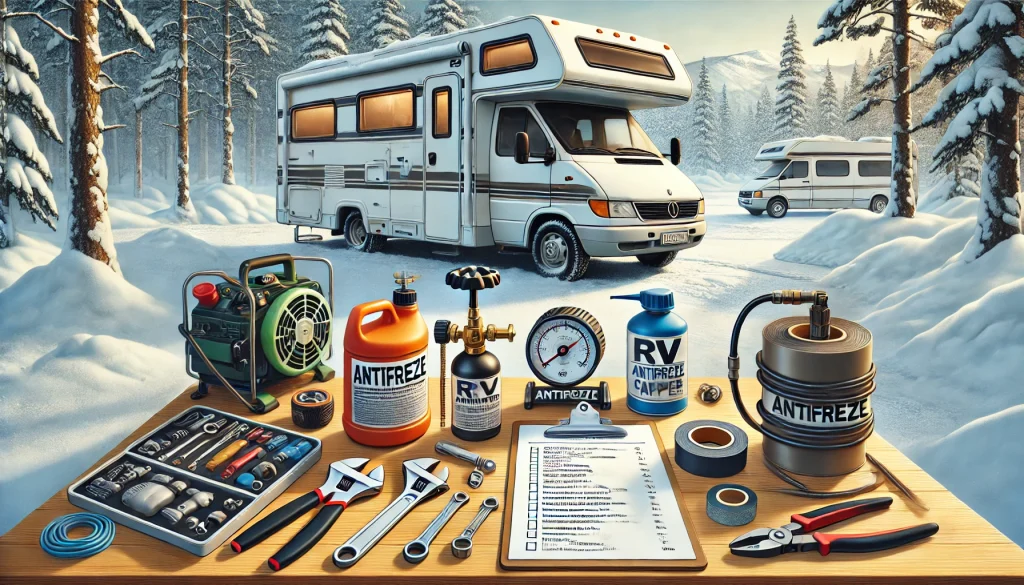
Essential Tools for Motorhome Winterization and Their Approximate Prices
| Tool/Item | Purpose | Approximate Price (USD) |
|---|---|---|
| RV Antifreeze | Prevents pipes from freezing | $3–$6 per gallon |
| Water Pump Converter Kit | Pumps antifreeze into the plumbing system | $10–$25 |
| Air Compressor (Portable) | Blows out water from lines | $30–$100 |
| Water Heater Bypass Kit | Saves antifreeze and protects the heater | $15–$40 |
| Drain Plug Wrench | Removes water heater and tank plugs | $5–$15 |
| Thermal Window Covers | Insulates windows against cold | $20–$50 |
| Weatherstripping Tape | Seals gaps around doors and windows | $5–$15 |
| Tire Covers | Protects tires from freezing and cracking | $30–$70 per set |
| Moisture Absorbers | Prevents mold and mildew in the interior | $10–$20 per pack |
| RV Cover | Shields the motorhome from snow and ice | $100–$500 (varies by size) |
Methods to Winterize Your Motorhome
Following are the methods;
1. Draining and Protecting the Water System
Step 1: Drain All Water
- Empty the freshwater, gray water, and black water tanks completely.
- Open all faucets, showers, and low-point drains to remove remaining water.
Step 2: Flush the System
- Use a water pump to flush out any trapped water in pipes.
- Run the pump until all lines are clear.
Step 3: Add Antifreeze
- Pour non-toxic RV antifreeze into the water system.
- Open faucets one at a time to circulate antifreeze through the pipes and appliances.
2. Engine and Fuel Maintenance
Change Fluids and Use Stabilizers
- Change the engine oil to prevent sludge formation.
- Add a fuel stabilizer to your gas or diesel tank to prevent condensation and keep the fuel fresh.
Protect Batteries
- Disconnect the motorhome’s main battery and auxiliary batteries.
- Store them in a warm place and charge periodically.
3. Seal and Protect the Exterior
Inspect Seals and Apply Weatherproofing
- Check all seals around windows, doors, and the roof.
- Apply a weatherproof sealant to fix any gaps or cracks.
Wash and Cover
- Wash your motorhome thoroughly to remove dirt and road grime.
- Wax the exterior to add a protective layer against ice and snow.
- Use a breathable RV cover to shield your motorhome from moisture and frost.
4. Interior Preparations
Clean and Declutter
- Remove all food, beverages, and valuables to avoid attracting pests or causing spoilage.
- Vacuum and wipe down surfaces to eliminate crumbs and dust.
Prevent Mold and Odors
- Use moisture absorbers or dehumidifiers to reduce dampness.
- Leave refrigerator and cabinet doors slightly open for ventilation.
5. Tire and Chassis Care
Prevent Tire Damage
- Inflate tires to the recommended PSI to prevent flat spots.
- Place your motorhome on leveling jacks to reduce pressure on the tires.
Lubricate Moving Parts
- Apply grease or lubricant to the chassis, hinges, and locks to prevent rust.
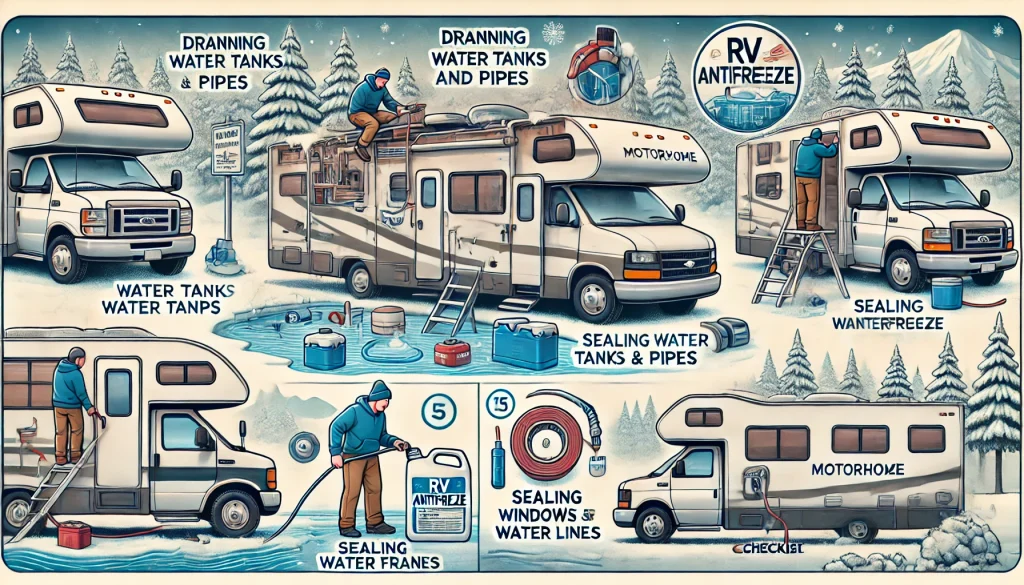
Why Draining the Water System and Using Antifreeze is the Best Method
1. Prevents Frozen Pipes and Damage
- Draining the water system removes any water that could freeze, expand, and burst the pipes or tanks.
- Adding non-toxic RV antifreeze provides an extra layer of protection by replacing water in the lines with a liquid that won’t freeze.
2. Comprehensive and Reliable
- This method ensures no water is left behind in hard-to-reach places, like faucets, pumps, and appliances.
- It’s reliable even in subzero temperatures, making it the safest option for most climates.
3. Protects Your Investment
- Frozen plumbing repairs are costly and time-consuming. Antifreeze protects these components, saving you money in the long run.
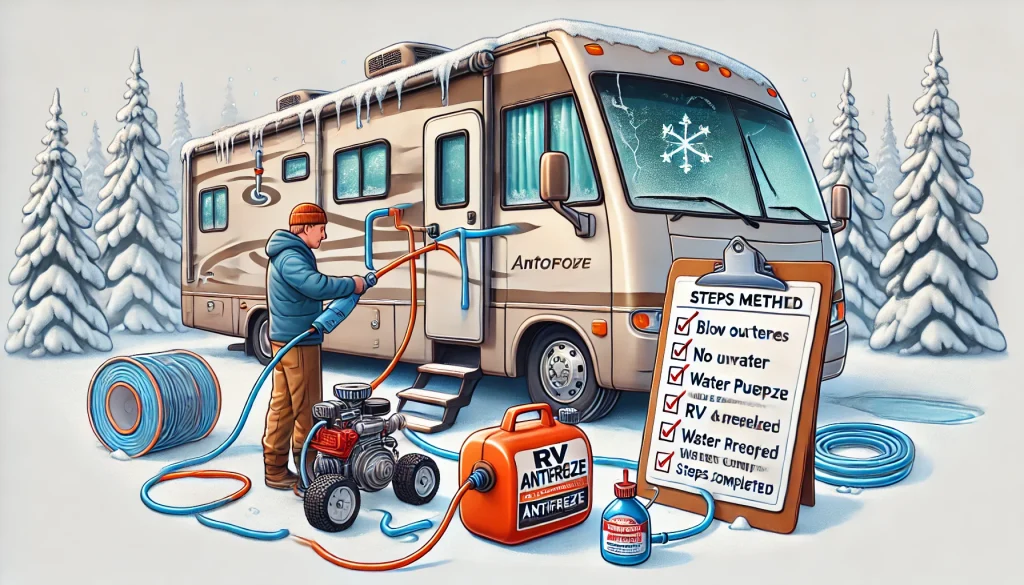
Why Other Methods Alone Are Not Enough
- Draining Water Without Antifreeze:
Draining alone may leave residual water in pipes, leading to damage if temperatures drop significantly. - Exterior Sealing Only:
Sealing is essential but doesn’t address the critical water and plumbing systems. - Relying on Heated Storage:
Heated storage is ideal but not always accessible or affordable, and it doesn’t protect against all types of damage.
How to Winterize Different Class Motorhomes: A Complete Guide
Why Winterization Matters for Motorhomes
Motorhomes are built for adventure, but cold weather can wreak havoc on their plumbing, appliances, and interiors. Proper winterization prevents:
- Frozen and burst pipes
- Damage to the water system
- Costly repairs in spring
Winterizing Class A Motorhomes
Class A motorhomes are large and luxurious, but they also have extensive plumbing systems. Follow these steps:
Step 1: Drain All Water Systems
- Empty the fresh water tank, grey water tank, and black water tank.
- Open all faucets and showerheads to release any remaining water.
Step 2: Use RV Antifreeze
- Add RV-safe antifreeze to the water lines using a water pump converter kit.
- Ensure antifreeze reaches all taps, including the outdoor shower and toilet.
Step 3: Insulate Windows and Doors
- Install thermal covers on windows.
- Use weatherstripping around doors to prevent heat loss.
Step 4: Disconnect Batteries
- Remove the batteries and store them in a warm, dry location.
Winterizing Class B Motorhomes
Class B motorhomes are compact, making winterization slightly easier. Here’s how:
Step 1: Empty Tanks
- Drain all water tanks and open low-point drains.
Step 2: Blow Out the Lines
- Use an air compressor to clear water from the lines before adding antifreeze.
Step 3: Protect the Interior
- Place moisture absorbers inside to prevent mold and mildew.
- Cover vents to block cold drafts.
Winterizing Class C Motorhomes
Class C motorhomes are a popular choice for families. Winterizing involves:
Step 1: Bypass the Water Heater
- Install a water heater bypass kit to save antifreeze and protect the heater.
Step 2: Pump in RV Antifreeze
- Run antifreeze through the plumbing system until all taps flow pink.
Step 3: Cover and Seal Exterior Features
- Use RV covers for the body and roof.
- Seal any gaps to keep out pests and moisture.
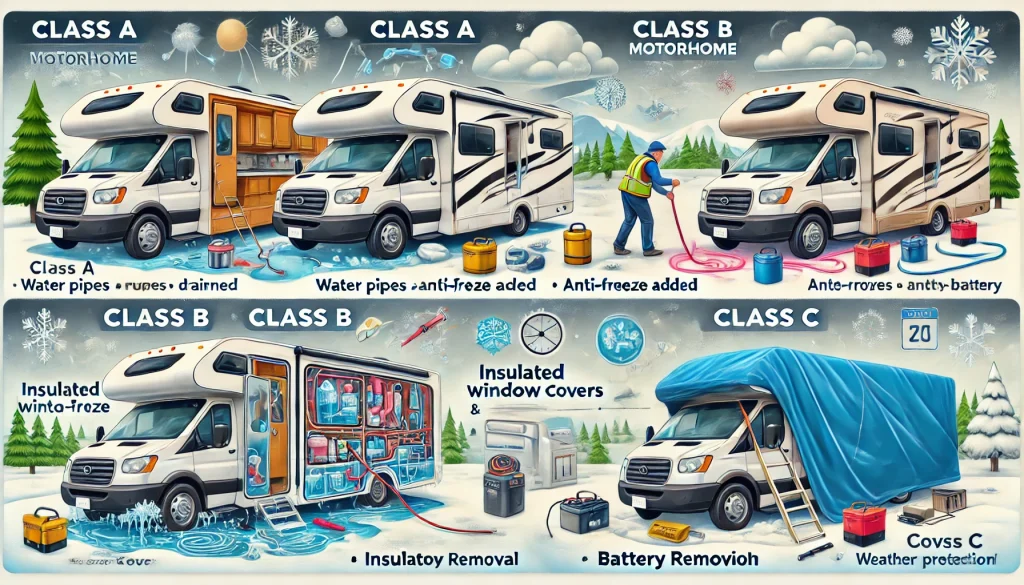
Estimated Cost of Winterizing Different Classes of Motorhomes
| Class of Motorhome | Expense Breakdown | Approximate Total Cost (USD) |
|---|---|---|
| Class A | – RV Antifreeze: $15–$25 (5+ gallons) – Water Pump Converter Kit: $10–$25 – Insulation: $50–$100 – RV Cover: $300–$500 – Miscellaneous: $50–$100 | $425–$750 |
| Class B | – RV Antifreeze: $9–$15 (3–4 gallons) – Water Pump Converter Kit: $10–$25 – Insulation: $30–$60 – RV Cover: $200–$350 – Miscellaneous: $30–$60 | $279–$510 |
| Class C | – RV Antifreeze: $12–$18 (4–5 gallons) – Water Pump Converter Kit: $10–$25 – Insulation: $40–$80 – RV Cover: $250–$400 – Miscellaneous: $40–$80 | $352–$603 |
Common Mistakes People Make During Motorhome Winterization
1. Failing to Drain All Water Completely
- Why It’s a Mistake:
Even a small amount of water left in the pipes, tanks, or water heater can freeze, expand, and cause cracks or bursts. - How to Avoid It:
- Open all faucets, low-point drains, and the water heater drain plug.
- Use a blow-out plug with compressed air to push out any remaining water.
2. Using the Wrong Antifreeze
- Why It’s a Mistake:
Automotive antifreeze is toxic and not suitable for RV plumbing systems, while insufficient amounts of RV antifreeze may leave your system vulnerable. - How to Avoid It:
- Always use non-toxic RV antifreeze designed specifically for potable water systems.
- Follow the manufacturer’s guidelines for the amount needed.
3. Skipping the Water Heater Bypass
- Why It’s a Mistake:
Adding antifreeze to the water heater is wasteful and unnecessary. It can also make it harder to flush the system during de-winterization. - How to Avoid It:
- Install a water heater bypass kit to keep antifreeze out of the heater.
4. Forgetting to Protect the Exterior
- Why It’s a Mistake:
Neglecting seals, cracks, or coverings can allow moisture, cold air, and pests to enter the motorhome. - How to Avoid It:
- Inspect and seal all windows, doors, and roof seams.
- Use a breathable RV cover to protect the exterior from snow and ice.
5. Ignoring the Engine and Fuel System
- Why It’s a Mistake:
Condensation in the fuel tank or old oil can damage the engine during storage. - How to Avoid It:
- Add a fuel stabilizer to keep fuel fresh and prevent condensation.
- Change the oil and run the engine briefly to circulate the fresh oil.
6. Neglecting the Batteries
- Why It’s a Mistake:
Cold temperatures can drain batteries, reducing their lifespan or rendering them unusable. - How to Avoid It:
- Disconnect and store batteries in a warm, dry place.
- Use a trickle charger to maintain the charge throughout the winter.
7. Overlooking the Refrigerator and Interior
- Why It’s a Mistake:
Leaving food or moisture inside can lead to mold, mildew, and pests. - How to Avoid It:
- Empty and clean the refrigerator thoroughly.
- Leave the doors slightly open to allow airflow.
- Use moisture absorbers to prevent dampness inside the motorhome.
8. Skipping a Checklist
- Why It’s a Mistake:
Forgetting even one step can result in significant damage, such as a missed drain plug or an unsealed vent. - How to Avoid It:
- Use a detailed winterization checklist.
- Double-check each step before storage.
9. Not Labeling Antifreeze-Filled Systems
- Why It’s a Mistake:
Forgetting where antifreeze was added can cause confusion when de-winterizing. - How to Avoid It:
- Clearly label systems and faucets treated with antifreeze for easy reference in spring.
10. Rushing Through the Process
- Why It’s a Mistake:
Cutting corners or skipping steps increases the risk of costly damages. - How to Avoid It:
- Allocate enough time to complete the process thoroughly.
- Follow manufacturer guidelines for your specific motorhome model.
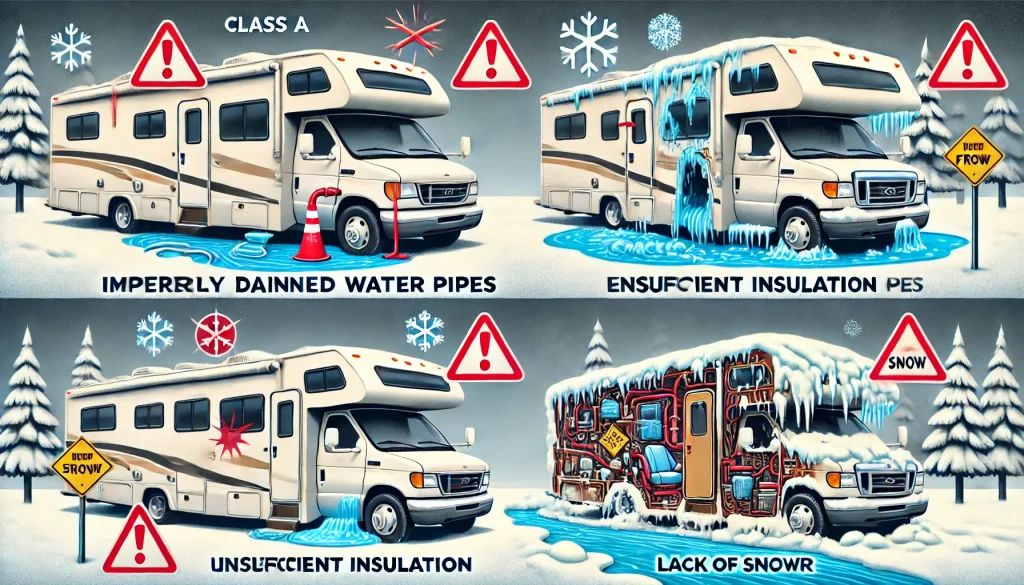
Problems If You Don’t Winterize Your Motorhome
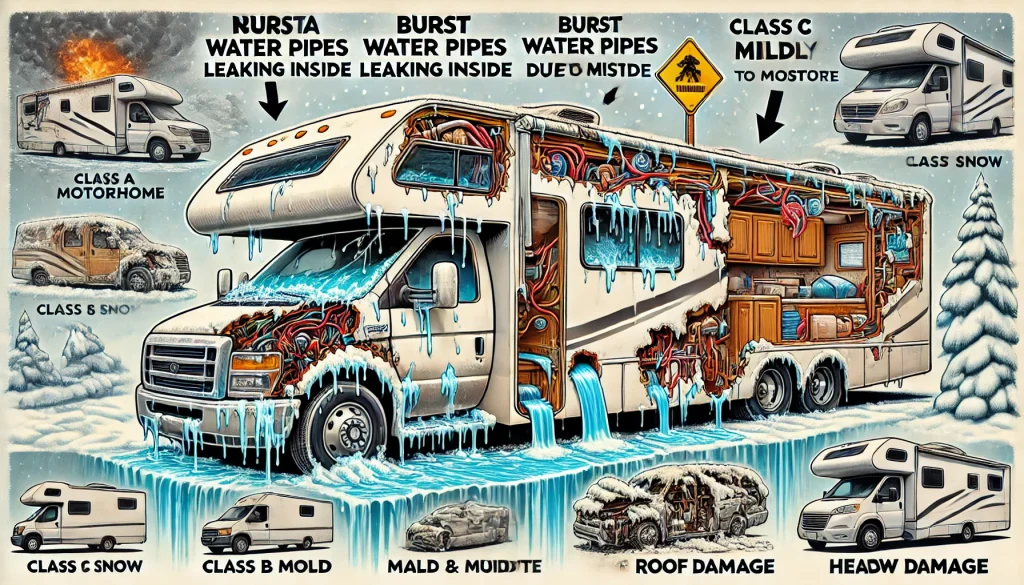
1. Frozen and Burst Pipes
- What Happens:
Water left in the pipes, tanks, or water heater freezes, expands, and causes cracks or ruptures in the plumbing system. - The Damage:
- Broken pipes or fittings.
- Costly repairs to the water system and appliances.
2. Damage to the Water Heater and Tanks
- What Happens:
Ice formation in the water heater or holding tanks can cause them to crack or burst. - The Damage:
- Replacement of the water heater tank.
- Structural damage to the fresh, gray, or black water tanks.
3. Mold and Mildew Growth
- What Happens:
Moisture trapped inside the motorhome due to poor ventilation leads to mold and mildew buildup on surfaces, upholstery, and cabinetry. - The Damage:
- Unpleasant odors.
- Damage to walls, furniture, and flooring.
- Health risks from mold spores.
4. Battery Failure
- What Happens:
Cold temperatures drain the batteries, causing them to lose charge or freeze, resulting in irreparable damage. - The Damage:
- Shortened battery lifespan.
- Cost of replacing batteries prematurely.
5. Engine and Fuel Problems
- What Happens:
- Condensation in the fuel tank creates water buildup, leading to rust and fuel contamination.
- Oil thickens, reducing engine lubrication and performance.
- The Damage:
- Engine damage requiring repairs or replacement.
- Hard starts or complete failure when spring arrives.
6. Exterior Wear and Tear
- What Happens:
Exposure to snow, ice, and UV rays without protection can degrade the motorhome’s finish and seals. - The Damage:
- Cracks and leaks in seals and seams.
- Fading paint and rust formation.
7. Pest Infestations
- What Happens:
Unsealed openings and food left inside attract rodents and insects looking for warmth. - The Damage:
- Chewed wiring and insulation.
- Contamination of stored food and furnishings.
8. Tire Deformation
- What Happens:
Tires lose air pressure during storage, leading to flat spots and potential cracking. - The Damage:
- Reduced tire lifespan.
- Unsafe driving conditions due to compromised tires.
9. Malfunctioning Appliances
- What Happens:
Appliances with water lines, such as refrigerators, washers, and toilets, are at risk of freezing and cracking. - The Damage:
- Non-functional appliances requiring expensive replacements.
10. Overall Reduced Resale Value
- What Happens:
Persistent damage from neglect during winter storage diminishes your motorhome’s condition and appeal to future buyers. - The Damage:
- Significant depreciation of your motorhome’s value.
Precautions to Winterize Your Motorhome to Avoid Problems
1. Thoroughly Drain the Water System
- Why It’s Important: Any leftover water in pipes, tanks, or appliances can freeze, expand, and cause cracks or bursts.
- Precautions:
- Drain the freshwater tank, gray water tank, and black water tank completely.
- Open all faucets, including hot and cold lines, to ensure no water remains trapped.
- Don’t forget to drain the water heater (turn off the heating element first).
2. Use the Right Antifreeze
- Why It’s Important: Only non-toxic RV antifreeze is safe for your motorhome’s plumbing system.
- Precautions:
- Never use automotive antifreeze—it’s toxic and unsuitable for plumbing.
- Follow the manufacturer’s instructions for the correct amount to use.
- Run antifreeze through all faucets, showers, and the toilet to ensure every part of the system is protected.
3. Seal All Openings
- Why It’s Important: Gaps or cracks can let in moisture, cold air, and pests.
- Precautions:
- Inspect windows, doors, and roof vents for cracks or gaps.
- Apply weatherproof sealant to any problem areas.
- Close all vents and openings, including the exhaust and intake vents, to prevent critters from entering.
4. Protect the Batteries
- Why It’s Important: Cold temperatures can drain batteries, reducing their lifespan.
- Precautions:
- Disconnect batteries and store them in a warm, dry place.
- Use a trickle charger to maintain charge during the off-season.
- Before storage, clean battery terminals and apply a corrosion inhibitor.
5. Prepare the Engine and Fuel System
- Why It’s Important: Condensation in the fuel tank or old oil can cause engine damage.
- Precautions:
- Add a fuel stabilizer to prevent condensation and keep fuel fresh.
- Change the oil and filter to remove contaminants.
- Run the engine briefly to circulate stabilized fuel and fresh oil.
6. Protect the Exterior
- Why It’s Important: Snow, ice, and UV rays can damage the motorhome’s finish and seals.
- Precautions:
- Wash and wax your motorhome before storage to create a protective layer.
- Use a breathable, waterproof RV cover to shield it from the elements.
- Inflate tires to the recommended PSI and consider using leveling jacks to prevent flat spots.
7. Prevent Moisture Inside
- Why It’s Important: Moisture buildup can lead to mold, mildew, and unpleasant odors.
- Precautions:
- Use moisture absorbers or dehumidifiers inside the motorhome.
- Leave cabinet and fridge doors slightly open to allow airflow.
- Remove all food and perishables to prevent pests and odors.
8. Document and Double-Check Everything
- Why It’s Important: Missing a single step can lead to costly problems later.
- Precautions:
- Create a checklist and follow it meticulously.
- After completing winterization, double-check every system, from plumbing to the engine.
- Label antifreeze-filled systems to avoid confusion during de-winterization.
More details will be available on Flamingo Motorhomes

