Maintaining the cleanliness of your RV not only enhances its appearance but also extends its lifespan. Regular washing removes dirt, grime, and harmful residues that can damage the exterior over time. Here’s a step-by-step guide to properly wash your RV while preserving its finish.
Why Washing Your RV Is Important
Keeping your RV clean prevents damage to the paint, decals, and seals. Regular washing also maintains resale value and protects against rust and mold growth.
Factors That Force You to Wash an RV
Keeping your RV clean is not just about aesthetics—it’s essential for maintaining its durability and value. Ignoring routine washes can lead to damage that affects both the functionality and appearance of your vehicle. Let’s explore the key factors that make washing your RV a must.
Why Washing Your RV Matters
Dirt, grime, and environmental debris don’t just look bad; they can harm your RV’s exterior, decals, and seals over time. Regular cleaning ensures your RV stays in excellent condition and ready for adventures.
Key Factors That Require You to Wash Your RV
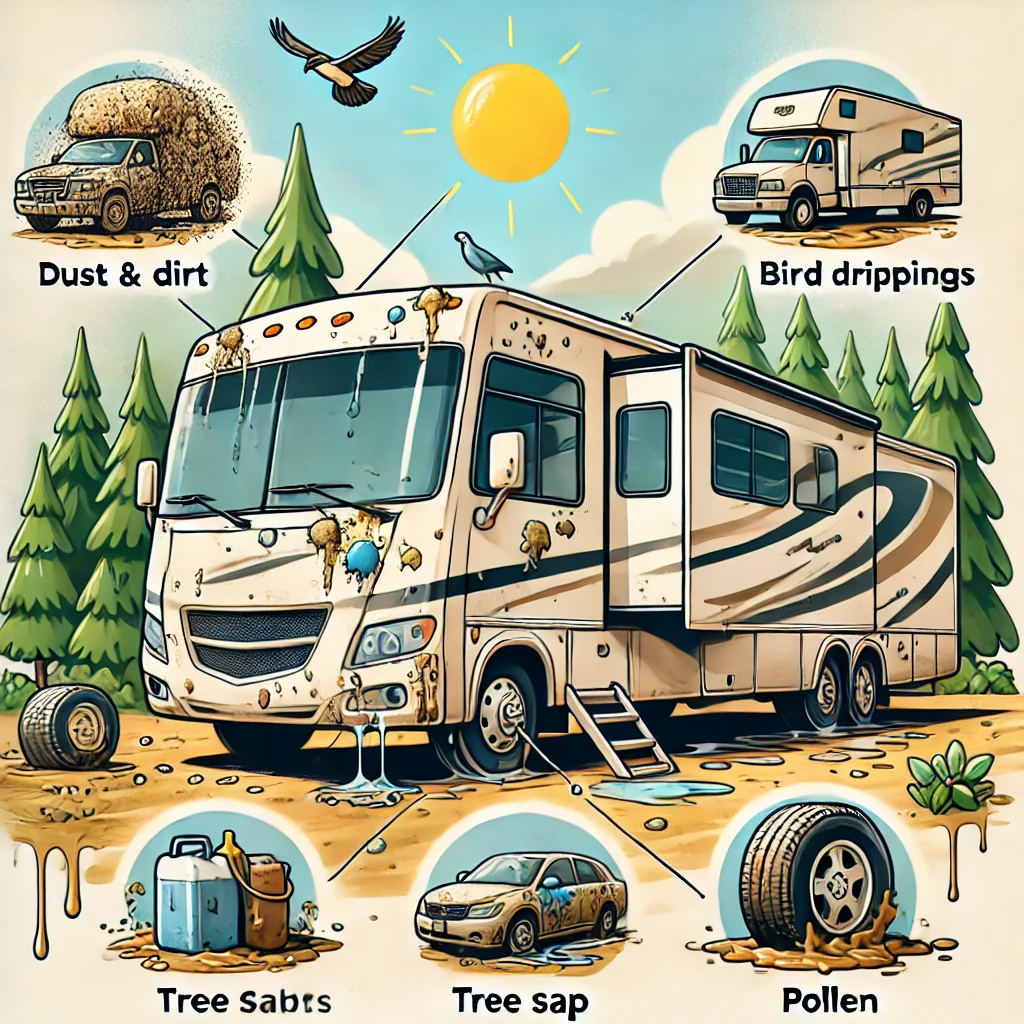
1. Road Dirt and Dust
After every trip, your RV accumulates road grime, mud, and dust. These particles can scratch the paint and dull the finish if not removed promptly. Washing removes abrasive materials, preserving the exterior.
2. Bug Splatters and Bird Droppings
Bug splatters and bird droppings are more than unsightly—they contain acidic substances that can corrode paint and damage decals. Cleaning these off as soon as possible prevents long-term harm.
3. Tree Sap and Pollen
If you park under trees, sap and pollen can settle on your RV, leaving sticky residues and stains. Over time, these can become difficult to remove and may require specialized cleaners.
4. Salt and Road Chemicals
If you travel in winter or near coastal areas, your RV is exposed to salt and road chemicals. These substances are highly corrosive, particularly to metal parts and the undercarriage. Regular washing prevents rust and extends your RV’s life.
5. UV Damage and Environmental Debris
Dust, sand, and other debris carried by the wind can wear down your RV’s exterior and cause micro-scratches. Combined with UV exposure, these factors can fade paint and decals over time. Washing and applying a protectant safeguard your RV from these elements.
6. Mold and Mildew
Humidity and moisture can lead to mold and mildew growth, especially around seals, windows, and the roof. Cleaning these areas regularly prevents the buildup of harmful fungi.
When Should You Wash Your RV?
- After long trips or camping in muddy or sandy locations
- Every 1-3 months during regular use
- Before storing your RV or after removing it from storage
Methods to Wash an RV: Keep Your RV Spotless
Keeping your RV clean is essential for its longevity and appeal. Whether you’re preparing for a road trip or maintaining it after an adventure, choosing the right method to wash your RV can make a big difference. Below, we outline the most effective methods to wash your RV and keep it looking its best.
Why Proper Washing Techniques Matter
Using the wrong methods or products can damage your RV’s finish, decals, and seals. A proper washing routine not only improves appearance but also prevents long-term damage like rust and fading.
Top Methods to Wash an RV
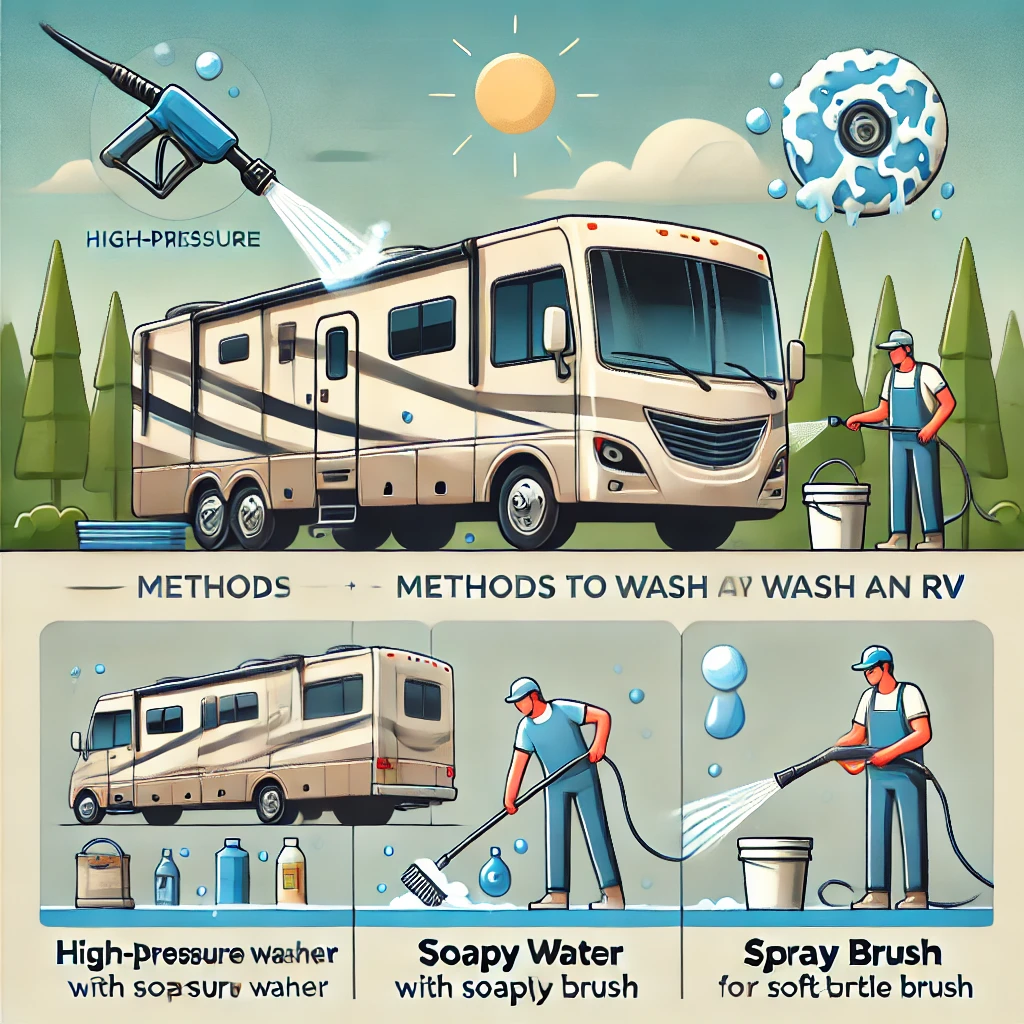
1. Hand Washing Your RV
Hand washing is the most thorough method to clean your RV. Here’s how:
- Use an RV-specific soap and a soft-bristle brush with an extendable handle.
- Start with the roof, then move to the sides and windows.
- Rinse each section immediately to avoid water spots.
Pros: Provides a detailed clean, ideal for spotting damage or wear.
Cons: Time-consuming and requires physical effort.
2. Using a Pressure Washer
Pressure washers can make washing faster, but they require caution.
- Use a low-pressure setting to avoid damaging paint or seals.
- Focus on areas with heavy grime, such as the undercarriage and wheels.
- Avoid direct spraying on decals or seams.
Pros: Quick and efficient for large RVs.
Cons: Improper use can cause damage.
3. Automatic RV Wash Stations
Some RV parks and service centers have automatic wash stations designed for RVs.
- These systems use soft brushes and specialized soaps.
- Ensure the station is RV-friendly to avoid scratches or damage.
Pros: Convenient and saves time.
Cons: May not clean intricate areas thoroughly.
4. Mobile RV Washing Services
If you prefer professional care, mobile washing services can clean your RV on-site.
- They typically use high-quality products and techniques tailored to RVs.
- Look for companies with experience in RV detailing.
Pros: Hassle-free and professional results.
Cons: Costs more than DIY methods.
5. Eco-Friendly Wash Solutions
For environmentally conscious RV owners, waterless wash solutions are a great option.
- Use eco-friendly spray-on cleaners and microfiber cloths.
- These are ideal for light cleaning or areas with water restrictions.
Pros: Saves water and is easy to use.
Cons: Not effective for heavy dirt or mud.
Essential Tools to Wash an RV
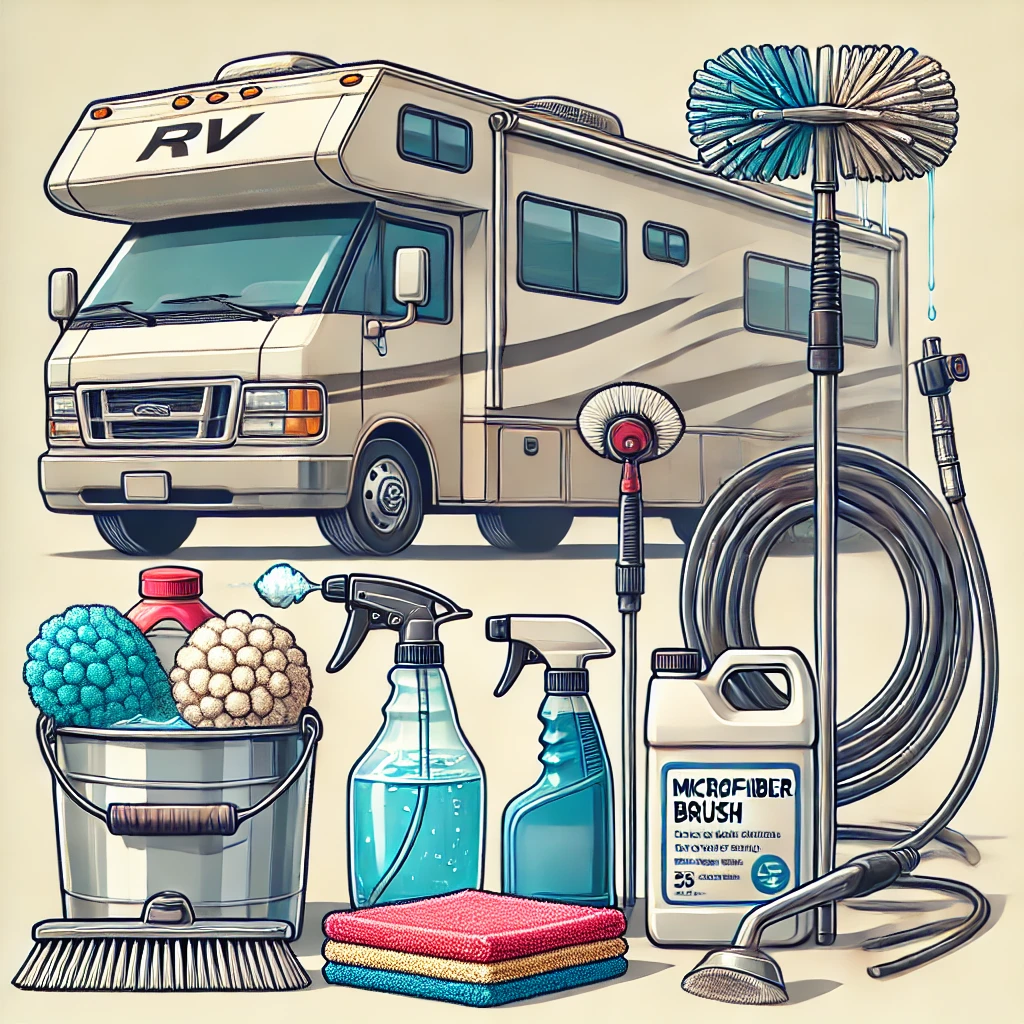
Washing an RV requires the right tools to ensure a thorough, safe, and efficient cleaning process. Using improper equipment can damage the exterior, decals, and seals, so it’s essential to have the correct supplies on hand. Here’s a list of must-have tools to wash your RV like a pro.
Why the Right Tools Matter
RV exteriors are larger and more complex than regular vehicles, with unique materials like fiberglass, aluminum, and rubber roofs. Using the right tools prevents scratches, fading, and water damage, helping your RV maintain its value and appearance.
Essential Tools to Wash an RV
1. Extendable Soft-Bristle Brush
An extendable soft-bristle brush is perfect for reaching high areas like the roof and sides of your RV.
- Choose brushes with soft bristles to avoid scratching the surface.
- Look for lightweight, adjustable poles for easy maneuvering.
Pro Tip: Use separate brushes for the roof and body to prevent transferring debris.
2. RV-Specific Soap
Avoid household detergents and opt for soaps designed for RVs.
- These soaps are non-abrasive and protect wax coatings and decals.
- Look for eco-friendly options to minimize environmental impact.
3. Pressure Washer or Hose with Spray Nozzle
For heavy grime, a pressure washer with a low-pressure setting is ideal. Alternatively, a hose with an adjustable spray nozzle can handle routine washing.
- Ensure the pressure is gentle enough to avoid damaging seals and decals.
- Use the spray to pre-rinse and rinse off soap effectively.
4. Microfiber Cloths and Towels
Microfiber cloths are excellent for drying and detailing.
- Use them to wipe down windows, mirrors, and hard-to-reach corners.
- Microfiber towels prevent water spots and streaks after washing.
5. Ladder or Scaffolding
For taller RVs, a sturdy ladder or portable scaffolding is essential.
- Look for ladders with rubber feet to prevent slipping.
- Use safety precautions when working on higher surfaces.
6. Tire and Wheel Cleaner with Brushes
Your RV’s wheels and tires endure the harshest conditions.
- Use a tire cleaner and a stiff brush to remove dirt and brake dust.
- Don’t forget the undercarriage, as it accumulates road debris.
7. Squeegee with Extendable Handle
A squeegee is perfect for streak-free window cleaning.
- Use one with a built-in sponge for dual-purpose cleaning.
- Extendable handles make it easier to reach large windows.
8. Bucket with Grit Guard
A bucket with a grit guard ensures dirt settles at the bottom, keeping your cleaning tools free of abrasive particles.
- Use separate buckets for washing and rinsing to avoid contamination.
9. RV Wax or UV Protectant
After washing, apply a wax or UV protectant to shield your RV’s exterior from sun damage and fading.
- Look for products compatible with fiberglass and metal surfaces.
10. Rubber Roof Cleaner
If your RV has a rubber roof, a specialized cleaner is necessary to prevent cracking and discoloration.
- These cleaners are designed to remove dirt without damaging the roof’s material.
Steps to Wash an RV: A Complete Guide
Washing an RV may seem like a daunting task, but following the right steps ensures your vehicle stays spotless and protected. Regular cleaning prevents damage, extends its lifespan, and keeps it looking great for your adventures. Here’s a step-by-step guide to washing your RV effectively.
Why Proper Washing Is Important
Dirt, grime, and environmental debris can damage your RV’s exterior, leading to faded paint, damaged decals, and worn seals. Washing your RV regularly maintains its durability and enhances its appearance.
Step-by-Step Guide to Wash an RV
1. Inspect Your RV Before Washing
Before starting, check your RV for damage, such as cracked seals, peeling decals, or roof leaks. Address these issues before washing to avoid further complications.
2. Gather the Right Tools and Supplies
Use these essential tools to make the process efficient:
- Soft-bristle RV brush with an extendable handle
- RV-specific soap
- Hose with spray nozzle or low-pressure washer
- Microfiber towels for drying
- Tire cleaner and brushes
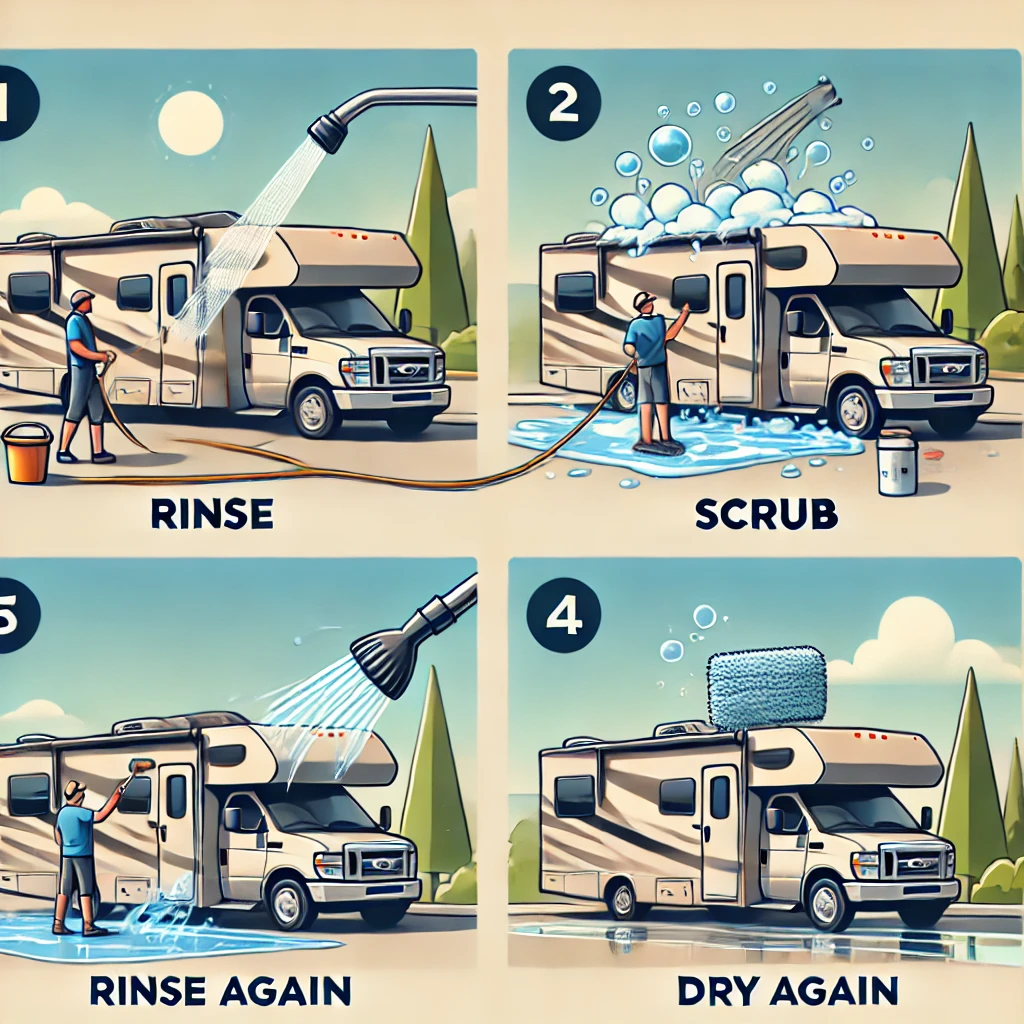
3. Rinse the RV to Remove Loose Dirt
Start by rinsing the entire RV from top to bottom. This step removes loose dirt, dust, and debris, preventing scratches during scrubbing.
4. Clean the Roof First
The roof is the dirtiest part of an RV. Use an RV roof cleaner and a soft brush:
- Scrub gently to avoid damaging seals or vents.
- Rinse thoroughly to remove all cleaning agents.
Pro Tip: Clean in sections to avoid soap drying before rinsing.
5. Wash the RV’s Exterior
Work on one section at a time:
- Use RV soap and a soft-bristle brush or sponge.
- Start from the top and move downward to avoid streaks.
- Pay extra attention to decals; scrub gently to prevent peeling.
6. Clean Windows and Mirrors
For a streak-free shine, use a squeegee and RV-friendly window cleaner:
- Wipe off excess water immediately after cleaning.
- Use microfiber cloths to avoid scratches.
7. Wash Tires and Undercarriage
Clean the tires and undercarriage last:
- Use a tire cleaner and stiff brush to remove grime and brake dust.
- Rinse thoroughly to remove mud and salt buildup.
8. Rinse Thoroughly
After scrubbing, rinse the entire RV to remove soap residue. Be sure to rinse every section, including hidden corners, to avoid water spots.
9. Dry Your RV Completely
Drying prevents water spots and streaks:
- Use microfiber towels or a squeegee for a polished finish.
- Pay special attention to windows, mirrors, and metal parts.
10. Apply Wax or UV Protectant
After drying, apply a wax or UV protectant to safeguard the RV’s finish. This step adds shine and protects against sun damage, dirt, and grime.
How to Wash an RV for Different Classes
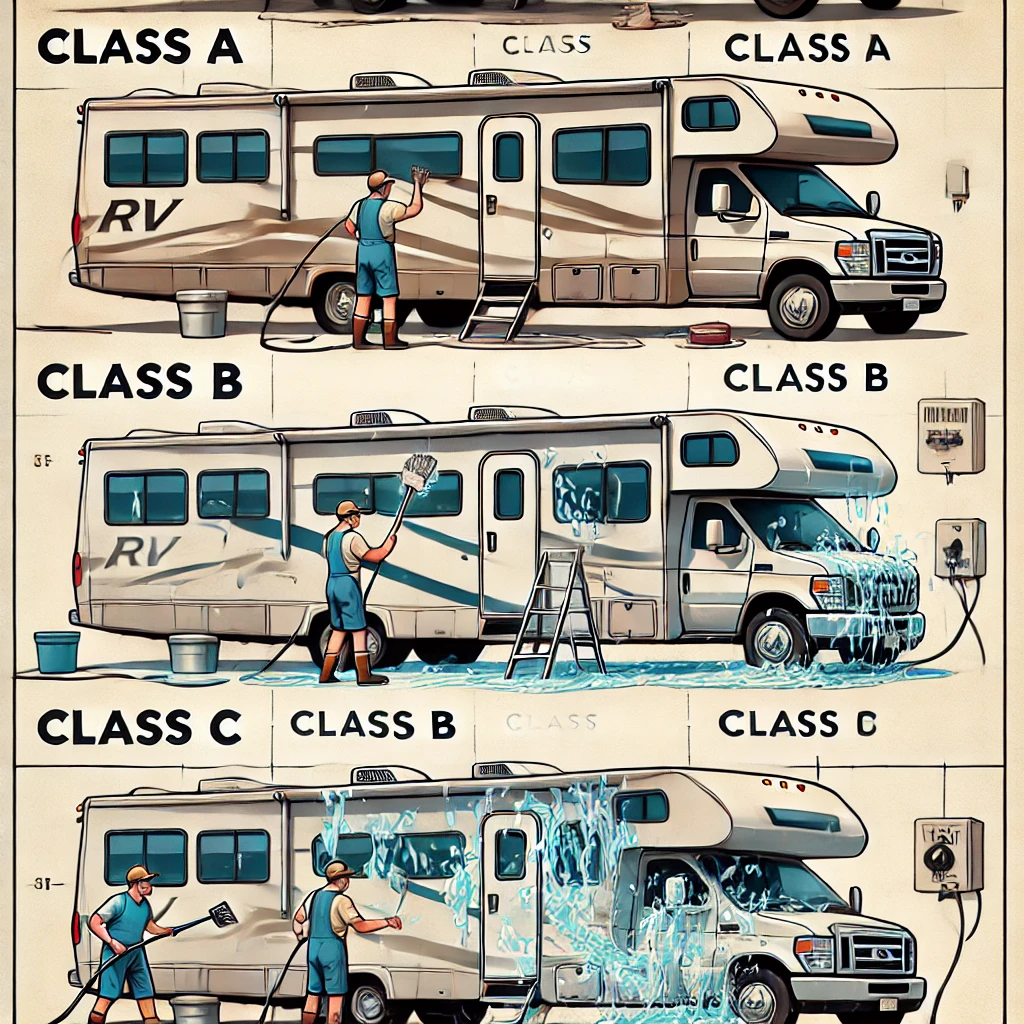
Each class of RV—Class A, Class B, Class C, travel trailers, and fifth-wheel campers—has unique features that require tailored cleaning methods. Understanding how to wash your RV based on its class ensures a thorough and safe cleaning process while preserving its value and appearance.
Why RV Classes Require Different Washing Methods
The size, structure, and materials of an RV vary by class. For example, Class A motorhomes have large, flat surfaces that need extended tools, while travel trailers often have more intricate designs. Tailoring your approach prevents damage and ensures efficient cleaning.
How to Wash Class A RVs
Features of Class A RVs
Class A motorhomes are the largest, with flat roofs and expansive sides. Their size requires specialized tools and techniques.
Steps to Wash a Class A RV
- Start with the Roof: Use a ladder or scaffolding to clean the flat roof. Apply RV-safe soap and scrub with a soft-bristle brush.
- Wash in Sections: Divide the sides into sections for easier cleaning. Use a long-handled brush to scrub the surface and rinse immediately to avoid streaks.
- Focus on Windows: Use a squeegee for streak-free results on large windows.
- Check Slide-Outs: Clean slide-out roofs and sides thoroughly to prevent debris buildup.
How to Wash Class B RVs
Features of Class B RVs
Class B motorhomes are smaller and easier to maneuver, resembling oversized vans. Their compact design simplifies washing.
Steps to Wash a Class B RV
- Use a Handheld Brush: A soft-bristle brush or sponge works well for the compact exterior.
- Pay Attention to Details: Focus on windows, mirrors, and trim for a polished look.
- Rinse and Dry: Rinse thoroughly and dry with microfiber towels to prevent water spots.
How to Wash Class C RVs
Features of Class C RVs
Class C motorhomes have distinctive over-cab sleeping areas and larger bodies, requiring careful attention to corners and crevices.
Steps to Wash a Class C RV
- Clean the Over-Cab Area: Use a soft brush to scrub the hard-to-reach overhead section.
- Work from Top to Bottom: Start with the roof and move down, ensuring soap doesn’t dry on the surface.
- Check the Rear Ladder: Clean the ladder and rear compartments for a complete wash.
How to Wash Travel Trailers
Features of Travel Trailers
Travel trailers have diverse sizes and shapes with more intricate detailing than motorhomes.
Steps to Wash a Travel Trailer
- Focus on the Roof: Use a rubber roof cleaner if applicable, and inspect for damage.
- Use a Ladder for High Spots: A sturdy ladder is essential for cleaning taller sections.
- Clean Hitch and Undercarriage: Don’t forget to wash the hitch area and undercarriage to remove dirt and salt.
How to Wash Fifth-Wheel RVs
Features of Fifth-Wheel RVs
Fifth-wheel RVs are larger than travel trailers, with a raised front section for the hitch connection.
Steps to Wash a Fifth-Wheel RV
- Start with the Raised Front Section: Use an extendable brush to clean the elevated areas.
- Pay Attention to Slide-Outs: Clean slide-out sides and roofs carefully to prevent wear and tear.
- Dry Thoroughly: Use microfiber towels or a squeegee to dry large, flat surfaces.
Do You Need a Professional to Wash an RV, or Can You Do It Yourself?
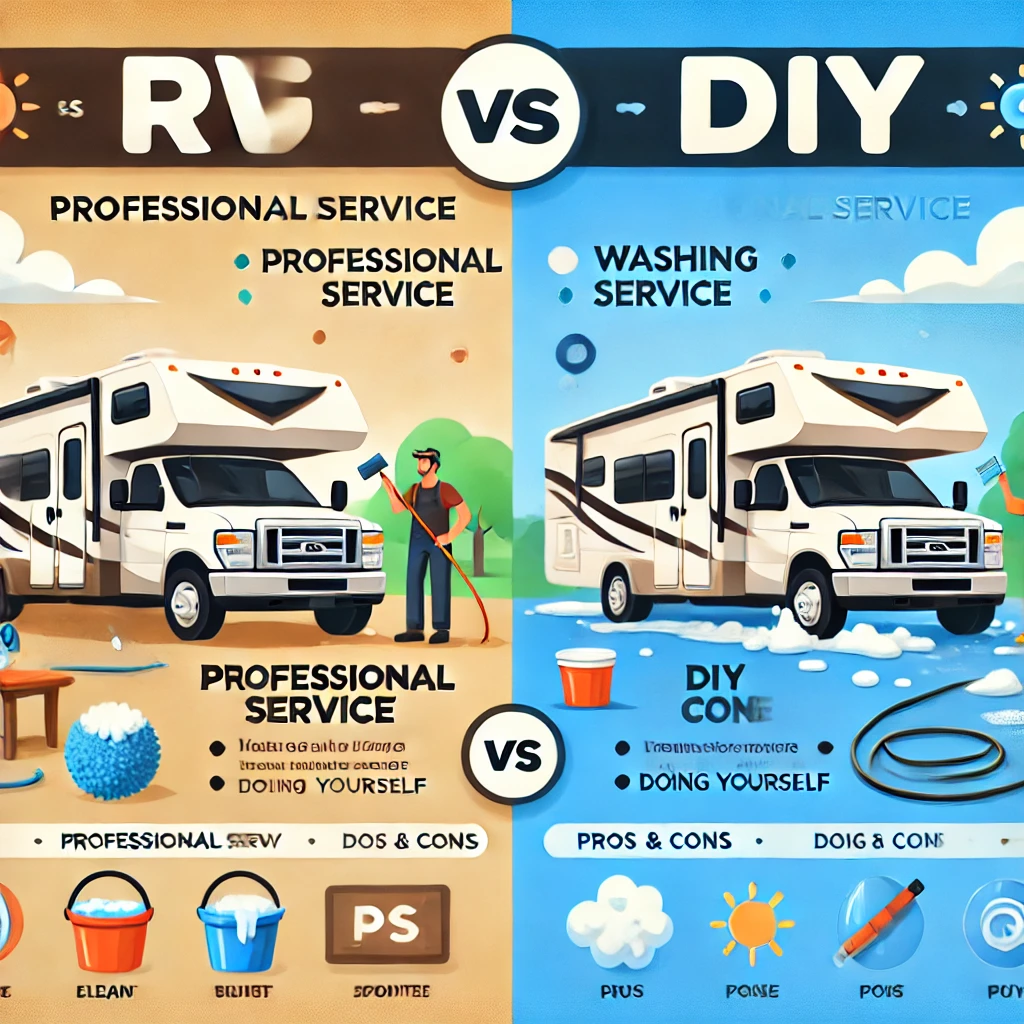
When it comes to washing your RV, you may wonder whether to hire a professional or take on the task yourself. Both options have their pros and cons, depending on your time, budget, and skill level. Let’s explore whether you need a professional to wash your RV or if you can handle it yourself.
Why RV Washing Is Essential
Regular washing is crucial to maintaining your RV’s exterior, preventing dirt buildup, protecting seals and decals, and preserving its value. Choosing between a professional service and a DIY approach depends on factors like convenience, budget, and expertise.
When to Wash Your RV Yourself
1. Cost-Effective Option
DIY washing saves money, especially if you already have the necessary tools.
- All you need is RV-safe soap, a soft-bristle brush, microfiber towels, and a hose.
2. Great for Routine Cleaning
For light dirt and grime after a short trip, washing your RV yourself is manageable and effective.
- A DIY wash also allows you to inspect your RV for potential issues like leaks or damage.
3. Flexibility in Timing
You can clean your RV at your convenience, making it a practical choice for busy schedules.
Steps for DIY RV Washing
- Rinse your RV to remove loose dirt.
- Wash section by section using RV-safe soap and a soft-bristle brush.
- Pay attention to the roof, windows, tires, and undercarriage.
- Dry thoroughly with microfiber towels to avoid water spots.
When to Hire a Professional RV Washing Service
1. For Heavy Dirt or Stains
If your RV is covered in tough grime, tree sap, or bug residue, professional services have the tools and expertise to clean it thoroughly.
2. Lack of Time or Equipment
If you’re short on time or don’t own the necessary tools, hiring a professional is a convenient solution.
- Mobile RV washing services can come to you, saving you the hassle of visiting a facility.
3. Specialized Cleaning Needs
For tasks like waxing, roof cleaning, or mold removal, professionals can provide deeper, more detailed care.
- They also use eco-friendly and RV-specific products that protect your vehicle’s exterior.
4. For Larger RVs
If you own a large Class A motorhome or fifth-wheel camper, professional services can handle the size and complexity more efficiently.
Common Mistakes When Washing an RV and Their Solutions
Washing your RV is essential for maintaining its appearance and durability, but even with the best intentions, mistakes can happen. These errors can lead to damage, extra effort, or unsatisfactory results. Here’s a guide to the most common mistakes when washing an RV and how to avoid them.
Why Avoiding Washing Mistakes Is Important
Incorrect washing techniques can damage your RV’s exterior, decals, and seals, or even shorten its lifespan. By understanding these mistakes and their solutions, you can protect your investment and ensure it looks great for years to come.
1. Using Household Detergents
Mistake:
Many RV owners use household cleaners or dish soap, which are too harsh and strip away protective coatings or damage decals.
Solution:
Always use RV-specific soaps that are gentle, non-abrasive, and safe for fiberglass, metal, and rubber surfaces. These products are designed to clean effectively without causing damage.
2. Ignoring the Roof
Mistake:
Skipping the roof during cleaning allows dirt, grime, and mold to accumulate, which can lead to leaks and roof damage.
Solution:
Clean the roof first using a rubber roof cleaner or a product suitable for your RV’s roof material. Inspect for cracks, seals, and potential leaks while cleaning.
3. Using High-Pressure Washers Incorrectly
Mistake:
High-pressure washers can damage RV seals, windows, and decals if used on the wrong settings.
Solution:
If you use a pressure washer, keep the pressure low and maintain a safe distance. Avoid spraying directly at seals, vents, and edges where water could seep in.
4. Not Rinsing Before Scrubbing
Mistake:
Skipping the initial rinse means you’re scrubbing dirt and debris directly onto the surface, causing scratches and swirl marks.
Solution:
Always rinse your RV thoroughly with water before scrubbing to remove loose dirt and debris. This step protects the surface from unnecessary abrasion.
5. Letting Soap Dry on the Surface
Mistake:
Allowing soap to dry on your RV can leave unsightly streaks, spots, and residue.
Solution:
Wash and rinse in small sections, especially on hot or sunny days. Start at the top and work your way down, rinsing thoroughly before moving to the next section.
6. Forgetting to Dry the RV
Mistake:
Leaving the RV to air dry causes water spots and streaks, which can dull its appearance.
Solution:
Use microfiber towels or a squeegee to dry your RV immediately after rinsing. This step ensures a streak-free, polished look.
7. Neglecting Slide-Outs and Undercarriage
Mistake:
Overlooking slide-outs and the undercarriage can lead to dirt buildup, rust, and wear over time.
Solution:
Clean slide-out roofs and sides thoroughly. For the undercarriage, use a hose or pressure washer on a low setting to remove mud, salt, and road grime.
8. Using Abrasive Brushes or Sponges
Mistake:
Harsh brushes or sponges can scratch the paint and decals, leaving permanent marks.
Solution:
Always use soft-bristle brushes or microfiber cloths designed for RV surfaces. Replace worn-out cleaning tools to avoid damage.
9. Skipping Protective Coatings
Mistake:
Failing to apply wax or UV protectant after washing leaves your RV exposed to sun damage, fading, and grime buildup.
Solution:
Apply a high-quality wax or UV protectant after drying to protect the RV’s finish and keep it looking new.
10. Washing in Direct Sunlight
Mistake:
Washing in direct sunlight causes soap and water to dry too quickly, leaving streaks and spots.
Solution:
Wash your RV in the shade or during cooler parts of the day, such as early morning or late afternoon.
Safety Precautions to Wash an RV
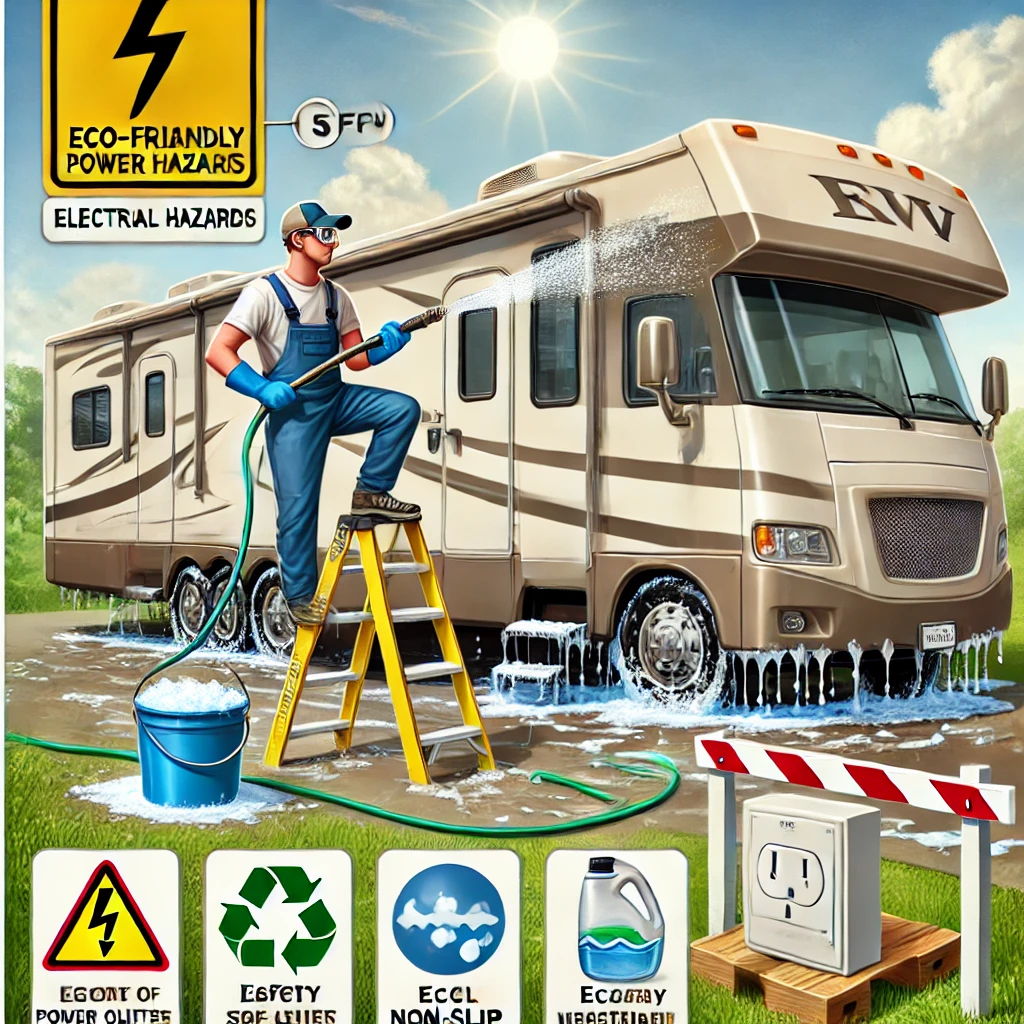
Washing your RV is an essential part of maintenance, but it’s equally important to take the necessary safety precautions to avoid accidents and protect yourself, your RV, and your environment. Whether you’re cleaning a Class A motorhome or a travel trailer, following these safety tips ensures a safe and efficient wash.
Why Safety Precautions Are Essential
RVs are large, and their roofs and surfaces can be difficult to reach, posing risks of falls, injury, and damage. Additionally, using cleaning products and equipment improperly can cause harm. Safety should always be a priority to prevent accidents and ensure the longevity of your RV.
1. Use a Stable Ladder or Scaffold
Safety Tip:
To clean high areas like the roof, always use a sturdy ladder or scaffold that’s rated for the height and weight you need to reach.
Why It’s Important:
Climbing on an unstable ladder can lead to falls, which could cause serious injury.
Solution:
- Ensure the ladder is on level ground and positioned correctly at a safe angle.
- For large RVs, consider using scaffolding for added stability.
2. Avoid Working Alone
Safety Tip:
It’s always best to have someone assist you when washing your RV, especially when using ladders or high-pressure washers.
Why It’s Important:
Having an extra pair of hands can help with safety and efficiency, especially when moving heavy equipment or if a problem arises.
Solution:
Ask a friend or family member to assist with tasks like securing the ladder, handing you supplies, or managing the hose.
3. Be Mindful of Electrical Systems
Safety Tip:
When washing the RV, avoid spraying water around electrical outlets, connections, or systems.
Why It’s Important:
Water and electricity don’t mix, and spraying electrical components can cause short circuits, damage, or even electrocution.
Solution:
- Keep the hose away from electrical connections, lights, and outlets.
- Turn off all electrical systems before cleaning.
4. Use Low Pressure on Water and Power Washers
Safety Tip:
If using a pressure washer, maintain a low pressure setting, especially around seals, windows, and decals.
Why It’s Important:
High-pressure water can damage your RV’s seals, windows, and paint.
Solution:
- Set the pressure washer to a low setting and maintain a safe distance (at least 3 feet).
- Never point the nozzle directly at seams or decals.
5. Wear Protective Gear
Safety Tip:
Wear gloves, protective eyewear, and appropriate footwear to protect yourself from chemicals, debris, and potential slips.
Why It’s Important:
Chemical cleaners can irritate the skin, and wet surfaces increase the risk of slipping.
Solution:
- Wear rubber gloves to protect your hands from harsh cleaning products.
- Use safety glasses to avoid getting soap or water in your eyes.
- Slip-resistant shoes will help prevent falls on wet surfaces.
6. Keep a Safe Distance from Hazardous Areas
Safety Tip:
When cleaning around vents, exhausts, or other potentially hazardous areas, avoid standing directly underneath.
Why It’s Important:
Water or dirt could fall from high places, potentially causing injury or discomfort.
Solution:
- Always work from the side of the RV, not directly under vents or exhaust pipes.
- Make sure the area around the RV is clear of obstructions or dangerous objects.
7. Use Environmentally Safe Cleaning Products
Safety Tip:
Opt for biodegradable and eco-friendly cleaners that are safe for both you and the environment.
Why It’s Important:
Harsh chemicals can damage your RV’s finish, irritate your skin, or harm the environment.
Solution:
- Choose RV-specific, non-toxic cleaning products that are gentle on surfaces and eco-friendly.
- Avoid using bleach or ammonia-based products that may cause damage.
8. Watch Out for Slippery Surfaces
Safety Tip:
Wet surfaces, especially after washing, can become slippery. Always proceed with caution to avoid falls.
Why It’s Important:
Slippery conditions increase the risk of losing balance and falling, leading to injury.
Solution:
- Use anti-slip mats or caution signs to alert others of wet areas.
- Always walk carefully and avoid running or rushing when washing.
9. Keep Water Away from Sensitive Areas
Safety Tip:
Avoid spraying water near sensitive areas, such as the engine, battery compartments, or vents.
Why It’s Important:
Water in these areas can cause damage, lead to rust, or compromise the performance of vital systems.
Solution:
- Cover sensitive components with tarps or plastic bags before washing.
- Be mindful of where you spray and avoid areas where water can cause damage.
more info will be available on Flamingo Motorhomes.

