Maintaining your RV fresh water tank is crucial for safe and clean water on the road. If you’re looking for a bleach-free method, there are effective alternatives to ensure your tank is sanitized and odor-free. This guide will show you step-by-step how to sanitize an RV fresh water tank without using bleach.
Why Avoid Bleach for Sanitizing RV Fresh Water Tanks?
Some RV owners prefer to avoid bleach due to its strong smell and potential to leave behind residues. Non-bleach methods can be equally effective while being environmentally friendly and safer for sensitive plumbing systems.
Alternative Methods to Sanitize RV Fresh Water Tanks
Use Vinegar to Sanitize RV Fresh Water Tank
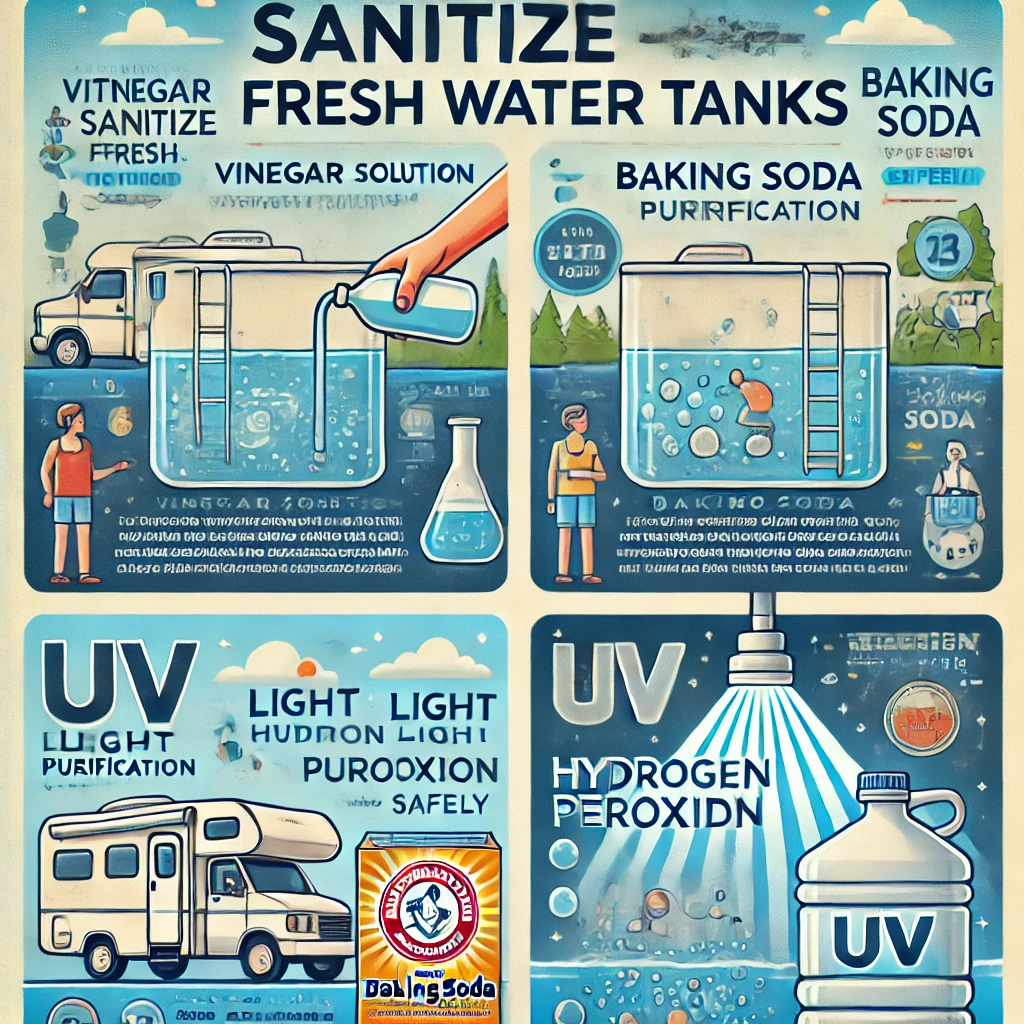
White vinegar is a natural and effective sanitizer. It’s non-toxic, readily available, and neutralizes odors. Follow these steps:
- Empty the Tank: Completely drain the fresh water tank.
- Mix Vinegar Solution: Combine one gallon of white vinegar with four gallons of water.
- Fill the Tank: Pour the solution into the fresh water tank.
- Run the System: Turn on your water pump and run faucets until the solution flows through.
- Let It Sit: Allow the solution to sit in the tank for 12-24 hours for maximum effectiveness.
- Flush the Tank: Drain and rinse the tank with clean water until the vinegar smell disappears.
Hydrogen Peroxide for RV Fresh Water Tank Sanitization
Hydrogen peroxide is another excellent alternative. It’s a strong disinfectant but gentle on your RV’s plumbing. Here’s how to use it:
- Prepare the Mixture: Mix half a cup of 3% hydrogen peroxide per 15 gallons of tank capacity.
- Add to Tank: Pour the solution into the tank.
- Circulate the Water: Run water through all faucets to sanitize the entire system.
- Wait and Flush: Let it sit for at least 4 hours, then drain and rinse thoroughly.
Use Specialized RV Tank Sanitizers
Several bleach-free tank cleaning products are available on the market. These are specifically designed for RVs and offer a convenient way to sanitize without harsh chemicals.
Tips for Maintaining a Clean RV Fresh Water Tank
- Use filtered water to minimize contaminants.
- Sanitize the tank every six months or after long periods of inactivity.
- Always rinse the tank thoroughly after sanitizing to avoid residual tastes or smells.
Methods to Sanitize RV Fresh Water Tank Without Bleach
If you’re searching for ways to sanitize your RV fresh water tank without using bleach, there are several effective methods available. These alternatives are safe, eco-friendly, and ensure your water remains clean and odor-free.
Why Choose Bleach-Free Sanitization for Your RV?
Bleach-free methods are ideal for those sensitive to chlorine or who want to avoid strong chemical odors and residues. They are gentle on your RV plumbing system and environmentally friendly while delivering excellent results.
Top Methods to Sanitize RV Fresh Water Tank Without Bleach
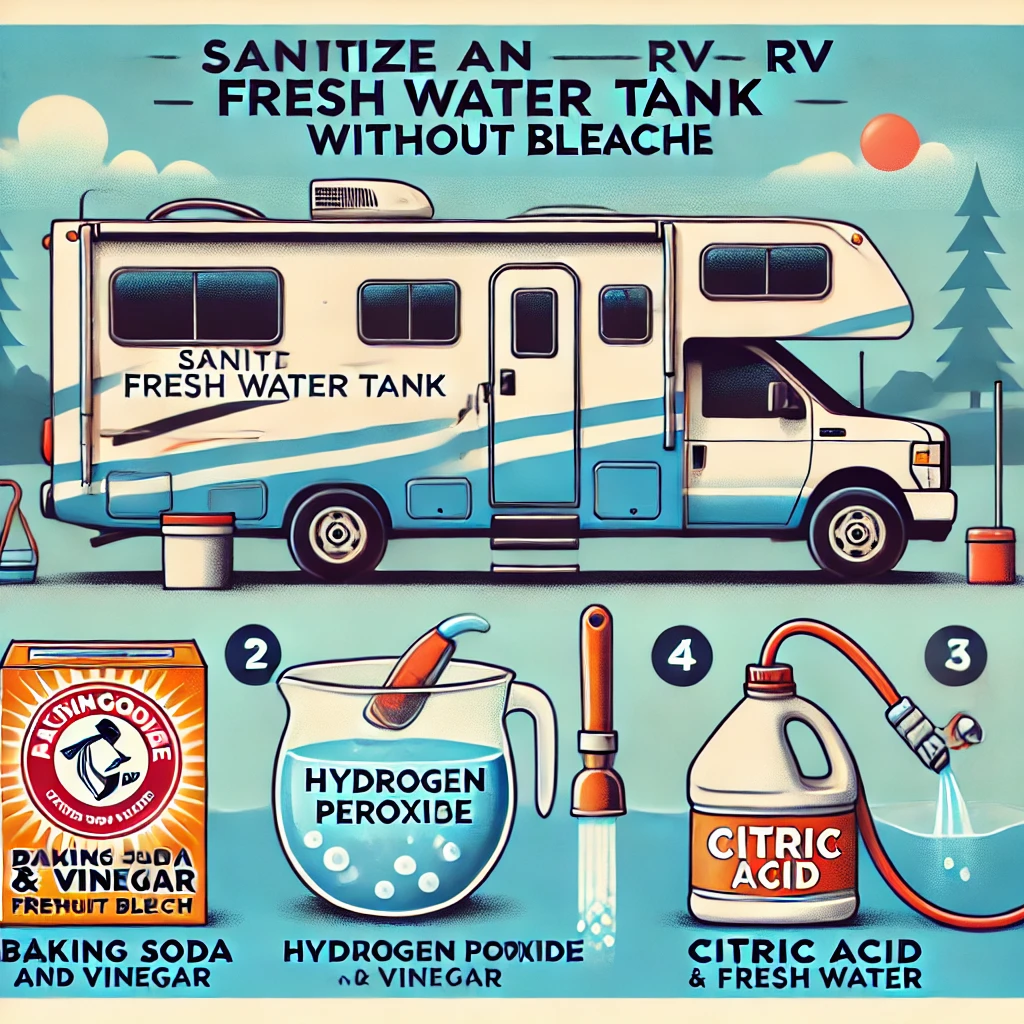
Vinegar Solution Method
White vinegar is a natural, non-toxic cleaner and disinfectant.
- Drain the Tank: Empty the fresh water tank completely.
- Prepare the Solution: Mix 1 gallon of white vinegar with 4 gallons of water.
- Fill the Tank: Add the mixture to your fresh water tank.
- Circulate the Solution: Turn on your water pump and run water through all faucets until the vinegar solution flows.
- Let It Sit: Allow the solution to remain in the tank for 12-24 hours.
- Flush the Tank: Drain and rinse thoroughly with clean water until the vinegar smell is gone.
Hydrogen Peroxide Method
Hydrogen peroxide is a powerful disinfectant and safe for use in RV water systems.
- Mix the Solution: Add ½ cup of 3% hydrogen peroxide per 15 gallons of tank capacity.
- Add to Tank: Pour the solution into the fresh water tank.
- Pump Through System: Run the solution through all water lines and faucets.
- Wait and Flush: Let it sit for at least 4 hours, then drain and rinse the tank thoroughly with clean water.
Baking Soda and Vinegar Combination
This method leverages the cleaning power of baking soda and vinegar for added effectiveness.
- Add Baking Soda: Sprinkle 1 cup of baking soda directly into the tank.
- Pour Vinegar Solution: Add a mixture of 1 gallon of vinegar and 4 gallons of water.
- Let It Fizz: The reaction helps break down residue and sanitize the tank.
- Flush the Tank: After 12 hours, drain the tank and rinse with fresh water multiple times.
Commercial RV Fresh Water Sanitizers
Many RV-specific products are available for cleaning and sanitizing without bleach. These are simple to use and effective:
- Follow the product’s instructions for mixing and application.
- Run the solution through the water system.
- Flush the tank thoroughly after sanitizing.
Maintenance Tips for a Clean Fresh Water Tank
- Always sanitize after extended storage or before the camping season.
- Use filtered water to minimize sediment buildup.
- Flush the tank regularly, even if the RV is in use.
What Is the Best Way to Disinfect a Water Tank?
Disinfecting a water tank is essential to maintaining a clean, safe water supply, whether for your RV, home, or industrial use. The best method ensures all bacteria, algae, and contaminants are effectively removed while being easy and practical to follow.
Why Is Disinfecting a Water Tank Important?
Over time, water tanks can accumulate bacteria, sediment, and biofilm. These contaminants not only affect water quality but also pose health risks. Regular disinfection ensures your water remains safe and odor-free.
Best Methods to Disinfect a Water Tank
Bleach Method – Highly Effective and Common
Bleach is widely used for its powerful disinfecting properties.
- Drain and Clean the Tank: Remove any sediment or debris.
- Mix Bleach Solution: Add 1 cup (240 ml) of unscented household bleach per 50 gallons of water.
- Fill the Tank: Add the bleach solution and top off the tank with clean water.
- Circulate the Water: Run the mixture through all taps and let it sit for 12-24 hours.
- Flush the Tank: Drain the tank completely and rinse with clean water until the bleach smell is gone.
Vinegar Method – Safe and Eco-Friendly
White vinegar is a natural alternative to bleach.
- Prepare the Solution: Mix 1 gallon of white vinegar with 4 gallons of water.
- Fill the Tank: Pour the solution into the tank and circulate it through the system.
- Soak: Let it sit for 12-24 hours to neutralize odors and kill bacteria.
- Flush Thoroughly: Rinse the tank multiple times with clean water.
Hydrogen Peroxide – Gentle Yet Effective
Hydrogen peroxide disinfects without strong chemical odors.
- Mix the Solution: Add ½ cup of 3% hydrogen peroxide per 15 gallons of tank capacity.
- Distribute the Mixture: Fill the tank with the solution and pump it through the system.
- Allow It to Sit: Wait for 4-6 hours.
- Flush with Water: Rinse the tank thoroughly to remove any residual solution.
Professional Water Tank Cleaning Products
Specialized cleaning products are available for both residential and RV tanks. These are easy to use and designed for effective sanitization.
- Follow the manufacturer’s instructions for mixing and application.
- Pump the solution through the system and let it sit for the recommended time.
- Flush and rinse the tank with fresh water.
Steps to Sanitize Your RV Fresh Water Tank Without Bleach
Keeping your RV fresh water tank sanitized is essential for safe drinking water during your travels. If you prefer a bleach-free approach, there are effective alternatives like vinegar, hydrogen peroxide, or specialized RV sanitizers. Here’s a step-by-step guide to sanitize your RV fresh water tank without bleach.
Why Sanitize Your RV Fresh Water Tank Without Bleach?
Bleach-free sanitization avoids the strong smell, chemical residue, and potential damage to sensitive plumbing. Natural alternatives are safe, eco-friendly, and just as effective when used correctly.
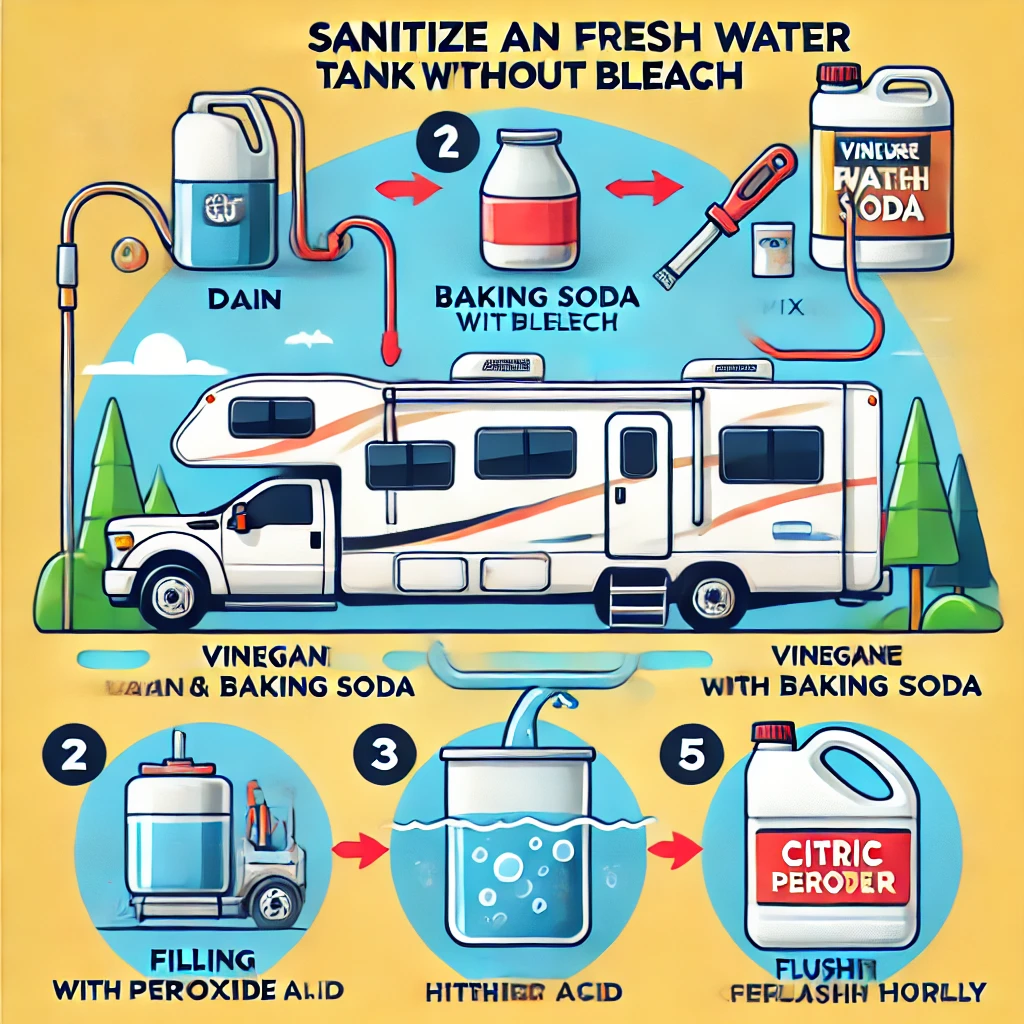
Steps to Sanitize an RV Fresh Water Tank Without Bleach
1 – Drain the Fresh Water Tank
- Turn off the water pump.
- Open the tank drain valve to empty the tank completely.
- Flush out any sediment by briefly running clean water through the system.
2 – Choose a Bleach-Free Sanitizer
Here are popular alternatives:
- White Vinegar: Use 1 gallon of vinegar for every 4 gallons of water.
- Hydrogen Peroxide: Use ½ cup of 3% hydrogen peroxide per 15 gallons of water.
- RV Tank Sanitizer: Follow the manufacturer’s instructions for the right amount to use.
3 – Mix and Add the Solution
- Prepare the chosen sanitizing solution.
- Pour the solution into the fresh water tank using a funnel to avoid spills.
4 – Fill the Tank with Water
- Fill the tank to capacity with clean water to distribute the sanitizer evenly.
5 – Circulate the Solution Through the System
- Turn on the water pump.
- Open all faucets (hot and cold) until the sanitizing solution flows through, ensuring the entire system is treated.
6 – Let It Sit
- Allow the solution to sit in the tank for 12-24 hours to effectively disinfect.
7 – Drain and Flush the Tank
- Drain the tank completely.
- Refill with clean water and flush all faucets until there is no trace of the sanitizing solution or odor.
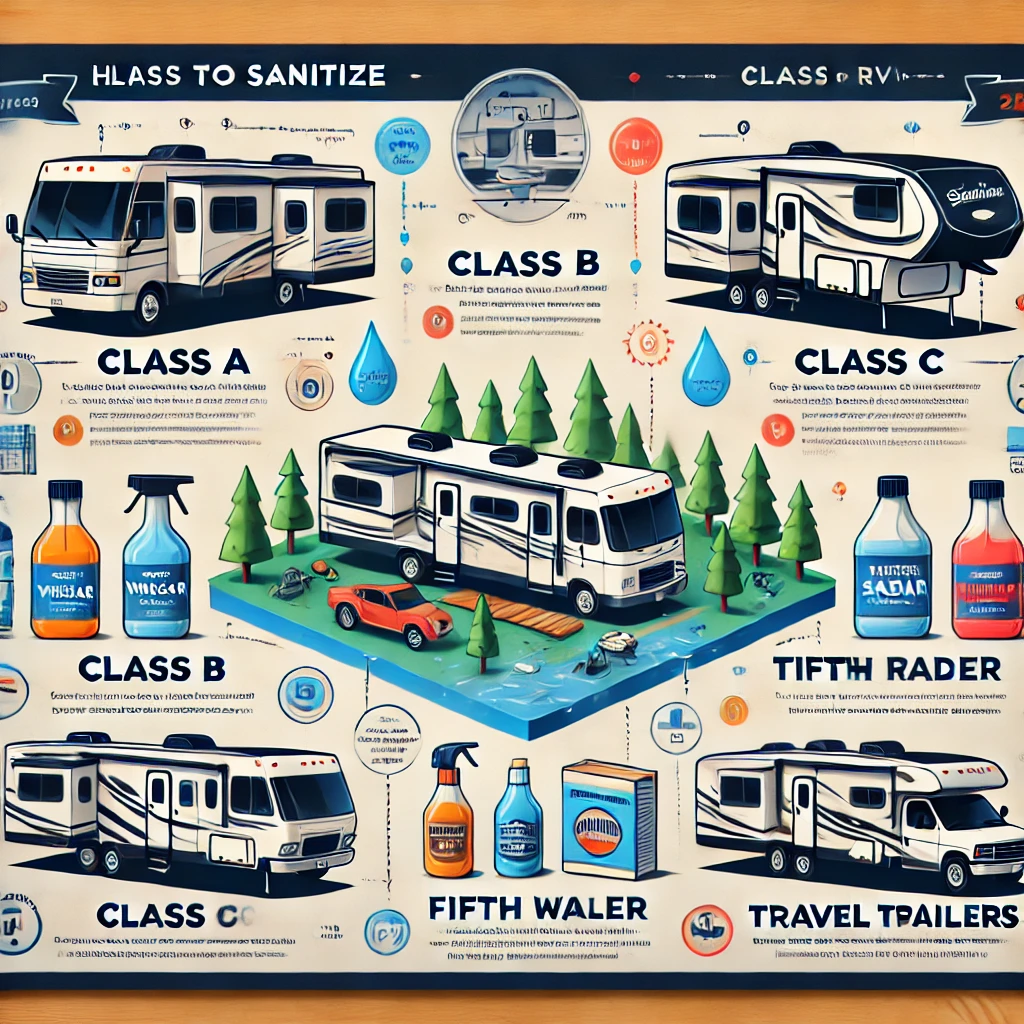
How to Sanitize Different Classes of RVs
Sanitizing your RV’s fresh water tank is essential for ensuring safe water during your travels. Whether you own a Class A, B, C, or other type of RV, the process is largely similar, but there are slight nuances based on the size and water systems of each class. Here’s how to sanitize different classes of RVs effectively.
Why Sanitizing Your RV Fresh Water Tank Matters
Over time, bacteria, algae, and sediments can accumulate in the water system, compromising the safety and quality of your water. Regular sanitization is essential to maintain clean, odor-free water, no matter the class of RV you own.
General Sanitization Steps for All RV Classes
- Drain the Tank: Begin by emptying your fresh water tank and flushing out any sediment.
- Prepare the Sanitizing Solution: Depending on your preference, use bleach, vinegar, or hydrogen peroxide.
- Add the Solution: Pour the sanitizer into your fresh water tank using a funnel.
- Circulate the Water: Run the sanitizing solution through all faucets, showers, and appliances connected to the water system.
- Let It Sit: Allow the solution to sit in the tank for 12-24 hours.
- Flush Thoroughly: Drain the tank and rinse it multiple times with clean water until there’s no residue or odor.
Specific Considerations for Different RV Classes
Sanitizing a Class A Motorhome Fresh Water Tank
Class A motorhomes typically have larger water tanks (up to 100 gallons or more).
- Use proportionally more sanitizing solution.
- Check and sanitize additional water lines leading to appliances like dishwashers or ice makers.
- Inspect all tank fittings for leaks during sanitization.
Sanitizing a Class B Camper Van Fresh Water Tank
Class B camper vans have smaller tanks (10-30 gallons), making them easier to sanitize.
- Use smaller quantities of sanitizing solution.
- Run water through faucets in compact living spaces to ensure full circulation.
- For portable or removable tanks, sanitize them separately.
Sanitizing a Class C Motorhome Fresh Water Tank
Class C RVs fall between Class A and B in size, with tanks averaging 30-50 gallons.
- Use medium quantities of the sanitizer.
- Focus on shower and kitchen faucets, as these are the most frequently used water points.
- Sanitize grey water tanks occasionally to prevent cross-contamination.
Sanitizing a Fifth-Wheel or Travel Trailer Fresh Water Tank
These RVs often have tanks comparable to Class C motorhomes.
- Add sanitizing solution directly to the gravity-fill opening or city water connection.
- Flush the pump and any external hose attachments as part of the process.
Tips for All RV Classes
- Always sanitize the fresh water system at the start and end of the camping season.
- If the RV has been unused for more than two weeks, sanitize the tank before your next trip.
- Consider using a water filter to reduce sediment and contaminants entering the system.
Common Mistakes When Sanitizing an RV Fresh Water Tank and How to Solve Them
Sanitizing your RV fresh water tank is crucial for ensuring clean, safe water during your travels. However, many RV owners make common mistakes during the process, which can compromise the effectiveness of the sanitization or cause other issues. Here’s a list of these mistakes and practical solutions to fix or avoid them.
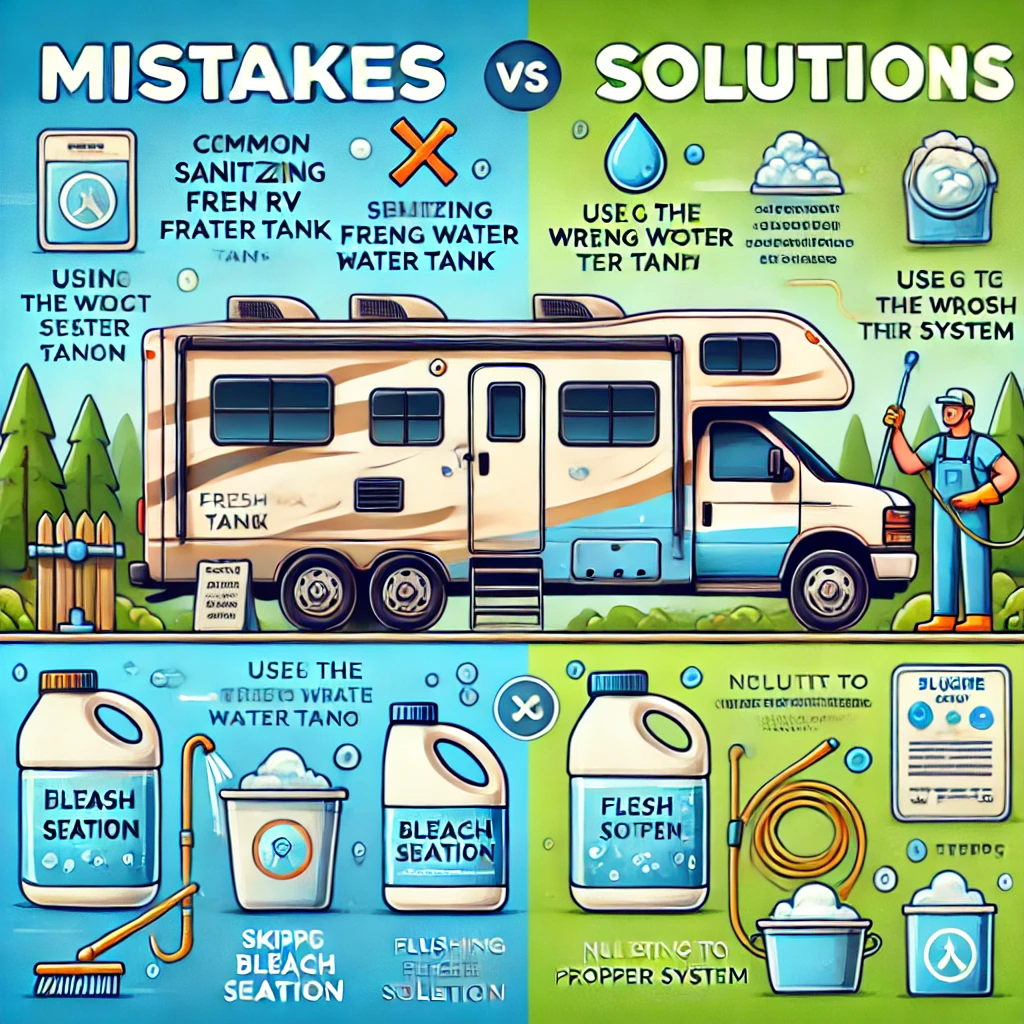
Common Mistakes When Sanitizing an RV Fresh Water Tank
1. Using Too Much Sanitizer
Overloading the tank with bleach, vinegar, or other sanitizers can damage your plumbing and leave behind strong odors or tastes.
Solution:
- Use the correct proportions. For bleach, add 1 cup (240 ml) per 50 gallons of water. Adjust proportions similarly for vinegar or hydrogen peroxide.
2. Not Allowing Enough Contact Time
Some RV owners drain and flush the tank too quickly, not allowing the sanitizing solution enough time to kill bacteria.
Solution:
- Let the solution sit in the tank and lines for at least 12-24 hours for maximum effectiveness.
3. Inadequate Flushing After Sanitizing
Residual sanitizer left in the tank can lead to unpleasant smells or tastes in the water.
Solution:
- Thoroughly flush the tank with clean water multiple times until all traces of the sanitizer are gone.
4. Forgetting to Sanitize the Entire System
Some people only sanitize the tank, neglecting water lines, faucets, and appliances like ice makers or water heaters.
Solution:
- Run the sanitizing solution through all water lines and fixtures. Don’t forget to include external hoses or filters.
5. Sanitizing Too Infrequently
Waiting too long between cleanings allows bacteria and algae to build up, making it harder to sanitize effectively.
Solution:
- Sanitize the tank every 6 months or before the start of the camping season. Also, sanitize after long periods of non-use.
6. Skipping the Initial Flush
Failing to drain and flush the tank before adding the sanitizing solution reduces its effectiveness, as sediment or stagnant water may remain.
Solution:
- Always empty and rinse the tank before starting the sanitization process
7. Using Non-Food-Grade Cleaning Products
Some RV owners mistakenly use cleaning products that aren’t safe for potable water systems, potentially causing health hazards.
Solution:
- Only use food-grade cleaning products or natural alternatives like white vinegar or hydrogen peroxide.
8. Overlooking the Water Heater
If the water heater is not drained and sanitized, it can contaminate the entire water system.
Solution:
- Turn off the water heater, drain it, and allow the sanitizing solution to flow through it. Flush thoroughly before refilling.
Tips to Avoid Common Mistakes
- Follow manufacturer recommendations for your RV’s fresh water system.
- Use filtered water to minimize sediment buildup.
- Keep track of your sanitization schedule to maintain consistency.
- Inspect hoses and fittings for leaks or wear during the process.
Safety Precautions When Sanitizing an RV Fresh Water Tank
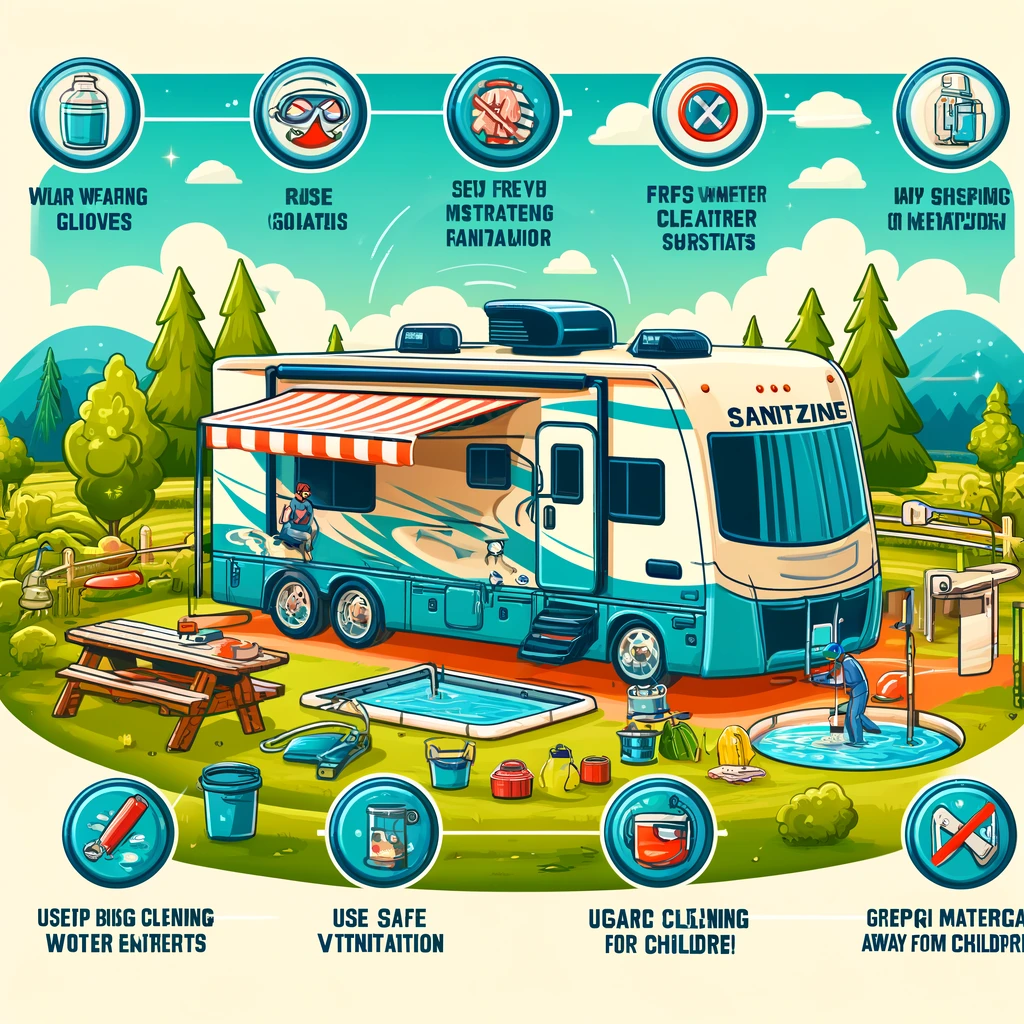
Sanitizing your RV fresh water tank is vital for maintaining a safe and clean water supply. However, the process involves handling chemicals or natural solutions and working with your RV’s plumbing system, which can pose risks if not done correctly. Following safety precautions is essential to protect yourself, your RV, and your water system.
Why Are Safety Precautions Important?
Sanitizing solutions like bleach, vinegar, or hydrogen peroxide are effective but require careful handling to avoid accidents, damage to the RV, or contamination. Proper safety measures also ensure the process is efficient and problem-free.
Safety Precautions for Sanitizing an RV Fresh Water Tank
1. Use the Right Protective Gear
Handling sanitizers, especially bleach, can irritate skin, eyes, or respiratory systems.
Tips:
- Wear rubber gloves to protect your hands.
- Use safety goggles if you’re pouring bleach or similar solutions.
- Work in a well-ventilated area or outdoors to avoid inhaling fumes.
2. Measure Sanitizers Correctly
Using too much bleach, vinegar, or hydrogen peroxide can damage plumbing or leave strong odors and tastes in the water.
Tips:
- Follow precise proportions for your tank size (e.g., 1 cup of bleach per 50 gallons of water).
- Use measuring tools like cups or funnels to avoid spills.
3. Avoid Mixing Chemicals
Mixing sanitizing agents, such as bleach and vinegar, can create harmful gases or reduce effectiveness.
Tips:
- Use only one sanitizing agent at a time.
- Flush the tank thoroughly if switching between different solutions.
4. Turn Off Appliances and Water Heater
Leaving appliances or the water heater on during sanitization can damage them or create hazards.
Tips:
- Turn off the water heater and let it cool before draining or filling.
- Disconnect water filters and ice makers to prevent contamination.
5. Prevent Cross-Contamination
External hoses, fittings, and equipment can introduce bacteria into the system during sanitization.
Tips:
- Sanitize hoses and external equipment alongside the fresh water tank.
- Use food-grade hoses and fittings for clean water systems.
6. Avoid Overfilling or Overpressurizing the System
Filling the tank too quickly or under high pressure can damage plumbing or valves.
Tips:
- Fill the tank slowly and monitor water levels.
- Check pressure gauges if your RV has them.
7. Dispose of Wastewater Properly
Sanitizing solutions drained from the tank can be harmful to the environment if not disposed of correctly.
Tips:
- Empty tanks at designated dump stations.
- Avoid draining bleach or chemicals into storm drains or natural waterways.
Post-Sanitization Safety Steps
- Flush Thoroughly: Ensure all sanitizer is rinsed out to avoid odors, tastes, or health risks.
- Inspect for Leaks: Check connections, valves, and fittings for leaks after the process.
- Test the Water: Run a taste and smell test to confirm no sanitizer remains in the system.
Conclusion
Following these safety precautions when sanitizing your RV fresh water tank ensures the process is effective and hazard-free. By handling sanitizers carefully, avoiding cross-contamination, and disposing of waste properly, you’ll protect yourself, your RV, and the environment while maintaining a clean water supply.
More related info will be available on Flamingo Motorhomes.

