Sanitizing your motorhome water tank is essential to ensure safe drinking water and prevent bacterial growth, mold, and contamination. Without regular sanitization, your water tank can harbor harmful bacteria and lead to unpleasant odors and even health risks. This guide provides a detailed, step-by-step process to sanitize your motorhome water tank, including comparisons to what happens if sanitization is neglected.
Importance of Sanitizing the Water Tank
Regularly sanitizing your motorhome’s water tank:
- Prevents bacterial growth: Standing water can lead to bacteria, algae, and mold, affecting water quality.
- Ensures safe drinking water: Clean water is essential for drinking, cooking, and washing.
- Improves taste and smell: Proper sanitization reduces any off-putting tastes or odors.
In contrast, not sanitizing can lead to poor water quality, health risks, and an unpleasant experience.
Step 1: Gather Supplies and Prepare
Essential Supplies
To sanitize your motorhome water tank, gather the following:
- Unscented bleach (5.25% chlorine concentration, commonly used for disinfection)
- Measuring cup (to measure bleach)
- Clean bucket (for mixing bleach solution)
- Fresh water hose (preferably food-grade)
- Gloves (to protect hands from bleach)
Step 2: Drain the Water Tank and System
Before adding bleach, fully drain the water tank and plumbing system.
- Turn off the water heater: This prevents accidental heating of the bleach solution, which can damage the system.
- Open all faucets and the drain valve: Allow any remaining water to flow out. This step ensures no diluted bleach will mix with old water, which could compromise effectiveness.

Comparison: Non-Sanitized Tank
When water remains in a tank without frequent draining, bacteria and algae may grow. This stagnant water can develop an odor and may contain harmful contaminants.
Step 3: Mix and Add the Bleach Solution
Calculating the Correct Amount of Bleach
Use 1/4 cup of bleach per 15 gallons of water tank capacity. For example:
- A 60-gallon tank needs 1 cup of bleach.
- A 30-gallon tank requires 1/2 cup of bleach.
- Dilute bleach in a clean bucket: Fill a bucket with fresh water, add the measured bleach, and mix thoroughly.
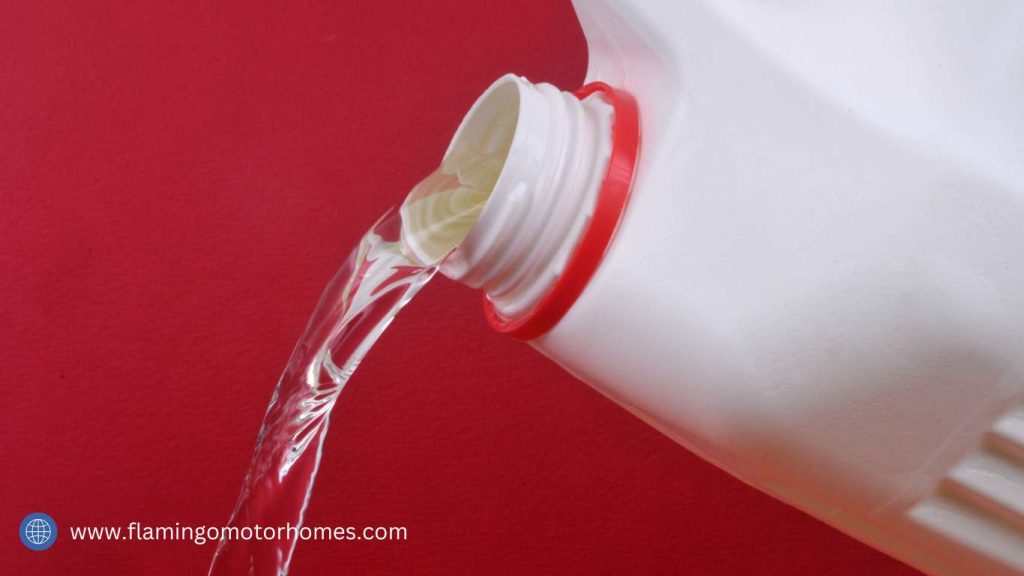
- Add solution to the water tank: Pour the diluted bleach into the fresh water tank, ensuring the solution will circulate evenly.

Step 4: Fill the Tank with Freshwater
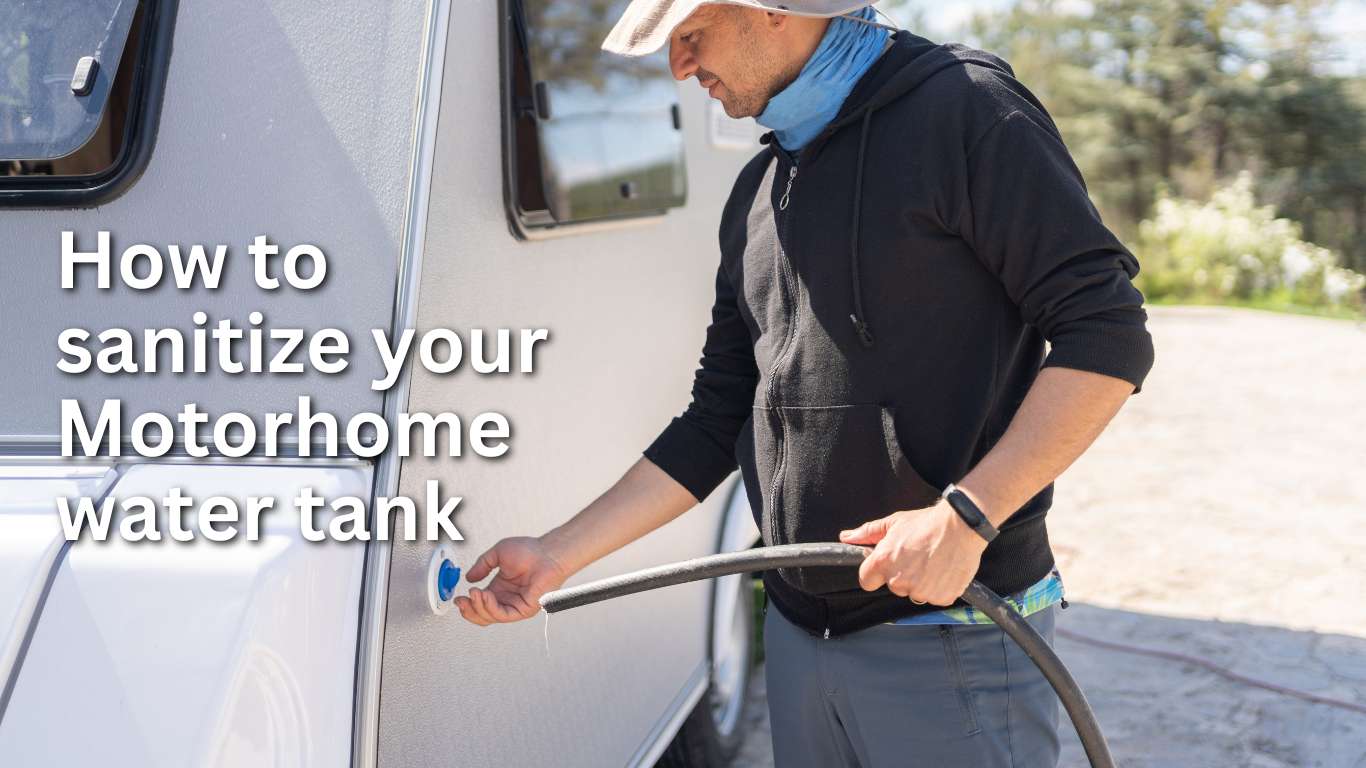
Once the bleach solution is added, fill the tank with freshwater to spread the bleach throughout the entire tank.
Example of Proper Bleach Circulation
Filling the tank helps distribute the bleach evenly, sanitizing every corner of the tank and reaching areas that may harbor hidden contaminants.
Step 5: Circulate the Solution Through the Plumbing
- Turn on all faucets (both hot and cold): Run water until you detect a bleach smell from each faucet.
- Turn off faucets once bleach smell is present: This ensures the solution has filled all pipes, faucets, and valves, effectively sanitizing the entire water system.
Comparison: Infrequent Circulation
Without circulating a sanitizing solution, bacteria can develop within the pipes and faucets. Left untreated, contaminants can build up in pipes, creating potential health risks each time you turn on a faucet.
Step 6: Allow the Solution to Sit and Sanitize
Let the bleach solution sit in the water tank and plumbing system for 8-12 hours to kill bacteria, mold, and algae.
- Overnight soak: Letting the solution sit overnight is ideal if your travel schedule allows.
- Avoid water use during this time: Do not drink or use the water in the system until it’s thoroughly rinsed.
Comparison: Short Soak Time
Allowing too short of a soak time may not fully sanitize the system. Proper contact time is crucial for the bleach to work effectively and kill all contaminants.
Step 7: Drain and Rinse the Tank
- Drain the bleach solution completely: Open all faucets and the drain valve to remove all bleach water from the system.
- Refill the tank with freshwater: Fill the tank once again with fresh water, and run the faucets until the bleach smell disappears. Repeat this process until no bleach odor remains.
Example of Proper Rinsing
Rinsing thoroughly prevents any bleach from remaining in the water tank, ensuring no lingering bleach taste or odor.
Step 8: Optional Testing for Residual Bacteria
Using a Water Testing Kit
For extra assurance, you can use a water testing kit to confirm that the water is safe and bacteria-free. Testing kits can identify any remaining bacteria or contaminants in the water.
Maintaining a Clean Water Tank
- Use a food-grade hose for refilling: This prevents contaminants from entering the tank.
- Drain the water system during long-term storage: Leaving water stagnant over time encourages bacterial growth.
- Consider water filters: If your motorhome has water filters, change them regularly to ensure clean water flow.
Sanitizing your motorhome water tank regularly is key to maintaining safe, clean water on the road. By following these steps, you can enjoy fresh water while avoiding bacteria buildup and health risks associated with a non-sanitized system. Proper sanitization not only preserves the quality of your water but also ensures a safe and pleasant travel experience.
there are alternative methods to sanitize a motorhome water tank besides the bleach method:
1. White Vinegar Method
- Process: Mix one part white vinegar with four parts water, filling the tank with this solution. Let it sit for a few hours, then run the solution through all faucets before draining and rinsing thoroughly with fresh water.
- Pros: Vinegar is a natural disinfectant and leaves no chemical residue.
- Cons: Less effective against certain bacteria than bleach.
2. Hydrogen Peroxide Method
- Process: Add a 3% hydrogen peroxide solution to the tank (about 1-2 cups per 15 gallons), fill with water, and let sit for several hours. Drain and rinse with clean water.
- Pros: Hydrogen peroxide sanitizes effectively and leaves no chemical aftertaste.
- Cons: May not eliminate all types of bacteria as effectively as bleach.
3. Commercial RV Sanitizing Solutions
- Process: These ready-made sanitizers, available in RV supply stores, are specifically designed to clean water tanks. Follow the manufacturer’s instructions for dosage and procedure.
- Pros: Convenient and made for RV use; generally effective and safe for tank materials.
- Cons: Often more expensive than household products like bleach or vinegar.
Each method has its strengths depending on personal preferences, water tank usage, and required sanitization level.
Why Bleach is Better than others?
The bleach method is often considered the most effective for sanitizing motorhome water tanks because:
- Powerful Disinfection: Bleach kills a broad range of bacteria, viruses, and fungi, ensuring the highest level of disinfection compared to other methods.
- Established Safety: Using diluted bleach is an industry-standard practice for water treatment, and proper rinsing eliminates chemical residue.
- Affordable and Accessible: Bleach is inexpensive and widely available, making it a convenient choice for RV owners.
- Effective for All Water Types: Bleach works well even in hard water, while alternatives like vinegar may struggle in these conditions.
The bleach method is generally more effective than boiling for sanitizing motorhome water tanks because:
In the bleach sanitization process, the primary chemical used is sodium hypochlorite (found in household bleach), which is a powerful disinfectant effective against bacteria, viruses, and mold. When diluted with water, sodium hypochlorite releases hypochlorous acid, which penetrates and kills microorganisms by disrupting their cell membranes.
Some other commercial bleach solutions may include and is considered key phase to sanitize motorhome water tank:
- Sodium chloride (salt), to stabilize the solution.
- Sodium hydroxide, used to balance pH levels and prolong shelf life.
For RV tank sanitization, it’s recommended to use unscented household bleach with around 5.25% sodium hypochlorite.
- Coverage Across the System: Bleach can be easily circulated through the entire plumbing system, including pipes and faucets, which boiling cannot achieve.
- Efficiency: Boiling large amounts of water needed for a motorhome tank is impractical and energy-intensive, while bleach sanitizes effectively in minutes with minimal energy use.
- Broad Germicidal Action: Bleach kills a wide range of pathogens at low concentrations, whereas boiling only kills bacteria in the immediate water, not throughout the plumbing system.
Find out more informative guides, you can visit our website FlamingoMotor Homes.

