Resealing your RV roof is a key maintenance task that protects your investment from water damage and extends its lifespan. Follow these simple steps to reseal your RV roof effectively and ensure it’s ready for all your adventures.
Why Resealing Your RV Roof Matters
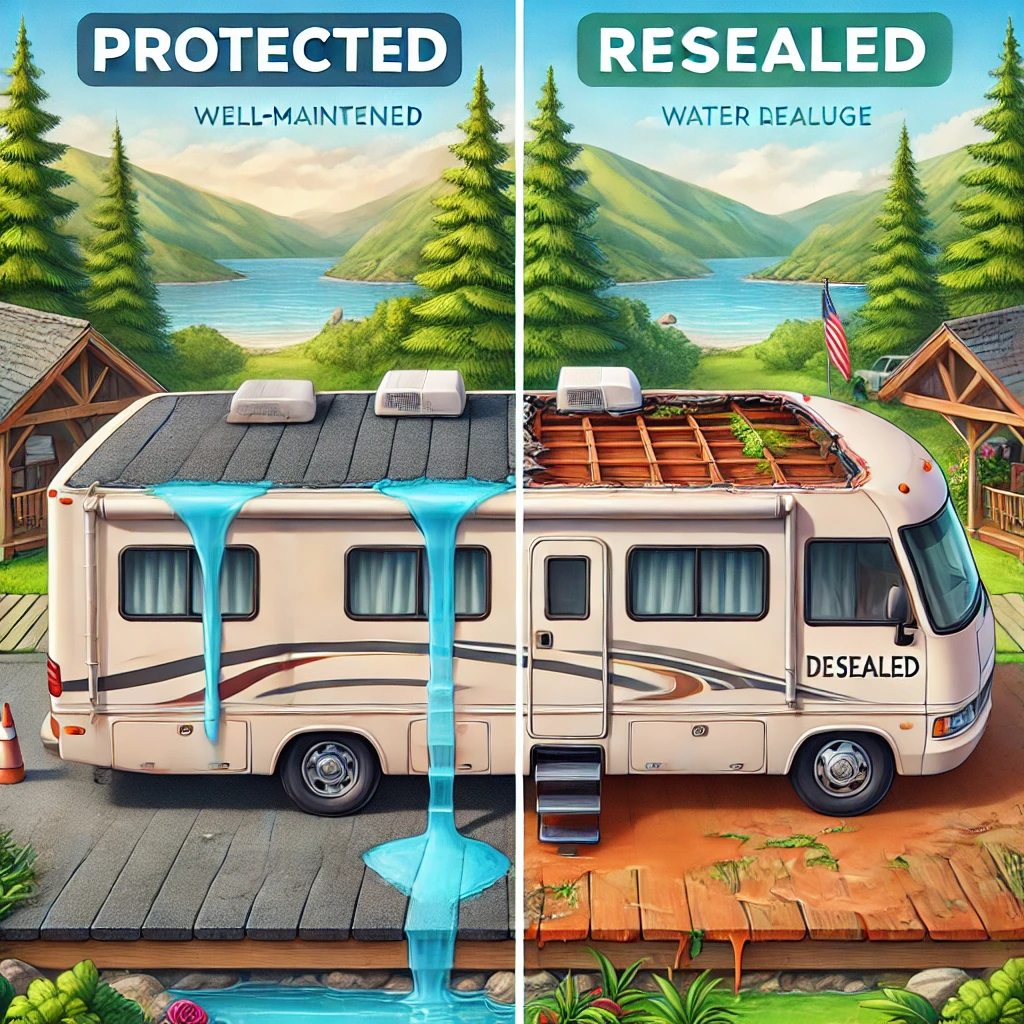
Over time, exposure to the elements causes your RV roof sealant to crack, peel, or deteriorate. Resealing prevents water leaks, mold, and structural damage, keeping your RV in excellent condition. Regular inspections and resealing every 1–2 years can save you from costly repairs.
Tools and Materials Needed
Before starting, gather the following items:
- RV roof cleaner and scrub brush
- Sealant (compatible with your roof type)
- Caulking gun or applicator
- Plastic scraper or putty knife
- EternaBond tape (optional for seams and patches)
- Ladder and safety gear
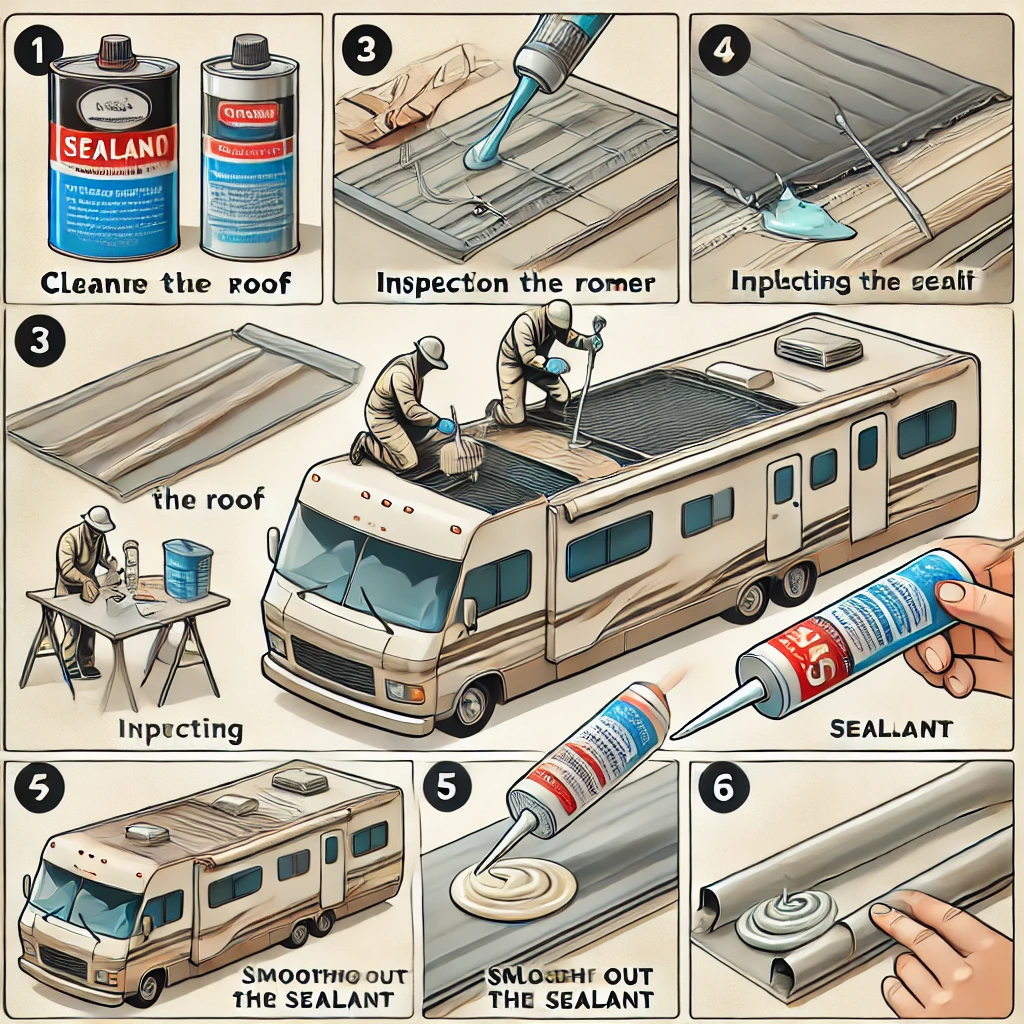
Step-by-Step Guide to Reseal an RV Roof
- Inspect the Roof
- Look for cracks, peeling sealant, and damaged areas.
- Pay close attention to seams, vents, skylights, and edges.
- Clean the Roof
- Use an RV roof cleaner to remove dirt, debris, and old sealant residue.
- Allow the roof to dry completely before applying new sealant.
- Remove Old Sealant
- Gently scrape away loose or peeling sealant with a plastic scraper.
- Avoid damaging the roof material underneath.
- Apply New Sealant
- Use a high-quality RV-specific sealant like Dicor Lap Sealant or Sikaflex.
- Apply the sealant evenly along seams, vents, and other areas that need resealing.
- For larger repairs, consider using EternaBond tape for a long-lasting seal.
- Smooth the Sealant
- Use a caulking tool or your finger to smooth out the sealant for an even finish.
- This ensures better adhesion and prevents air bubbles.
- Allow Proper Curing Time
- Follow the manufacturer’s instructions for drying and curing.
- Avoid driving or exposing the roof to rain during this period.
Tips for Best Results
- Choose the Right Sealant: Ensure it’s compatible with your roof material (rubber, fiberglass, or metal).
- Work in Ideal Weather: Dry, sunny conditions help the sealant cure properly.
- Inspect Regularly: Check your roof twice a year to catch issues early.
Why Do We Need to Reseal an RV?
Owning an RV is a fantastic way to explore the outdoors, but maintaining it is essential for long-term enjoyment. One of the most critical maintenance tasks is resealing your RV. Over time, seals can deteriorate, leading to water leaks, structural damage, and costly repairs. Resealing your RV ensures its longevity, protects its interior, and keeps your adventures worry-free.
The Importance of Resealing an RV
RV seals play a vital role in preventing water intrusion. Exposure to the elements, temperature fluctuations, and regular wear can weaken these seals. Without proper resealing:
- Water damage can cause mold and rot.
- Structural integrity may be compromised.
- Resale value of your RV could decline.
By resealing, you maintain a secure barrier against weather and prolong your RV’s lifespan.
How Often Should You Reseal Your RV?
Knowing when to reseal is key. Regular inspections and timely resealing are recommended:
- Inspect annually for cracks, gaps, or peeling.
- Reseal every 1-2 years based on usage and exposure.
- Spot-reseal problem areas immediately to avoid extensive damage.
Staying proactive helps prevent minor issues from turning into costly repairs.
Steps to Reseal an RV Properly
To reseal your RV effectively, follow these steps:
- Clean the surface: Remove dirt, grime, and old sealant.
- Inspect thoroughly: Check windows, doors, roof edges, and seams.
- Apply RV-specific sealant: Use a high-quality product designed for your RV material.
- Let it cure: Allow the sealant to set according to manufacturer instructions.
Always use products compatible with your RV’s construction for the best results.
How Often Should an RV Roof Be Resealed?
Regular roof maintenance is crucial for extending the lifespan of your RV and preventing costly water damage. An RV roof should be resealed every 1 to 2 years, depending on its type, usage, and exposure to the elements. Proper resealing protects your RV from leaks, mold, and structural damage, ensuring your adventures remain stress-free.
Factors Affecting How Often to Reseal an RV Roof
Several factors determine the frequency of resealing your RV roof:
- Roof Material
- Rubber (EPDM/TPO): Requires resealing every 1 to 2 years to maintain flexibility and prevent cracks.
- Fiberglass: Typically more durable but still benefits from annual inspections and spot resealing.
- Metal: Requires regular resealing at seams and joints due to expansion and contraction.
- Climate and Exposure
- Prolonged exposure to UV rays, rain, and snow accelerates sealant deterioration.
- Usage
- Frequent travelers may need resealing more often than seasonal RVers.
Signs Your RV Roof Needs Resealing
Inspect your RV roof regularly and look for these warning signs:
- Cracked or peeling sealant along seams or edges.
- Discoloration or bubbling on the roof’s surface.
- Soft spots or water stains inside the RV.
- Leaks during rainstorms.
Address these issues promptly to avoid significant damage.
How to Properly Reseal an RV Roof
Follow these steps to reseal your RV roof:
- Clean the roof: Remove dirt and debris for a smooth application.
- Inspect thoroughly: Check seams, vents, and edges for wear.
- Apply the right sealant: Use a sealant compatible with your roof material.
- Allow time to cure: Follow manufacturer instructions for drying time.
Regular resealing extends your roof’s lifespan and ensures a leak-free RV.
How Much Does It Cost to Reseal an RV Roof?
Resealing an RV roof is a vital maintenance task that protects your vehicle from leaks and costly damage. The cost to reseal an RV roof typically ranges from $300 to $1,000, depending on factors like the roof’s size, material, and whether you hire a professional or do it yourself.
Factors Affecting the Cost of Resealing an RV Roof
The total cost can vary based on:
- Roof Material
- Rubber (EPDM/TPO): Requires specialized sealants and typically costs $300–$500 for DIY.
- Fiberglass: Costs more, around $500–$1,000, due to the materials and labor involved.
- Metal: May cost $400–$800, depending on the extent of resealing needed.
- Size of the Roof
Larger RVs require more sealant, increasing material and labor costs. - DIY vs. Professional Service
- DIY Resealing: Costs $100–$400 for materials like sealant, tools, and cleaning supplies.
- Professional Resealing: Typically costs $800–$1,000, including labor and materials.
- Condition of the Roof
If repairs are needed before resealing, costs can rise significantly.
Breakdown of DIY Resealing Costs
Here’s what you can expect to spend on materials for DIY resealing:
- RV Sealant: $50–$200, depending on the brand and type.
- Cleaning Supplies: $20–$50 for cleaners and brushes.
- Tools: $30–$100 for caulking guns and applicators.
DIY can save money but requires time and effort to ensure proper application.
Is Professional Resealing Worth It?
While DIY saves money, hiring a professional ensures:
- Thorough inspections for hidden damage.
- Expert application for long-lasting protection.
- Time savings for RV owners with busy schedules.
What Is the Best Sealant for an RV Roof?
Choosing the best sealant for an RV roof is crucial for preventing leaks and protecting your investment. The best sealant depends on your roof material, but products designed specifically for RVs, such as Dicor Lap Sealant and EternaBond Tape, consistently rank as top choices for durability and performance.
Best Sealants for Different RV Roof Materials
- Rubber Roofs (EPDM or TPO)
- Dicor Lap Sealant: A self-leveling sealant perfect for edges, vents, and seams. It adheres well to EPDM and TPO roofs, creating a watertight seal.
- Heng’s Rubber Roof Coating: Offers UV protection and flexibility for rubber roofs.
- Fiberglass Roofs
- 3M Marine Adhesive Sealant 5200: Ideal for fiberglass roofs, providing a strong, waterproof bond.
- Sikaflex-221: A high-performance sealant that works well on fiberglass and other RV surfaces.
- Metal Roofs
- EternaBond Tape: Known for its long-lasting seal, this tape is easy to apply on metal roof seams and patches.
- Geocel ProFlex RV Sealant: Flexible and effective on metal surfaces.
Key Features to Look for in RV Roof Sealants
When choosing a sealant, consider the following:
- Compatibility: Ensure the sealant is suitable for your roof material.
- UV Resistance: Protects against sun damage and prolongs sealant life.
- Flexibility: Accommodates temperature changes without cracking.
- Ease of Application: Self-leveling or tape options are user-friendly for DIYers.
Why Dicor and EternaBond Are Popular Choices
- Dicor Lap Sealant:
- Easy to apply.
- UV-resistant and flexible.
- Ideal for sealing around vents, skylights, and seams.
- EternaBond Tape:
- Creates a permanent seal.
- Works on various roof types.
- Great for quick repairs and long-term protection.
Tips for Applying RV Roof Sealant
- Clean the Roof: Remove dirt and debris for better adhesion.
- Inspect Seams and Joints: Identify areas needing resealing.
- Apply Evenly: Follow the manufacturer’s instructions for a smooth, watertight seal.
- Allow Proper Curing Time: Let the sealant dry completely before use.
Can I Reseal My Own RV Roof, or Do I Need a Professional?
Resealing your RV roof is a vital maintenance task that you can handle yourself with the right tools and knowledge. However, some situations might require professional assistance. The decision depends on your confidence, skill level, and the condition of your RV roof.
When You Can Reseal Your Own RV Roof
Resealing your RV roof yourself is a cost-effective option, especially for minor maintenance. You can DIY if:
- The roof is in good condition: Only minor cracks or peeling sealant need attention.
- You have the right tools: Sealant, a cleaning kit, and safety gear are essential.
- You’re comfortable with heights: RV roofs require careful navigation.
- You follow instructions: Using the right sealant for your roof material is crucial.
Advantages of DIY Resealing
- Cost Savings
- DIY resealing typically costs between $100–$400, much less than hiring a professional.
- Control Over Maintenance
- You can address problem areas promptly without waiting for an appointment.
- Satisfaction
- Many RV owners enjoy taking care of their vehicles personally.
When You Need a Professional
Consider hiring a professional if:
- The damage is extensive: Water leaks, soft spots, or major roof repairs may require expert attention.
- You lack experience: Proper application of sealant can be challenging for beginners.
- Time is a constraint: Professionals can reseal faster, saving you time.
- Safety is a concern: Climbing on an RV roof can be risky if you’re not confident.
Cost of Professional Resealing
Professional resealing services range from $800 to $1,000, depending on your RV’s size and the roof’s condition. While pricier than DIY, the benefits include:
- Thorough inspections to spot hidden issues.
- High-quality application for long-lasting results.
- Warranty coverage for added peace of mind.
Tips for DIY Success
If you decide to reseal your own RV roof, follow these steps:
- Clean the roof: Remove debris and old sealant.
- Inspect thoroughly: Identify cracks, gaps, or peeling areas.
- Choose the right sealant: Ensure compatibility with your roof material.
- Apply evenly: Use self-leveling sealants or EternaBond tape for seamless results.
- Allow curing time: Follow the manufacturer’s instructions for drying.
How to Reseal Different Classes of RVs
Resealing your RV is essential to prevent leaks, protect against water damage, and maintain its longevity. However, different classes of RVs (Class A, Class B, Class C, fifth wheels, and travel trailers) have unique construction and roof materials that require slightly different approaches. Here’s a guide to resealing the most common types of RVs.
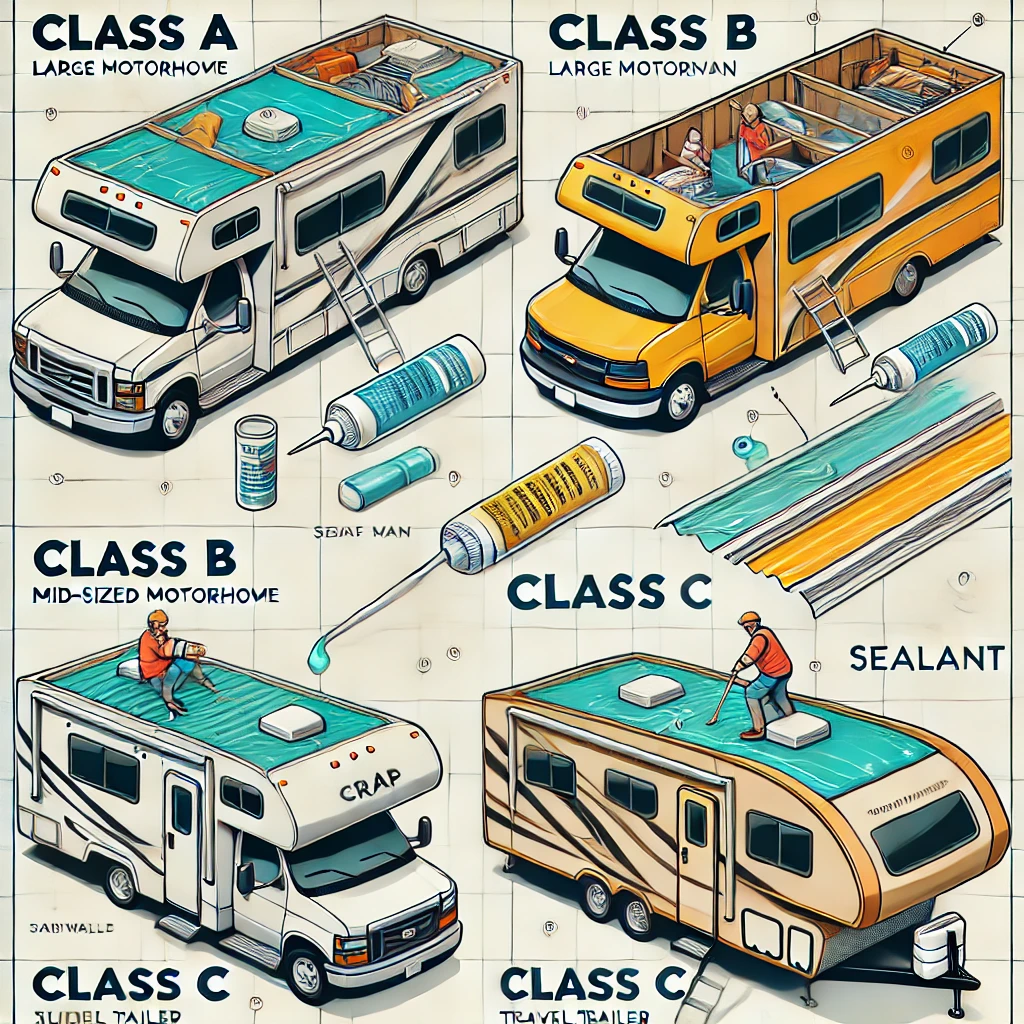
Class A RVs: Luxury Motorhomes
Class A motorhomes typically have large, flat roofs made of rubber (EPDM or TPO), fiberglass, or aluminum.
Steps to Reseal a Class A Roof:
- Inspect: Look for cracks along roof seams, vents, and edges.
- Clean: Use a specialized RV roof cleaner to remove debris.
- Remove Old Sealant: Scrape away peeling or damaged sealant.
- Apply Sealant: Use Dicor Lap Sealant or EternaBond Tape for seams and skylights.
- Smooth and Cure: Spread sealant evenly and allow proper curing time.
Tips: Due to their size, resealing Class A RVs may take more time and materials.
Class B RVs: Camper Vans
Class B RVs have smaller roofs, often made of fiberglass or metal, with fewer seams compared to larger RVs.
Steps to Reseal a Class B Roof:
- Inspect: Focus on roof-mounted features like air conditioning units or solar panels.
- Clean: Use a gentle cleaner to avoid damaging the fiberglass or paint.
- Apply Sealant: Use Sikaflex Sealant or ProFlex RV Sealant for small gaps and seams.
- Use Tape for Repairs: EternaBond Tape is ideal for quick fixes on smaller roofs.
Tips: Class B roofs are easier to access, making them a straightforward DIY project.
Class C RVs: Mid-Size Motorhomes
Class C motorhomes often feature rubber roofs with multiple roof openings like vents and skylights.
Steps to Reseal a Class C Roof:
- Inspect: Check seams, vents, and the front cap area where water commonly pools.
- Clean: Remove dirt and grime using an RV-safe cleaner.
- Reseal Edges: Apply Dicor Self-Leveling Sealant around seams, vents, and roof edges.
- Reinforce with Tape: Use EternaBond Tape for seams or areas with recurring leaks.
Tips: Pay attention to the cab-over section, as it is more prone to leaks.
Fifth Wheels and Travel Trailers
Fifth wheels and travel trailers generally have large flat or slightly sloped roofs, often made of rubber or fiberglass.
Steps to Reseal Fifth Wheels and Travel Trailers:
- Inspect Thoroughly: Check all edges, vents, and areas around slide-outs.
- Remove Old Sealant: Scrape off loose or cracked sealant carefully.
- Apply Sealant: Use Heng’s Rubber Roof Coating for rubber roofs or 3M Marine Adhesive Sealant for fiberglass roofs.
- Seal Joints and Seams: Reinforce with EternaBond Tape for extra durability.
More related details will be available on Flamingo Motorhomes.