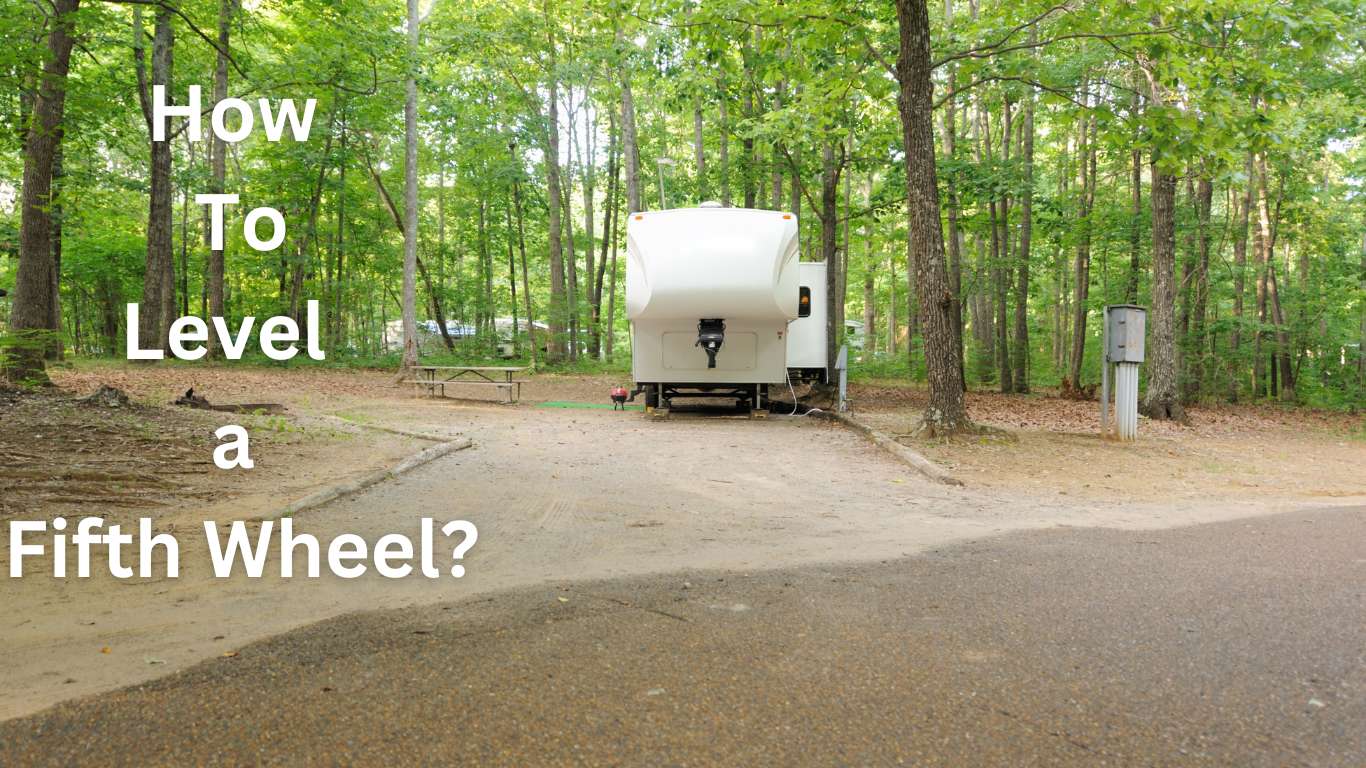
Leveling your fifth-wheel camper trailer is essential for a comfortable and safe camping experience. An unlevel camper can affect your appliances, comfort, and even structural integrity. Follow this step-by-step guide to level your fifth-wheel camper like a pro.
Why Leveling Is Crucial for Your Fifth Wheel Camper Trailer
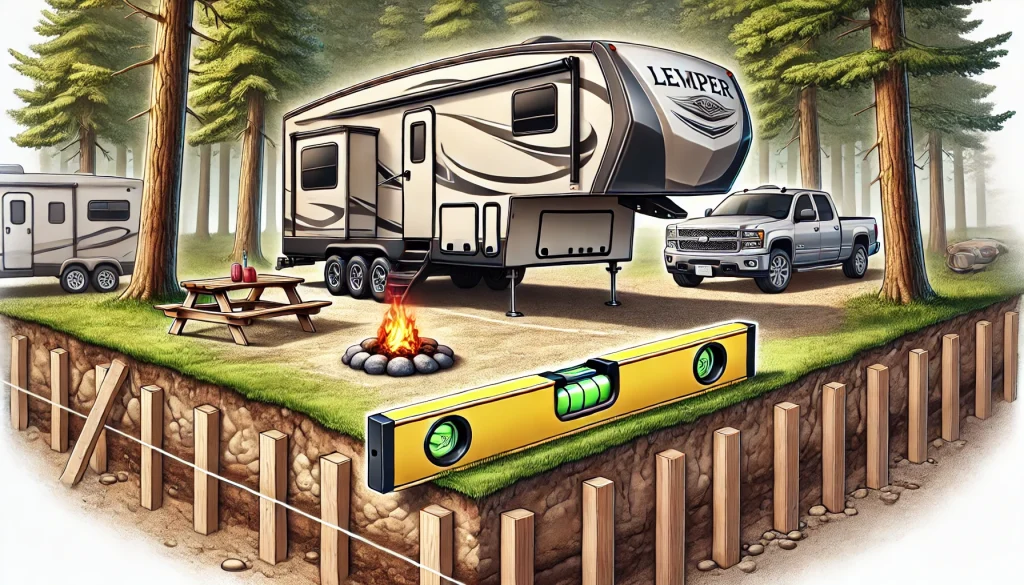
Leveling your fifth-wheel camper trailer isn’t just about comfort—it’s essential for the safety, functionality, and longevity of your RV. Whether you’re parking for the night or setting up for an extended stay, ensuring your trailer is level makes all the difference.
Protect Your Appliances
Proper leveling directly impacts the performance of key appliances, especially your refrigerator. RV refrigerators rely on gravity-fed coolant systems, and operating them on an uneven surface can cause malfunctions or permanent damage.
Enhance Comfort and Stability
A level fifth-wheel camper improves your overall experience by:
- Providing stable footing: Prevents wobbles and rocking as you move around.
- Improving sleep quality: Ensures your bed and living spaces are even.
- Allowing doors to function properly: Eliminates issues with sticking or swinging.
Prevent Structural Stress
An uneven camper puts unnecessary strain on the frame, joints, and seals. Over time, this can lead to:
- Cracked walls or floors.
- Leaks in windows and doors.
- Reduced lifespan of the trailer.
Ensure Water Drainage and Tank Efficiency
Leveling ensures proper drainage from your gray, black, and freshwater tanks. Uneven tanks can lead to inaccurate gauge readings or incomplete emptying, creating unnecessary maintenance issues.
Recommended Tools for Leveling Your Fifth Wheel Camper Trailer
Leveling your fifth-wheel camper trailer is much easier when you have the right tools. With proper equipment, you can ensure safety, efficiency, and precision every time you park. Below are the must-have tools to get the job done.
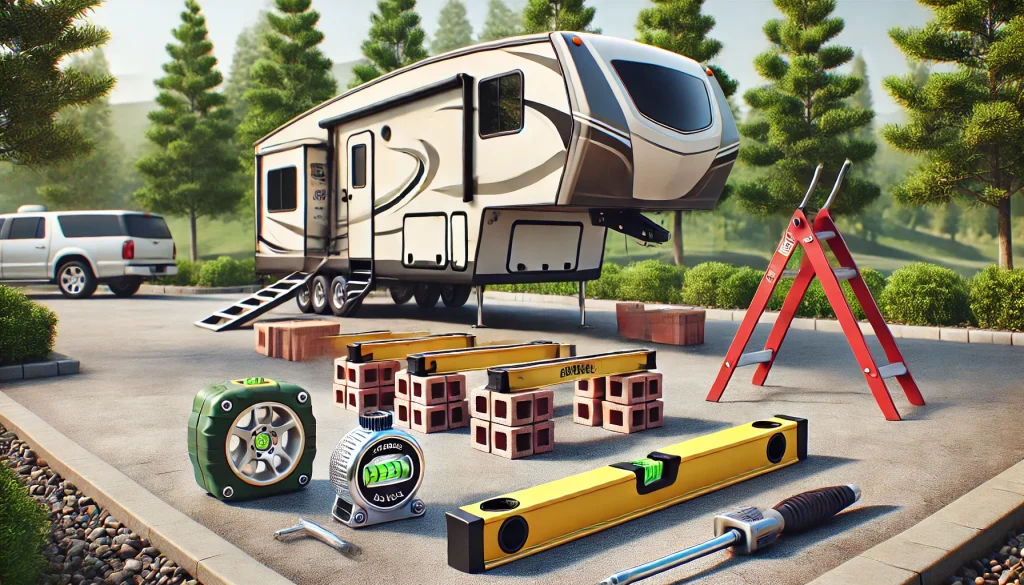
Essential Tools for Leveling
1. Bubble Level or Electronic Level
- A bubble level is a simple, inexpensive tool to check side-to-side and front-to-back leveling.
- For more precision, invest in an electronic level that offers real-time feedback.
2. Leveling Blocks
- These stackable, durable blocks allow you to raise low wheels to the correct height.
- Look for lightweight, weather-resistant options for convenience.
3. Wheel Chocks
- Prevent unwanted movement during the leveling process by securing your wheels.
- Heavy-duty rubber or plastic chocks work best for fifth-wheel trailers.
4. Landing Gear or Tongue Jack
- Use your fifth wheel’s built-in landing gear to adjust the front-to-back level.
- Hydraulic or electric jacks make this task quick and effortless.
5. Stabilizer Jacks
- Once leveled, extend stabilizer jacks to reduce sway and ensure a solid setup.
- Manual or electric stabilizers can both do the job effectively.
Optional Tools for Easier Leveling
1. Automatic Leveling System
- Automate the process with a push-button system.
- Though costly, it saves time and effort, especially for frequent campers.
2. Wood Planks
- Keep a few sturdy wood planks as a backup for uneven terrains.
- They’re useful when leveling blocks aren’t enough.
Tips for Using Leveling Tools
- Keep tools organized: Store all leveling tools in an accessible spot in your camper.
- Inspect your tools regularly: Ensure they’re in good condition before every trip.
- Practice beforehand: Familiarize yourself with each tool to streamline the leveling process.
Auto-Leveling Your Fifth Wheel Camper Trailer: The Ultimate Convenience
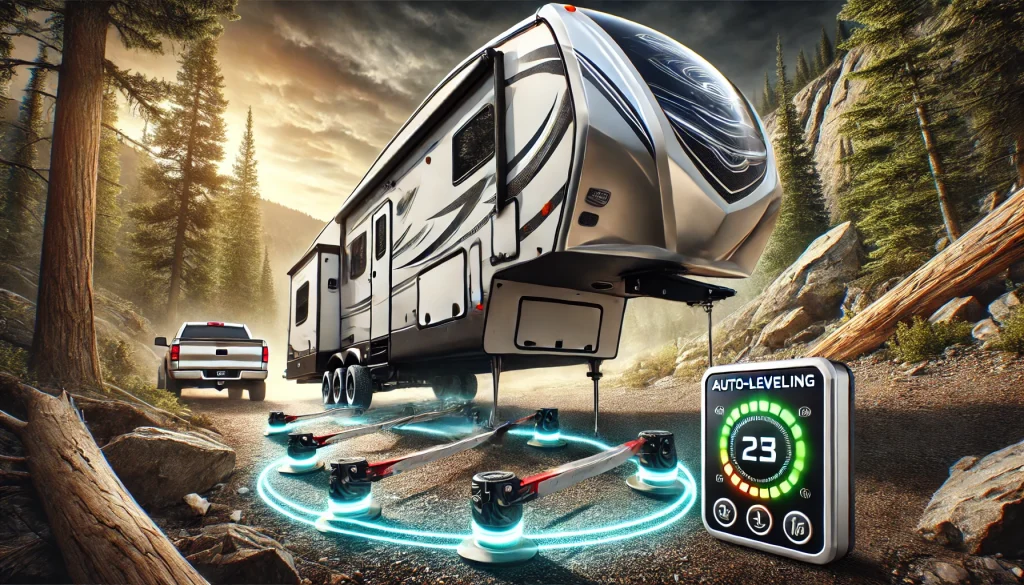
Auto-leveling systems for fifth-wheel camper trailers take the hassle out of manual adjustments. With just the press of a button, your camper can achieve perfect leveling in minutes, saving you time and effort. Here’s everything you need to know about using an auto-leveling system.
What Is Auto-Leveling?
Auto-leveling is a built-in hydraulic or electric system that automatically adjusts the height of your camper to ensure it’s perfectly level. This system uses advanced sensors and jacks to correct uneven surfaces, eliminating the need for manual tools like leveling blocks or bubble levels.
Benefits of Auto-Leveling for Fifth Wheels
1. Quick and Effortless Setup
- No more stacking blocks or guessing measurements.
- Achieve a level camper in less than five minutes.
2. Precision and Stability
- Sensors provide accurate leveling, ensuring optimal comfort and appliance performance.
- Minimizes camper sway during your stay.
3. Enhanced Safety
- Reduces the risk of errors associated with manual leveling.
- Ensures proper weight distribution, which is critical for structural integrity.
How to Use an Auto-Leveling System
1: Park on a Suitable Spot
- Find a reasonably flat area for your setup.
- Ensure the camper is disconnected from the tow vehicle.
2: Activate the Auto-Leveling System
- Power on the system using the control panel or remote.
- Follow the manufacturer’s instructions for initiating the leveling process.
3: Let the System Work
- The system will automatically extend and adjust the jacks.
- Wait until the display indicates that leveling is complete.
4: Double-Check Stability
- Perform a quick walkaround to ensure all jacks are securely in place.
- Deploy stabilizers for added support, if needed.
Considerations When Using Auto-Leveling
- Power Source: Ensure your fifth wheel’s battery is fully charged, as the system requires adequate power.
- Regular Maintenance: Clean and inspect the jacks and sensors to prevent malfunction.
- Terrain Limitations: Auto-leveling systems work best on moderately uneven surfaces but may struggle on extreme slopes.
Manually Leveling Your Fifth Wheel Camper Trailer: A Step-by-Step Guide
Manually leveling your fifth-wheel camper trailer is a reliable and cost-effective method for ensuring stability and comfort during your camping trips. While it takes a little effort, this process is straightforward when broken into simple steps.
Why Manual Leveling Is Important
Leveling your fifth wheel manually ensures:
- Proper operation of appliances like your refrigerator.
- Enhanced comfort when walking, sleeping, or cooking.
- Reduced strain on the trailer’s structure and components.
Tools You’ll Need for Manual Leveling
Before starting, gather these essential tools:
- Bubble level or electronic level to check the alignment.
- Leveling blocks for raising low wheels.
- Wheel chocks to prevent movement during the process.
- Landing gear or tongue jack to adjust the front-to-back level.
Step-by-Step Process to Manually Level Your Fifth Wheel
1: Choose a Flat Parking Spot
- Look for the flattest available ground at your campsite.
- Avoid areas prone to water pooling.
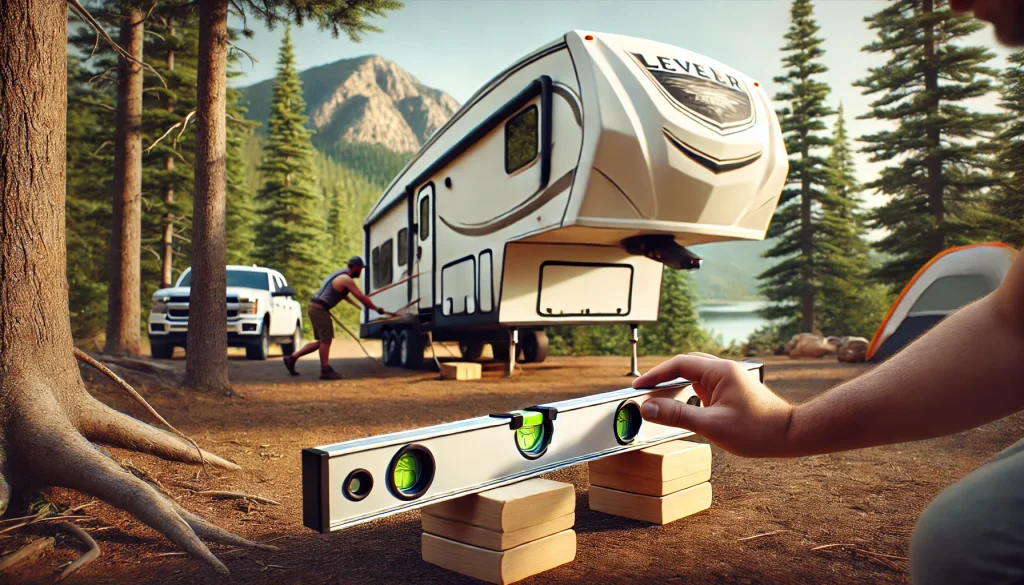
2: Check Side-to-Side Leveling
- Place a bubble level across the width of your trailer.
- If uneven, stack leveling blocks under the wheels on the lower side.
- Slowly drive onto the blocks until the bubble is centered.
3: Secure the Wheels
- Insert wheel chocks on both sides to prevent rolling.
- This ensures safety during the remaining steps.
4: Adjust Front-to-Back Leveling
- Use the landing gear or tongue jack to lift or lower the front end of the camper.
- Check the bubble level again and make fine adjustments as needed.
5: Stabilize the Camper
- Extend stabilizer jacks for added support.
- Ensure they’re snug but not overly tight, to avoid frame stress.
How to Level Different Classes of Fifth Wheel Camper Trailers
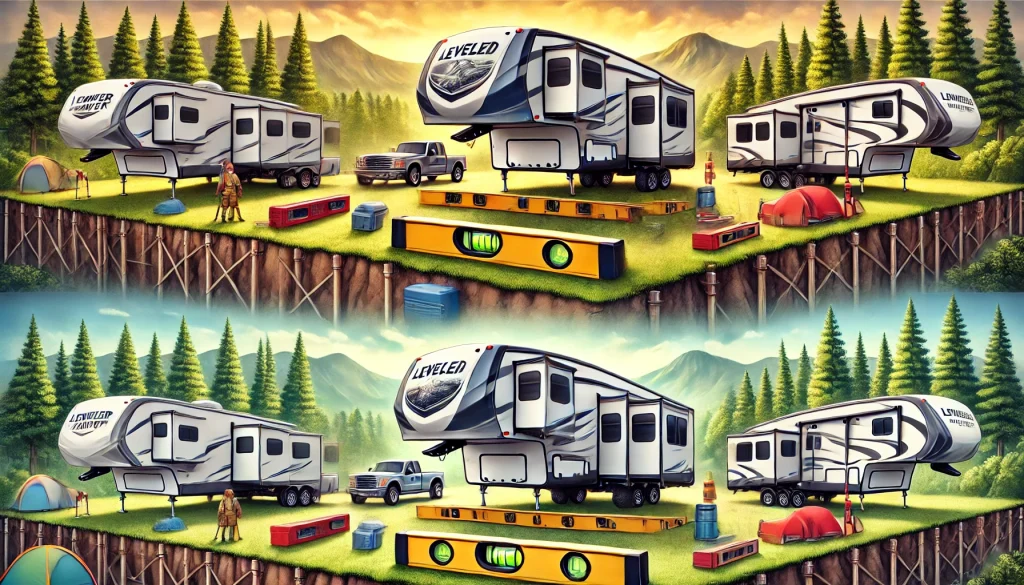
Fifth-wheel camper trailers come in various classes, each designed for unique camping needs. Whether you own a lightweight, mid-profile, or luxury fifth wheel, leveling ensures comfort, appliance functionality, and structural integrity. Let’s explore how to level different classes of fifth wheels effectively.
Understanding Fifth Wheel Classes
Lightweight Fifth Wheels
- Compact and easier to tow, ideal for smaller vehicles.
- Typically require fewer tools for leveling.
Mid-Profile Fifth Wheels
- Larger than lightweight models, offering more amenities.
- Often include advanced features like electronic stabilizers.
Luxury Fifth Wheels
- High-end models with maximum space and premium features.
- Usually equipped with auto-leveling systems but may still need manual adjustments.
Lightweight Fifth Wheel
- Use a Bubble Level: Place it on the floor to check side-to-side and front-to-back alignment.
- Position Leveling Blocks: Stack blocks under the lower wheels and drive up until level.
- Secure with Wheel Chocks: Prevent movement during setup.
- Adjust Front-to-Back: Use the landing gear or tongue jack for fine-tuning.
- Deploy Manual Stabilizers: Add support to minimize swaying.
Mid-Profile Fifth Wheel
- Check Leveling with Electronic Sensors: Most mid-profile models include built-in sensors for accurate readings.
- Use Leveling Blocks for Side-to-Side Adjustments: Follow the same method as lightweight fifth wheels.
- Adjust Front-to-Back Leveling: Use the landing gear controls or hydraulic jacks.
- Extend Electric Stabilizers: Many mid-profile models feature automatic stabilizers for added convenience.
Luxury Fifth Wheel
- Activate Auto-Leveling: Most luxury fifth wheels are equipped with automatic systems. Use the control panel to start the process.
- Manually Fine-Tune (if needed): If the system doesn’t achieve perfect leveling, adjust the jacks individually.
- Double-Check with a Level: Ensure the system has leveled all axes accurately.
- Secure Stabilizers: Deploy additional stabilizers for maximum stability.
Common Mistakes When Leveling a Fifth Wheel Camper Trailer (And How to Fix Them)
Leveling your fifth-wheel camper trailer is a critical step for a safe and comfortable camping experience. However, common mistakes can make the process frustrating or even damage your camper. Here’s a guide to identifying these pitfalls and how to avoid them.
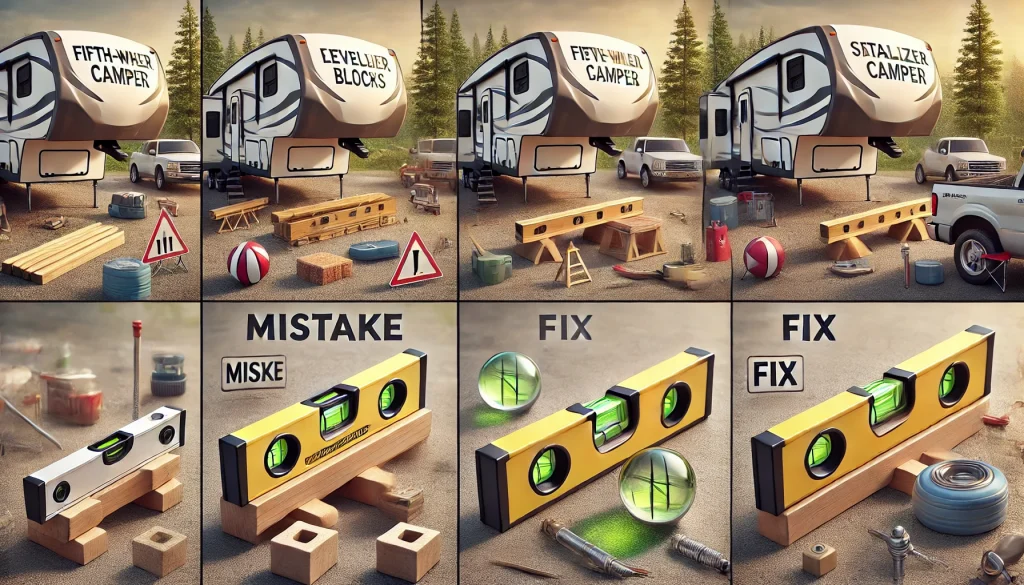
Mistake 1: Skipping the Level Check Before Setup
The Problem:
Many RVers skip the initial level check, leading to improper adjustments and the need to redo the entire process.
The Solution:
- Always use a bubble level or electronic level before making any adjustments.
- Place the level on a flat surface inside the camper, such as the floor or countertop, for accurate readings.
Mistake 2: Using the Stabilizer Jacks for Leveling
The Problem:
Relying on stabilizer jacks for leveling can damage the jacks and strain the camper’s frame. These are designed for stability, not leveling.
The Solution:
- Use leveling blocks or an auto-leveling system to achieve proper alignment.
- Once leveled, deploy the stabilizer jacks to minimize movement.
Mistake 3: Failing to Chock the Wheels
The Problem:
Skipping wheel chocks can cause the camper to roll or shift, leading to accidents and instability during setup.
The Solution:
- Always place wheel chocks securely on both sides of the tires before leveling.
- Invest in heavy-duty rubber or plastic chocks for added durability.
Mistake 4: Overlooking Terrain Conditions
The Problem:
Parking on extremely uneven or soft ground makes leveling difficult and can result in sinking or shifting.
The Solution:
- Choose the flattest spot available at your campsite.
- Use wider or adjustable leveling blocks for soft surfaces to prevent sinking.
Mistake 5: Ignoring Regular Equipment Maintenance
The Problem:
Failing to maintain your leveling tools and systems can lead to malfunctions, making the process more challenging.
The Solution:
- Inspect and clean all leveling equipment after each trip.
- Lubricate moving parts on landing gear and stabilizers to ensure smooth operation.
Mistake 6: Rushing the Process
The Problem:
Hurrying through leveling can result in an uneven camper, affecting appliances and comfort.
The Solution:
- Take your time to check levels thoroughly at each step.
- Double-check both side-to-side and front-to-back leveling before deploying stabilizers.
More related details will be available on Flamingo Motorhomes.

