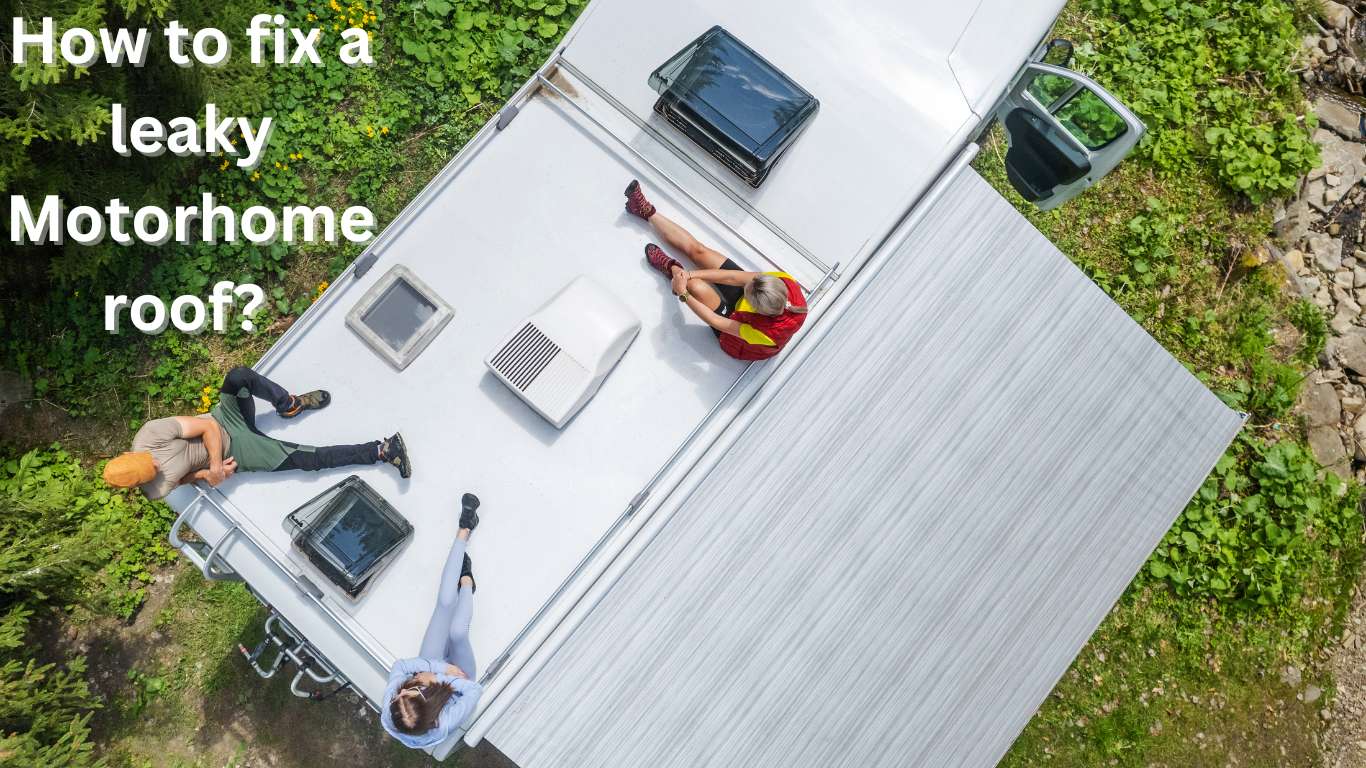
How to fix a leaky motorhome roof is by owning a motorhome means embracing adventure, but a leaky roof can quickly dampen the experience. Addressing a leaky motorhome roof promptly is crucial to prevent further damage and costly repairs. Let’s dive into the step-by-step guide to fixing this common issue.
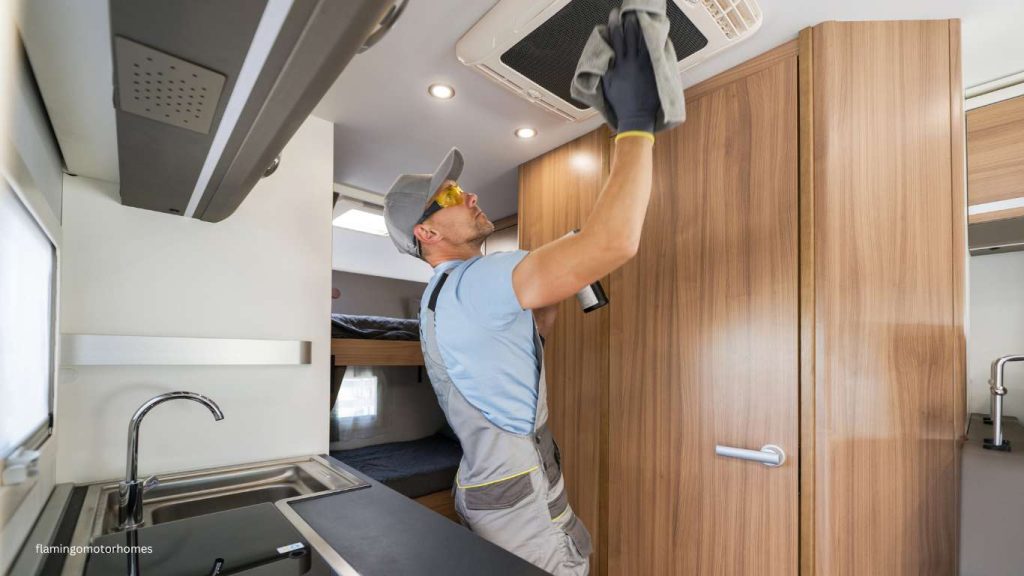
Identify the Source of the Leak
The first step in repairing a leaky motorhome roof is locating the source of the problem.
- Inspect During Rain: Check for water drips or wet spots inside your motorhome after a rainstorm.
- Perform a Hose Test: Spray water over the roof and look for leaks.
- Examine Seams and Edges: Most leaks occur around roof vents, seams, or where accessories are attached.
Prepare the Roof for Repairs
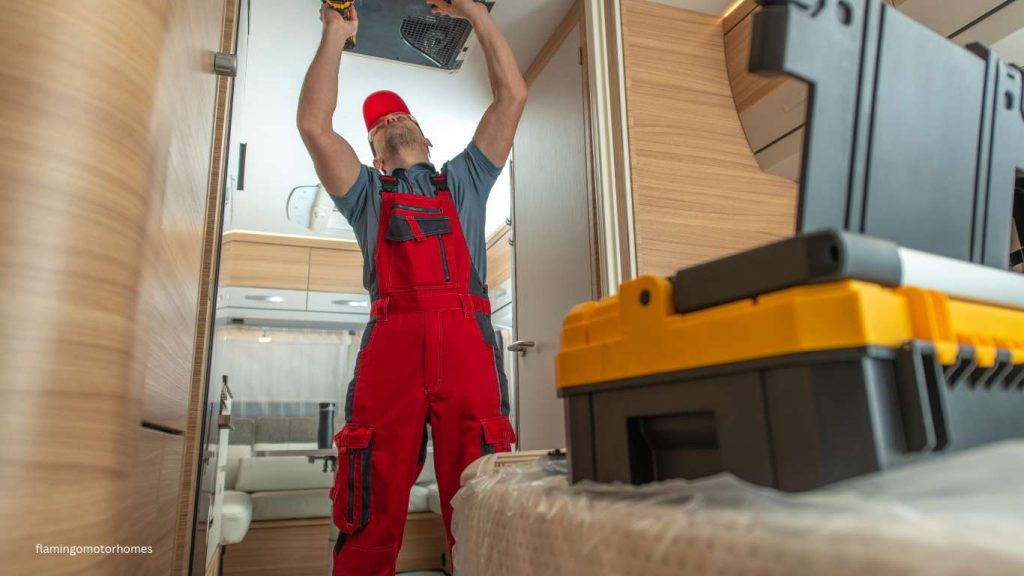
Proper preparation is essential for effective repairs.
Clean the Roof
- Use a motorhome-safe roof cleaner to remove dirt, debris, and mildew.
- Allow the roof to dry completely before proceeding.
Inspect for Damage
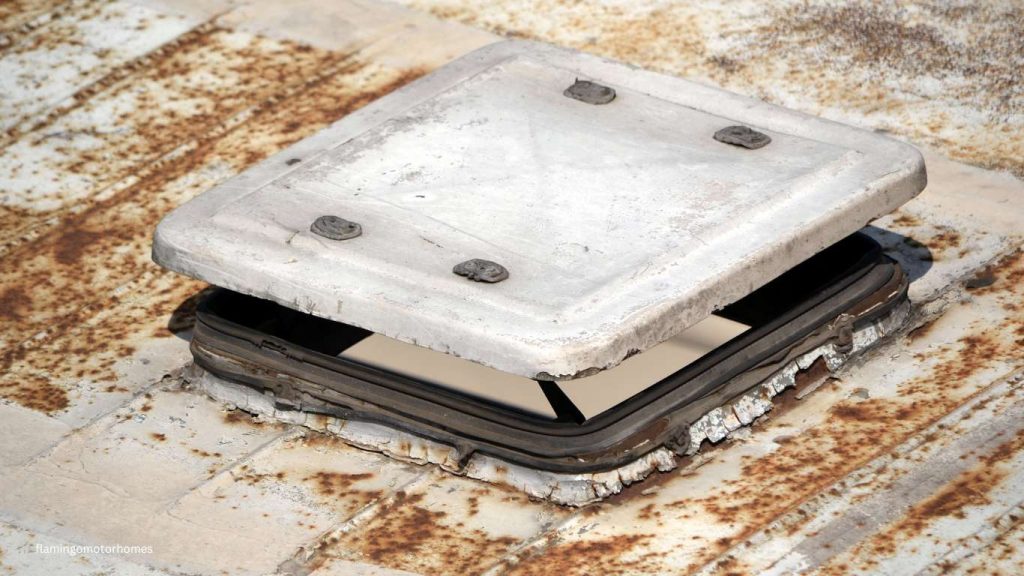
- Look for cracks, punctures, or degraded sealant.
- Remove old, peeling sealant with a plastic scraper or putty knife.
Choose the Right Repair Materials
Different types of motorhome roofs require specific materials for repairs.
Rubber Roofs (EPDM or TPO)
- Use an RV-specific rubber roof patch kit or self-leveling sealant.
- Apply a liquid roof coating for larger areas of wear.
Fiberglass Roofs
- Opt for a fiberglass repair kit to seal cracks or holes.
- Sand the area before applying resin and mesh for a smooth finish.
Metal Roofs
- Aluminum tape or roof sealant works well for minor leaks.
- Larger issues may require replacing damaged panels.
Repair the Leak
Now that your materials are ready, it’s time to fix the leak.
Patch Small Cracks or Holes
- Apply the sealant or patch over the damaged area, following product instructions.
- Smooth the edges to ensure a watertight seal.
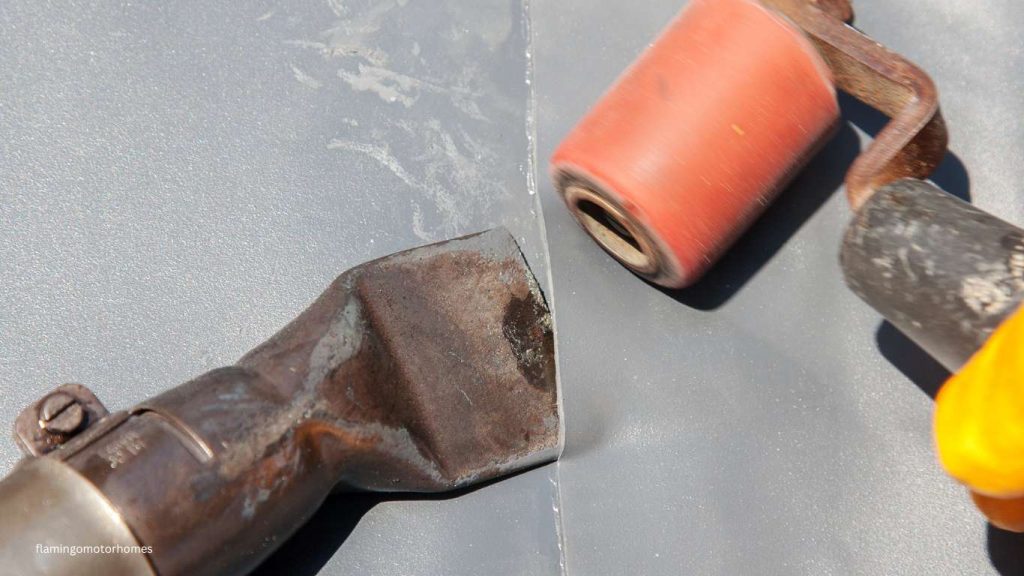
Seal Seams and Fixtures
- Use self-leveling sealant around vents, skylights, and edges.
- Ensure even coverage to avoid future leaks.
Prevent Future Leaks
Taking preventative measures can save you from future roof repairs.
Regular Inspections
- Inspect your motorhome roof every three months or after heavy weather.
- Look for early signs of wear and tear.
Protect with a Cover
- Use a high-quality RV cover to shield your motorhome from UV rays and weather damage.
Apply Protective Coatings
- Invest in a UV-resistant roof coating to extend the lifespan of your motorhome roof.
When to Seek Professional Help
If the damage is extensive or repairs don’t hold, it’s best to consult a professional. Look for RV repair specialists with experience in motorhome roof maintenance.
Methods to Fix Motorhome Roof Leakage
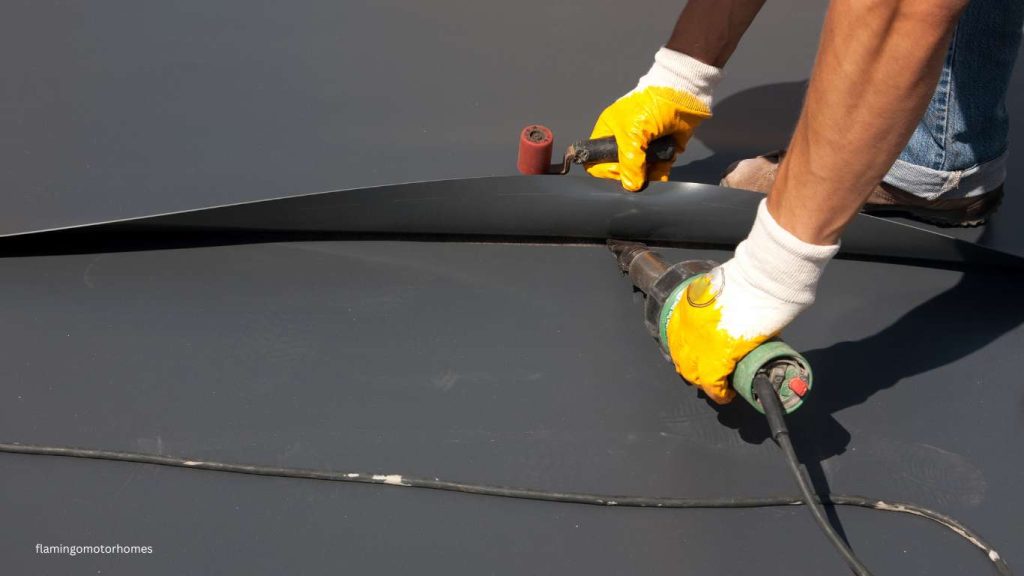
A leaky motorhome roof can lead to costly damage if left unaddressed. Fortunately, there are effective methods to fix motorhome roof leaks, depending on the roof type and the extent of the damage. Here’s a step-by-step guide to help you tackle the problem.
1. Use Self-Leveling Sealant
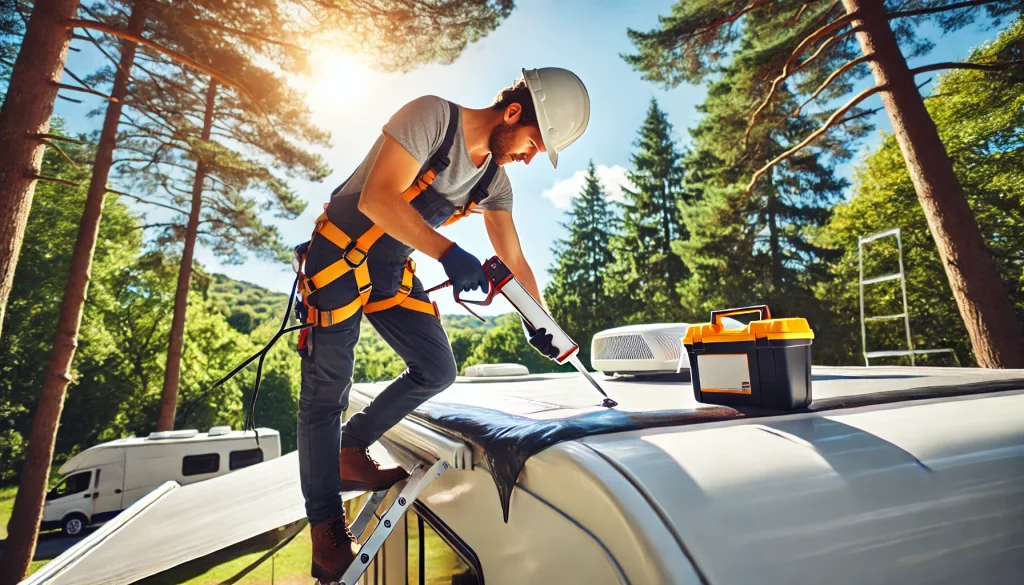
Self-leveling sealants are a quick and reliable solution for sealing cracks and gaps on your motorhome roof.
Best For:
- Fixing small leaks around vents, skylights, and seams.
- Sealing around roof-mounted accessories.
How to Apply:
- Clean the affected area with a roof-safe cleaner.
- Ensure the surface is dry and free of debris.
- Apply the self-leveling sealant over the crack or seam.
- Let it cure as per the manufacturer’s instructions.
2. Apply Roof Patch Tape
Roof patch tape is an excellent option for temporary or small repairs.
Best For:
- Sealing small tears, punctures, or cracks.
- Quick fixes during travel.
How to Apply:
- Cut the patch tape to size, leaving extra to overlap the damage.
- Clean and dry the roof surface thoroughly.
- Press the tape firmly over the damaged area.
- Smooth out air bubbles to ensure a watertight seal.
3. Use a Roof Repair Kit
Roof repair kits are tailored for specific roof materials, such as EPDM, TPO, fiberglass, or aluminum.
Best For:
- Long-lasting repairs on various roof types.
- Fixing larger cracks or holes.
How to Apply:
- Follow the cleaning and preparation steps included in the kit.
- Apply the patch, resin, or liquid coating as directed.
- Allow ample curing time for durable results.
4. Reapply or Replace Roof Sealant
Old, cracked, or peeling sealant is a common cause of roof leaks. Replacing it can restore the roof’s integrity.
Best For:
- Seams, edges, and vents where old sealant has failed.
How to Apply:
- Remove the old sealant using a plastic scraper.
- Clean the surface thoroughly with a recommended cleaner.
- Apply new sealant evenly along the seams or edges.
- Allow it to cure fully before testing for leaks.
5. Apply Liquid Roof Coating
Liquid roof coatings create a seamless, waterproof barrier over the entire roof surface.
Best For:
- Covering large areas with wear and tear.
- Preventing future leaks.
How to Apply:
- Clean the roof and remove any loose debris or old coating.
- Apply the liquid coating evenly using a roller or brush.
- Let it cure as specified, ensuring no foot traffic during this time.
6. Replace Damaged Panels
For extensive damage, replacing sections of the roof may be necessary.
Best For:
- Severe leaks caused by large holes or structural damage.
How to Proceed:
- Consult the motorhome’s manufacturer for compatible replacement panels.
- Remove the damaged section carefully.
- Install the new panel and seal it with the appropriate material.
- Test the repair by checking for leaks.
Which Is the Best Method to Fix a Motorhome Roof Leak?
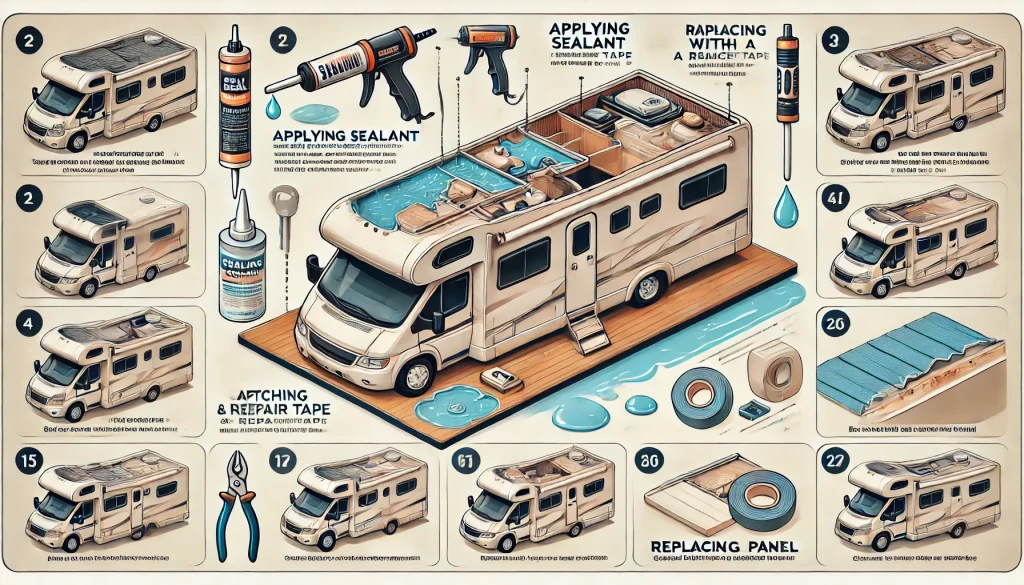
Choosing the best method to fix a motorhome roof leak depends on factors such as the type of roof, the severity of the damage, and your repair skills. Here’s an analysis of the most effective options to help you make the right decision.
| Motorhome Class | Roof Leakage Solution | Estimated Price Range (USD) |
|---|
| Class A | Sealant application for seams and joints | $100 – $500 (depends on area and sealant type) |
| Class A | Enhanced roof drainage system installation | $300 – $1,200 (depending on complexity and parts) |
| Class B | Rubber/Fiberglass roof replacement | $1,000 – $4,000 (depending on roof size and material) |
| Class B | Sealant reapplication (edges, seams, and vents) | $150 – $600 (depending on roof area and product) |
| Class C | Cab-over area resealing (windows, vents, seams) | $200 – $800 (depending on area and complexity) |
| Class C | Flexible sealant for gap filling (roof/body transition) | $100 – $400 (for standard materials) |
| Class A (Older Models) | Rust removal and protective coating | $250 – $800 (depending on rust extent and coating type) |
| Class A (Older Models) | Full resealing and caulking | $300 – $1,000 (depending on roof size and labor) |
| Class B (Pop-Top) | Sealant for folding roof and weatherproofing | $150 – $500 (depending on the roof mechanism and materials) |
| Class C (Extended Roof) | Sealant application and gap closure | $200 – $700 (based on roof design and gap size) |
Best Overall Method: Liquid Roof Coating
Liquid roof coating stands out as the most comprehensive solution for fixing and preventing leaks.
Why It’s the Best:
- Creates a seamless, waterproof barrier over the entire roof.
- Ideal for addressing widespread wear and tear.
- Works with various roof materials, including EPDM, TPO, fiberglass, and metal.
- Extends the lifespan of your motorhome roof by protecting it from UV damage and weather.
When to Use It:
- The roof has multiple leaks or shows signs of aging.
- Preventative maintenance is a priority.
Potential Drawbacks:
- Requires preparation and curing time.
- More expensive than patching or sealing small areas.
Best for Small Leaks: Self-Leveling Sealant
Self-leveling sealant is the best choice for minor leaks around seams, vents, and fixtures.
Why It’s a Great Choice:
- Easy to apply, even for beginners.
- Provides a durable, watertight seal.
- Affordable and readily available.
When to Use It:
- Leaks are localized to small cracks or gaps.
- Quick repairs are needed while traveling.
Potential Drawbacks:
- Not suitable for extensive damage.
- Doesn’t address underlying wear on the roof surface.
Best Temporary Fix: Roof Patch Tape
Roof patch tape is a convenient option for emergency repairs.
Why It’s Useful:
- Quick and easy to apply without specialized tools.
- Provides an immediate, watertight seal.
When to Use It:
- You need a fast, temporary fix while on the road.
- The damage is minor, such as small tears or punctures.
Potential Drawbacks:
- Not a long-term solution for leaks.
- May lose adhesion over time or in extreme weather conditions.
Best for Major Damage: Roof Panel Replacement
For severe damage, replacing sections of the roof ensures structural integrity.
Why It’s Essential for Major Damage:
- Restores the roof’s original strength and appearance.
- Prevents further water damage to the motorhome interior.
When to Use It:
- Large holes, cracks, or structural weaknesses are present.
- Other repair methods have failed.
Potential Drawbacks:
- Expensive and time-consuming.
- May require professional assistance.
Why Do You Need to Fix the Roof of a Motorhome?
The roof of your motorhome is one of its most critical components, protecting you and your belongings from the elements. Ignoring roof issues can lead to significant problems over time. Let’s explore why fixing a motorhome roof is essential.
Prevent Water Damage
Roof leaks can cause severe water damage, leading to costly repairs.
Interior Damage
- Leaks can damage the motorhome’s walls, ceiling, and floors.
- Water intrusion promotes mold and mildew growth, which poses health risks.
Structural Weakness
- Prolonged exposure to moisture weakens the motorhome’s framework.
- Rotten wood and rusted metal reduce the structural integrity of your vehicle.
Protect Your Investment
A motorhome is a significant financial investment, and maintaining its roof is vital to preserving its value.
Maintain Resale Value
- A well-maintained roof shows potential buyers that the motorhome has been cared for.
- Roof repairs can prevent depreciation caused by visible damage.
Avoid Expensive Repairs
- Addressing minor roof issues early prevents them from turning into costly overhauls.
- Neglected leaks can lead to electrical system failures or ruined appliances.
Ensure Comfort and Safety
A damaged roof can compromise the comfort and safety of your motorhome.
Keep Interior Dry and Cozy
- A leak-free roof ensures a dry, comfortable living space during your travels.
- Prevent drafts and temperature fluctuations caused by roof damage.
Avoid Health Hazards
- Mold and mildew caused by leaks can lead to respiratory problems.
- Protect yourself and your passengers from allergens and toxins.
Prolong the Life of Your Motorhome
Routine roof maintenance extends the overall lifespan of your motorhome.
Prevent UV Damage
- A damaged roof coating exposes materials to harmful UV rays, leading to faster wear.
- Regular sealing and repairs protect your roof from sun-related deterioration.
Keep the Motorhome Roadworthy
- Water damage can affect mechanical and electrical components, making your motorhome less reliable.
- A sturdy roof ensures your motorhome remains functional for years to come.
| Inspection Area | Daily Inspection Task | Action to Take if Problem Found |
|---|
| Roof Surface | Check for visible cracks, punctures, or damage in the roof material. | If damage is found, temporarily cover with tarp and schedule a repair. |
| Roof Seams & Joints | Inspect seams, edges, and joints for signs of separation or wear. | Reapply sealant or caulking as needed. |
| Roof Vents & Air Conditioners | Ensure vents and AC units are secure and no water is pooling around them. | Tighten screws or replace worn seals around vents. |
| Roof Accessories (e.g., antennas, satellite dishes) | Check for loose or cracked accessories mounted on the roof. | Tighten loose fixtures or replace damaged parts. |
| Water Drains/Channels | Check for clogs or blockages in roof drainage channels. | Clear any obstructions, ensuring proper drainage. |
| Roof Edges | Inspect the edges of the roof, including where the roof meets the walls. | Reseal any areas where caulking or sealant is deteriorating. |
| Cab-Over Area (Class C) | Look for signs of leakage around the cab-over area, especially around windows and seams. | Reseal any gaps or cracks immediately to prevent water ingress. |
| Fiberglass or Rubber Roof (Class B) | Inspect for signs of wear and tear, especially around corners and edges. | Apply a patch or re-seal small cracks as needed. |
| Pop-Top Roof (Class B) | Check for leaks around the folding mechanism and roof seals. | Apply new weather-resistant sealant or adjust seals. |
| Interior (Ceiling, Walls, Windows) | Look for water stains, mold, or dampness inside the motorhome, especially near the roof. | If water stains or dampness are found, investigate roof for leaks and address immediately. |
| Windows & Doors | Check for any drafts or gaps around windows and doors that could allow water entry. | Reseal or replace weatherstripping if necessary |
Why Aren’t Motorhome Roof Leaks Solved During Manufacturing?
Motorhome roof leaks are a common issue that many owners face, raising questions about manufacturing processes and accountability. Let’s dive into the reasons this problem persists and why it often becomes the responsibility of the customer.
1. Complex Design and Materials
Motorhomes are built with multiple materials and intricate designs, which contribute to potential vulnerabilities.
Reasons for Roof Leak Issues During Manufacturing:
- Multiple Seams and Fixtures: Roofs need to accommodate vents, air conditioners, solar panels, and skylights, creating many seams prone to leaks.
- Material Limitations: Rubber, fiberglass, and aluminum roofs degrade over time due to weather exposure, regardless of initial quality.
- Weight Constraints: Manufacturers aim to keep roofs lightweight, sometimes compromising on durability.
2. Mass Production Challenges
The manufacturing process prioritizes efficiency and cost-effectiveness, which can lead to quality control issues.
How Mass Production Contributes to Roof Leaks:
- Standardized Assembly: While assembly-line techniques reduce costs, they may overlook specific vulnerabilities in individual units.
- Inconsistent Quality Checks: Even with rigorous testing, not all minor flaws or installation errors are detected.
- Focus on Aesthetics Over Longevity: Manufacturers may prioritize visual appeal to attract buyers, potentially neglecting long-term durability.
3. External Factors Post-Manufacturing
Some issues only become apparent after the motorhome is used in real-world conditions.
Why Roof Leaks May Emerge Later:
- Travel and Weather Exposure: Motorhomes endure vibrations, heavy rains, extreme heat, and freezing conditions, which stress seals and materials.
- Improper Maintenance: Manufacturers expect owners to perform regular maintenance, but not all buyers are aware of this responsibility.
4. Manufacturer Accountability
Despite the high price tag, motorhomes often come with limited warranties that place maintenance responsibilities on the owner.
Why the Issue Is Handed Over to Customers:
- Warranty Limitations: Most warranties cover structural defects for a limited time but exclude wear-and-tear or environmental damage.
- Maintenance Requirements: Manufacturers argue that roof care is part of routine maintenance, similar to oil changes in cars.
- Cost Implications: Designing completely leak-proof roofs would require expensive materials and processes, driving up prices further.

How to Fix Roof Leakage in Different Classes of Motorhomes
Motorhomes come in various classes, and their roof construction differs, requiring specific repair methods tailored to each type. Here’s a comprehensive guide on how to fix roof leaks in Class A, Class B, and Class C motorhomes.
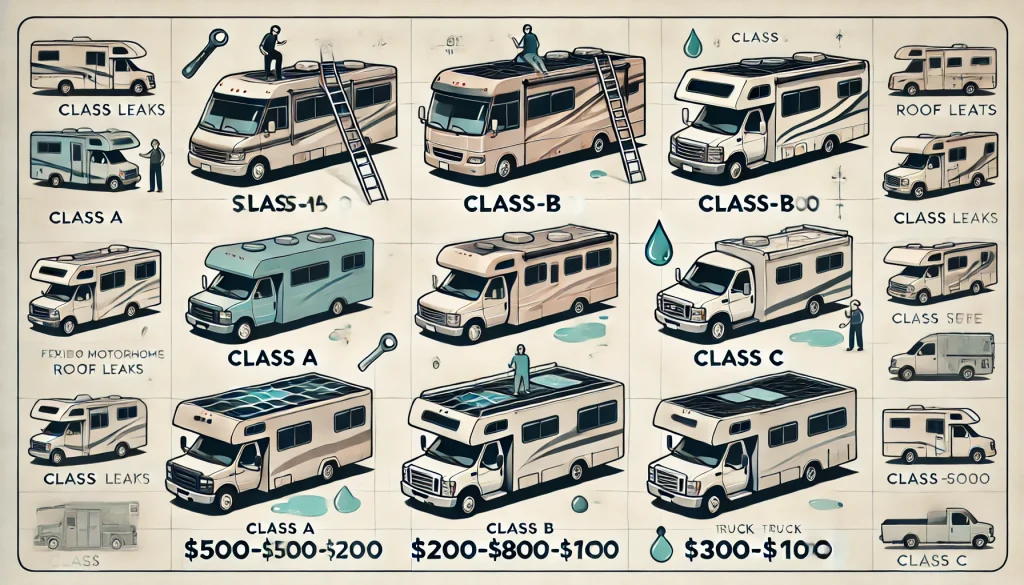
Class A Motorhomes: Luxury on Wheels
Class A motorhomes are large, bus-style vehicles with expansive roofs often made of fiberglass, rubber (EPDM/TPO), or aluminum.
Common Roof Leak Areas:
- Seams along roof edges.
- Around skylights, vents, and air conditioners.
- Cracks in the fiberglass or gaps in old sealant.
Repair Methods for Class A Roofs:
- Fiberglass Roofs:
- Clean the damaged area and sand it lightly.
- Apply a fiberglass repair kit, including resin and mesh.
- Smooth out and let it cure fully.
- Rubber Roofs (EPDM or TPO):
- Use an RV-specific rubber roof patch kit for tears.
- Apply liquid roof coating for extensive wear or leaks.
- Aluminum Roofs:
- Seal small leaks with aluminum tape or roof sealant.
- Replace panels for severe damage.
Class B Motorhomes: Compact and Versatile
Class B motorhomes are van-style campers with roofs that may include metal, fiberglass, or custom materials for pop-top models.
Common Roof Leak Areas:
- Roof seams or joints.
- Around roof racks or solar panel mounts.
- Pop-top mechanisms and fabric.
Repair Methods for Class B Roofs:
- Metal Roofs:
- Use sealant or patch tape for minor leaks.
- Replace severely corroded sections.
- Fiberglass Roofs:
- Sand and apply a fiberglass patch for cracks or holes.
- Pop-Top Roofs:
- Inspect fabric or vinyl for tears and repair with a patch kit.
- Seal joints and seams with weather-resistant sealant.
Class C Motorhomes: Family-Friendly Choice
Class C motorhomes, recognizable by their over-cab area, often have rubber or fiberglass roofs with numerous seams and fixtures.
Common Roof Leak Areas:
- Around the over-cab section, where the roof meets the walls.
- Seams around vents, skylights, and antennas.
- Cracks in aging roof materials.
Repair Methods for Class C Roofs:
- Rubber Roofs (EPDM/TPO):
- Clean and dry the area.
- Apply a self-leveling sealant to cracks or gaps.
- Use a liquid roof coating for broader repairs.
- Fiberglass Roofs:
- Fill small cracks with epoxy or fiberglass repair kits.
- Sand and reapply gel coat for surface-level wear.
- Seam Repairs:
- Remove old, deteriorated sealant.
- Reapply new self-leveling or lap sealant.
General Tips for All Motorhome Classes
- Inspect Regularly: Check the roof at least twice a year for wear and damage.
- Clean Thoroughly: Dirt and debris can hide small cracks and leaks.
- Use Compatible Materials: Always use repair kits or sealants designed for your roof type.
- Test After Repair: Spray water on the roof to ensure the leak is fixed.
| Motorhome Class | Roof Leakage Problem | Solution |
|---|
| Class A | Large, flat roof prone to water pooling | – Inspect roof seams regularly. – Apply sealant to seams and joints. – Install an enhanced roof drainage system. |
| Class B | Smaller roof with potential for rubber or fiberglass degradation | – Regularly inspect for cracks or holes. – Re-seal roof edges. – Replace damaged rubber or fiberglass roof. |
| Class C | Overhead cab and extended roof area | – Ensure proper sealing around the cab-over area. – Replace worn caulking around windows and vents. |
| Class A (Older Models) | Rusting around metal roofs, seals deteriorating | – Sand down rusted areas and apply a protective coating. – Reapply new seals and reseal vulnerable areas. |
| Class B (Pop-Top) | Issues around folding roof and seals | – Check the folding mechanism and seals regularly. – Apply new weather-resistant sealants. |
| Class C (Extended Roof) | Gaps in roof due to extension design | – Ensure proper sealing at the transition area between roof and body. – Use flexible sealant to fill gaps. |
Further more information related to the above covered topic will be available on Flamingo Motorhomes

