Keeping your RV water lines clean is essential for safe drinking water and proper system maintenance. Over time, bacteria, mold, and mineral buildup can accumulate in the lines, affecting water quality and flow. In this guide, you’ll learn how to clean your RV water lines effectively.
Why Clean RV Water Lines?
Regular cleaning of your RV water lines prevents contamination, ensures fresh-tasting water, and extends the lifespan of your plumbing system. Neglecting this can lead to unpleasant odors, clogged pipes, and potential health risks.
When to Clean RV Water Lines?
- At the start of the camping season
- Before winterizing your RV
- After long periods of storage
- If water tastes or smells unusual
Factors That Force You to Clean RV Water Lines
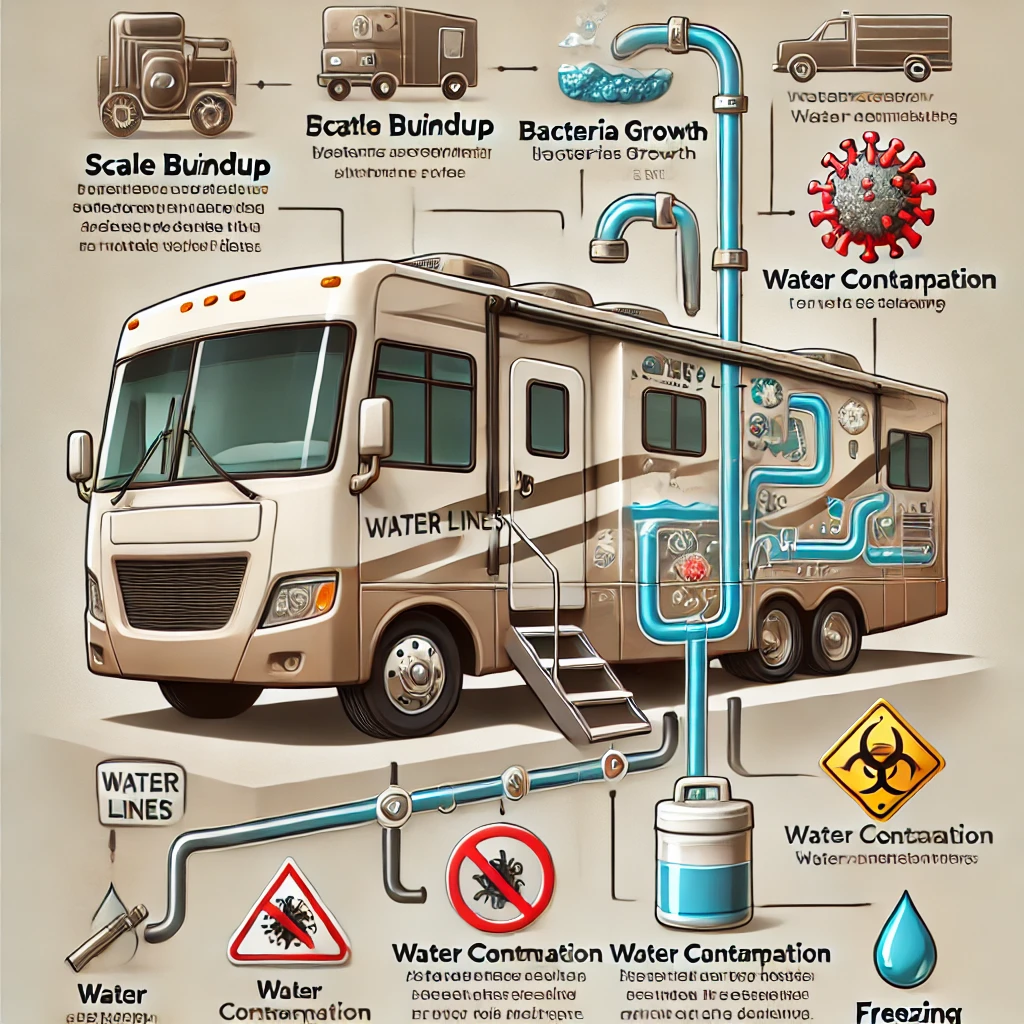
Maintaining clean RV water lines is crucial for ensuring a safe and enjoyable journey. Several factors can compel you to prioritize this task, as neglecting it can lead to health risks and damage to your RV’s plumbing system. Here’s a breakdown of the key reasons why cleaning your RV water lines is a must.
1. Contaminated Water Supply
Using different water sources at campsites increases the risk of introducing bacteria, mold, or sediment into your water system. If water tastes odd, smells bad, or appears discolored, it’s a clear sign your RV water lines need cleaning.
Key Tip:
Always sanitize your water lines after connecting to an unfamiliar or questionable water source.
2. Bacterial and Mold Growth
Moisture left in water lines during storage creates the perfect environment for bacteria and mold to thrive. This can lead to unpleasant odors, slimy buildup, and health hazards.
Why It Matters:
Even small traces of contamination can affect water safety and your health. Regular cleaning eliminates these risks.
3. Stagnant Water in Storage
If your RV sits idle for an extended period, stagnant water in the lines can cause sediment buildup and microbial growth. Over time, this results in foul smells and clogs.
Pro Tip:
Flush and clean your water lines before and after each camping season to prevent stagnation issues.
4. Hard Water Deposits
Camping in areas with hard water leads to mineral buildup in your water lines. Over time, this can restrict water flow, damage plumbing, and reduce efficiency.
Solution:
Use a water softener or filter to minimize hard water effects and clean your lines regularly to remove any buildup.
5. Winterizing Your RV
Leaving untreated water in your lines before winterizing can cause freezing, leading to cracked pipes and contamination. Cleaning your RV water lines ensures your system is prepared for antifreeze and avoids costly repairs.
Reminder:
Always clean your lines after de-winterizing to remove any residual antifreeze.
6. Unpleasant Tastes or Odors
If you notice an unusual taste or smell in your RV water, it’s a strong indicator of contamination. This can happen even after short trips if the lines aren’t maintained.
Quick Fix:
Sanitize your RV water system with a bleach solution to eliminate odors and improve water quality.
Methods to Clean RV Water Lines: A Complete Guide
Cleaning your RV water lines is essential for maintaining safe, fresh-tasting water and preventing bacteria buildup. There are several effective methods you can use depending on the level of contamination. Here’s a detailed guide to ensure your RV water system stays in excellent condition.
1. Cleaning RV Water Lines with Bleach
Using bleach is one of the most common and effective methods to sanitize your RV water system.
Step-by-Step Process
- Prepare a Bleach Solution: Mix 1/4 cup of unscented bleach with one gallon of water for every 15 gallons of your freshwater tank’s capacity.
- Add the Solution: Pour the mixture into the fresh water tank using a funnel.
- Run the System: Turn on the water pump and open each faucet until you smell bleach at every outlet.
- Let It Sit: Allow the solution to sit in the system for 4–6 hours to kill bacteria and mold.
- Rinse Thoroughly: Drain the system and flush it with clean water until there’s no bleach smell.
Pros:
- Effective at killing bacteria and mold
- Inexpensive and widely available
Cons:
- Requires thorough rinsing to remove bleach residue
2. Cleaning RV Water Lines with Vinegar
Vinegar is a natural, eco-friendly alternative for cleaning your water lines.
Step-by-Step Process
- Prepare a Vinegar Solution: Mix one gallon of white vinegar with one gallon of water.
- Add to the Fresh Water Tank: Pour the mixture into the tank and fill it with clean water.
- Run the System: Pump the solution through all faucets until you smell vinegar.
- Soak and Rinse: Let the solution sit for 12 hours, then flush the system with clean water.
Pros:
- Safe for the environment
- Removes mineral buildup
Cons:
- May not be as effective against strong bacterial contamination
3. Cleaning RV Water Lines with Commercial Sanitizers
Several RV-specific cleaning products are designed to sanitize water lines without harsh chemicals.
Steps to Follow
- Follow Manufacturer Instructions: Mix the product as directed.
- Circulate the Solution: Pump it through the faucets and let it sit for the recommended time.
- Flush the System: Rinse thoroughly with fresh water.
Pros:
- Tailored for RV systems
- Gentle on plumbing components
Cons:
- More expensive than bleach or vinegar
4. Flushing with Hot Water
A basic flush with hot water is ideal for routine cleaning or when switching water sources.
Steps to Flush
- Drain the System: Empty the freshwater tank and water heater.
- Fill with Hot Water: Refill the system with hot (not boiling) water.
- Run and Drain: Pump the hot water through all faucets and drains.
Pros:
- Quick and easy
- Prevents stagnant water buildup
Cons:
- Not sufficient for deep cleaning
When to Clean Your RV Water Lines
- At the start of the camping season
- After extended storage
- If you notice unusual tastes or odors
- Before and after winterizing your RV
Essential Tools to Clean RV Water Lines
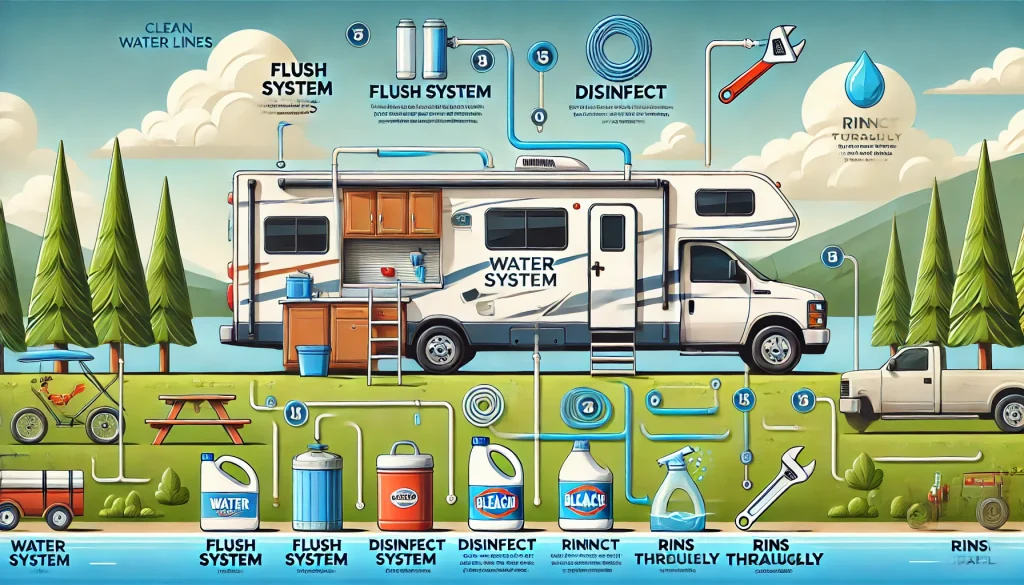
Cleaning your RV water lines effectively requires the right tools to ensure the job is thorough and hassle-free. Having these essential items on hand can make the process easier and help maintain a safe, clean water system.
1. Freshwater Hose
A dedicated freshwater hose is crucial for flushing and refilling your RV water system.
Features to Look For:
- BPA-free and safe for drinking water
- Durable and kink-resistant design
- Length appropriate for your RV setup
Why It’s Important:
Using a dedicated freshwater hose prevents cross-contamination and ensures safe water quality.
2. Funnel
A funnel is essential for adding cleaning solutions like bleach, vinegar, or sanitizers to the fresh water tank.
Best Practices:
- Use a separate funnel for RV cleaning to avoid contamination.
- Opt for a large funnel to minimize spills.
Pro Tip: Always rinse the funnel thoroughly after use.
3. Measuring Cup
Accurate measurements are key when mixing cleaning solutions to prevent damage to your plumbing system.
Suggested Capacity:
- 1–2 cups for precise measuring of bleach or other cleaners.
Tip: Use a dedicated measuring cup for RV cleaning to avoid household mixing mistakes.
4. Water Pressure Regulator
A water pressure regulator protects your RV plumbing system from high pressure when flushing the water lines.
Why You Need It:
- Prevents hose and pipe damage during cleaning.
- Ensures consistent water flow for effective rinsing.
5. Bucket
A bucket is a versatile tool for draining faucets, catching excess water, and mixing cleaning solutions.
Key Features:
- Durable and leak-proof
- Holds at least 3–5 gallons of water
6. RV Water Pump
An RV water pump helps circulate cleaning solutions through the water lines, ensuring every part of the system is sanitized.
Maintenance Tip:
Test the pump before starting to ensure it’s in good working condition.
7. Commercial RV Water Line Cleaner (Optional)
RV-specific cleaners are designed to sanitize water lines without the use of bleach or vinegar.
Advantages:
- Easy to use with pre-measured solutions
- Gentle on plumbing and seals
8. Adjustable Wrench
An adjustable wrench can help you loosen or tighten fittings and access hard-to-reach areas during the cleaning process.
Why It’s Handy:
- Ensures a leak-free setup after reassembling your system.
9. Rubber Gloves
Rubber gloves protect your hands from harsh cleaning solutions like bleach.
Additional Benefits:
- Keeps hands clean and dry during the process.
10. Water Filter (Optional)
Installing a water filter ensures that only clean, debris-free water enters your system after cleaning.
Recommended Type:
- Inline water filters for easy installation and replacement.
Steps to Clean RV Water Lines
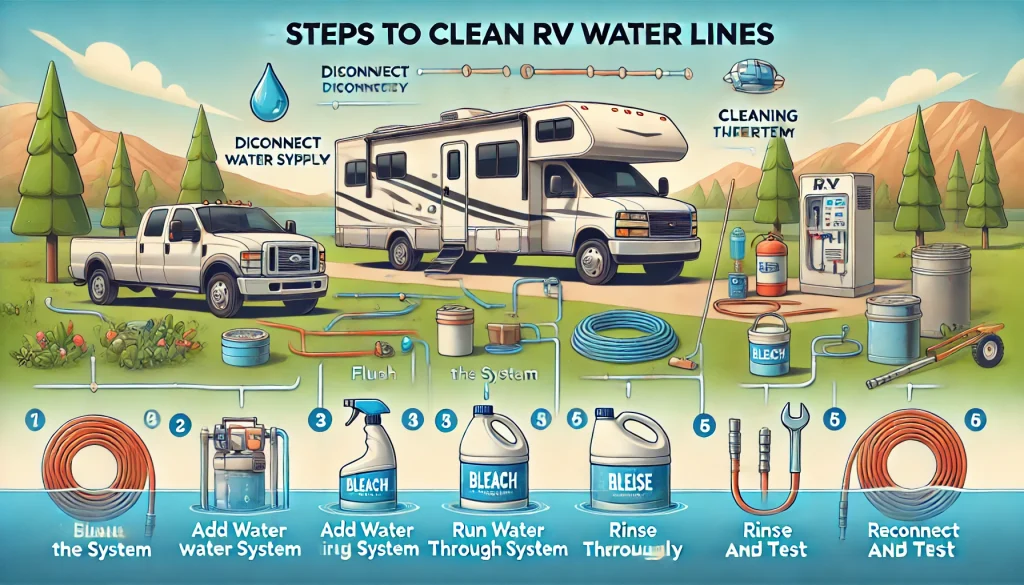
Regularly cleaning your RV water lines is essential to maintain fresh, safe drinking water and prevent buildup in your plumbing system. Follow these easy steps to ensure your RV water system stays clean and functional.
1. Drain the Water System
Start by completely draining the water from your RV system.
Steps:
- Turn off the water pump.
- Open all faucets (hot and cold) to allow water to drain.
- Drain the fresh water tank and water heater.
Tip: Consult your RV’s manual for proper water heater draining instructions.
2. Prepare a Cleaning Solution
Use a bleach solution to sanitize the water lines.
How to Mix:
- Combine 1/4 cup of unscented bleach with one gallon of water for every 15 gallons of your freshwater tank capacity.
Alternative: If you prefer a natural option, substitute bleach with white vinegar (1 gallon of vinegar for every 15 gallons of tank capacity).
3. Add the Solution to the Fresh Water Tank
Pour the cleaning solution into the fresh water tank using a funnel. Ensure the tank is filled to capacity with the solution.
Pro Tip: Avoid spilling bleach on any surface, as it may cause discoloration.
4. Pump the Solution Through the System
Turn on the water pump and open all faucets (hot and cold) one at a time. Allow the cleaning solution to flow through until you smell bleach or vinegar from each faucet, then close them.
5. Let the Solution Sit
Allow the solution to remain in the water lines for at least 4–6 hours. This dwell time helps kill bacteria, mold, and other contaminants.
Important: Do not leave the solution in the system for more than 24 hours to avoid potential damage.
6. Flush the System
Completely drain the cleaning solution from the system, including the fresh water tank and water heater. Refill the tank with clean water and run it through all faucets until there’s no bleach or vinegar smell.
Repeat if Necessary:
If the water still smells or tastes like bleach, flush the system again.
7. Test the Water
Taste and smell the water to ensure it’s fresh and clean. If it’s free from odors and tastes normal, your cleaning process is complete.
Do You Need a Professional to Clean RV Water Lines, or Can You Do It Yourself?
Keeping your RV water lines clean is crucial for maintaining safe drinking water and ensuring the longevity of your plumbing system. Many RV owners wonder whether they should hire a professional or handle the task themselves. Let’s explore both options to help you make the best decision.
Can You Clean RV Water Lines Yourself?
Yes, cleaning RV water lines is a straightforward process that most RV owners can handle with basic tools and a little guidance.
Why You Can Do It Yourself:
- Cost-Effective: Cleaning your water lines yourself saves money compared to hiring a professional.
- Simple Process: With a step-by-step guide, the process is easy to follow, even for beginners.
- Minimal Tools Required: Supplies like bleach, a freshwater hose, a funnel, and a bucket are all you need.
DIY Cleaning Steps:
- Drain the system completely.
- Mix a bleach solution (1/4 cup bleach per 15 gallons of tank capacity).
- Pump the solution through the water lines and let it sit for 4–6 hours.
- Flush thoroughly with clean water until no bleach smell remains.
Pro Tip: For those who prefer an eco-friendly option, white vinegar or RV-specific sanitizers are excellent alternatives.
When to Consider a Professional
Although cleaning RV water lines is generally simple, there are situations where hiring a professional might be a better choice.
Reasons to Hire a Professional:
- Severe Contamination: If your water system has heavy sediment buildup, mold, or persistent odors, a professional can perform a deeper cleaning.
- Time Constraints: If you don’t have the time or confidence to handle the process, hiring an expert ensures the job is done quickly and efficiently.
- Plumbing Issues: Professionals can inspect for leaks, damaged fittings, or other plumbing problems that may need repair.
- Advanced Equipment: Some professionals use high-pressure cleaning tools or specialized sanitizers for a more thorough clean.
Pros and Cons of DIY vs. Professional Cleaning What’s the Best Option for You?
- DIY Cleaning is Ideal: If your water lines are in good condition and you’re confident following simple instructions.
- Hire a Professional: If your system has major contamination, plumbing issues, or you want a more comprehensive service.
Common Mistakes When Cleaning RV Water Lines and Their Solutions
Cleaning RV water lines is an essential maintenance task, but even small mistakes can lead to ineffective cleaning or long-term plumbing issues. Understanding these common errors and how to avoid them ensures a safe, efficient cleaning process.
1. Using the Wrong Cleaning Solution
Mistake:
Using harsh chemicals or scented bleach can damage the water lines and leave a lingering taste or odor.
Solution:
- Use unscented household bleach for effective sanitation.
- For natural alternatives, opt for white vinegar or RV-specific sanitizers.
- Always follow recommended dilution ratios to avoid over-concentration.
2. Skipping the Drain Step
Mistake:
Failing to completely drain the water system before cleaning can dilute the cleaning solution, reducing its effectiveness.
Solution:
- Always drain the freshwater tank, water heater, and water lines before adding a cleaning solution.
- Open all faucets to ensure the system is entirely empty.
3. Inadequate Soaking Time
Mistake:
Not allowing the cleaning solution enough time to sanitize the system.
Solution:
- Let the solution sit in the water lines for 4–6 hours to eliminate bacteria and mold effectively.
- Avoid letting it sit longer than 24 hours to prevent potential damage to seals and hoses.
4. Insufficient Flushing
Mistake:
Failing to flush out the cleaning solution completely, leaving behind bleach or vinegar residue.
Solution:
- Flush the water system thoroughly with fresh water until the bleach or vinegar smell is completely gone.
- Run clean water through each faucet (hot and cold) to ensure all traces are removed.
5. Ignoring the Water Heater
Mistake:
Overlooking the water heater during the cleaning process leads to incomplete sanitation.
Solution:
- Drain and flush the water heater along with the rest of the system.
- Consult your RV’s manual for proper water heater maintenance.
6. Not Cleaning After De-Winterizing
Mistake:
Using the RV water system without cleaning it after de-winterizing can leave antifreeze residue in the lines.
Solution:
- Sanitize the water lines immediately after removing antifreeze from the system.
- Flush the system multiple times to ensure all antifreeze traces are gone.
7. Forgetting to Replace Water Filters
Mistake:
Cleaning the water lines but neglecting to replace or clean the water filter can reintroduce contaminants.
Solution:
- Replace the water filter every time you clean your RV water lines.
- Use an inline water filter to ensure fresh, clean water.
8. Using High Water Pressure
Mistake:
Applying excessive water pressure during flushing can damage the RV’s plumbing system.
Solution:
- Use a water pressure regulator to protect the plumbing and maintain consistent pressure.
- Keep the pressure below the recommended levels for your RV.
9. Neglecting Regular Maintenance
Mistake:
Cleaning water lines only when issues arise, like foul odors or discoloration.
Solution:
- Schedule routine cleaning at least twice a year, or after long periods of storage or using unfamiliar water sources.
10. Forgetting to Test the Water
Mistake:
Skipping a water test after cleaning can lead to missed contaminants or leftover cleaning solution.
Solution:
- Test the water for taste and smell before using it for drinking or cooking.
- If there’s any odor or taste, flush the system again.
Safety Precautions to Clean RV Water Lines
Cleaning RV water lines is crucial for maintaining fresh and safe water. However, the process involves handling chemicals and accessing your RV’s plumbing system, which requires proper safety measures. Follow these safety precautions to ensure a smooth and hazard-free cleaning process.
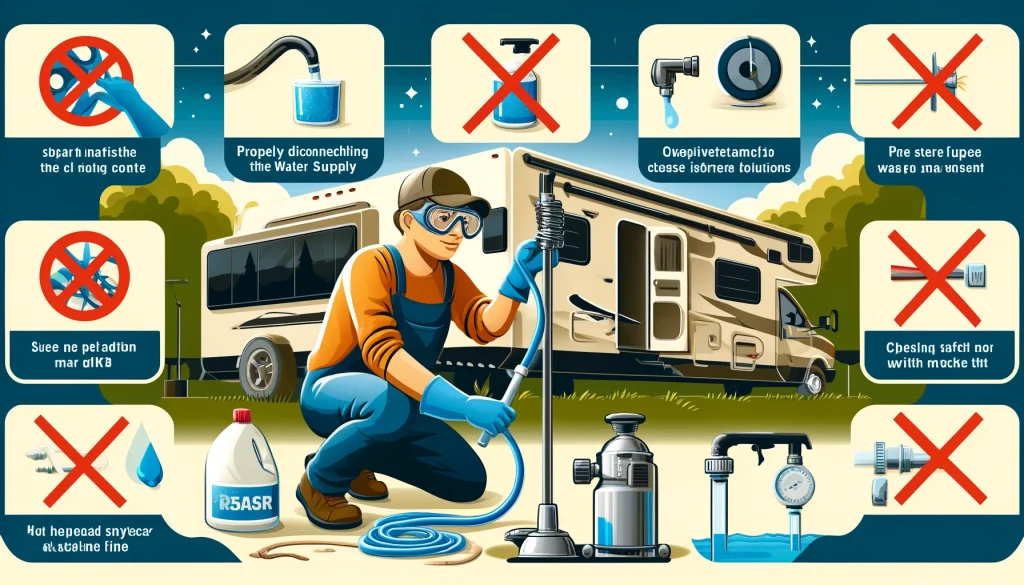
1. Use Safe Cleaning Agents
Precaution:
Avoid using harsh or harmful chemicals that can damage your plumbing or pose health risks.
What to Do:
- Use unscented household bleach in the recommended ratio (1/4 cup per 15 gallons of tank capacity).
- Opt for white vinegar or RV-specific sanitizers as safer alternatives.
- Never mix cleaning agents, as this can produce toxic fumes.
2. Wear Protective Gear
Precaution:
Direct contact with cleaning solutions can irritate your skin and eyes.
What to Do:
- Wear rubber gloves to protect your hands.
- Use safety goggles to shield your eyes from splashes.
- Work in a well-ventilated area to avoid inhaling fumes.
3. Turn Off Power Sources
Precaution:
Working around water and electricity can be dangerous.
What to Do:
- Turn off the water pump and disconnect the RV from its power source before starting.
- Shut off the water heater to avoid burns from hot water or heating elements.
4. Prevent Spills and Contamination
Precaution:
Spilled chemicals or dirty water can damage surfaces or contaminate clean areas.
What to Do:
- Use a funnel when adding cleaning solutions to the fresh water tank to prevent spills.
- Keep a bucket or towel handy to catch any excess water during draining or flushing.
5. Maintain Proper Dilution Ratios
Precaution:
Over-concentrated cleaning solutions can damage your plumbing and seals.
What to Do:
- Always follow the recommended dilution ratio for bleach or other cleaners.
- Use a measuring cup for accurate proportions.
6. Check for Leaks
Precaution:
Undetected leaks can lead to water damage or wasted cleaning solution.
What to Do:
- Inspect the water system for leaks before and after cleaning.
- Tighten any loose fittings with an adjustable wrench as needed.
7. Rinse Thoroughly
Precaution:
Residual cleaning agents can affect water taste and pose health risks if ingested.
What to Do:
- Flush the system multiple times with clean water until no bleach or vinegar smell remains.
- Run water through all faucets (hot and cold) to ensure complete rinsing.
8. Test the Water Before Use
Precaution:
Using the water without testing could expose you to leftover cleaning agents.
What to Do:
- Taste and smell the water to ensure it’s clean and free of odors.
- If needed, flush the system again until the water tastes normal.
9. Store Cleaning Supplies Safely
Precaution:
Improper storage of chemicals can lead to spills, accidents, or degradation of the product.
What to Do:
- Keep bleach, vinegar, and other cleaners in a cool, dry place away from direct sunlight.
- Store supplies out of reach of children and pets.
10. Follow Manufacturer Guidelines
Precaution:
Not adhering to your RV manufacturer’s recommendations can void warranties or cause damage.
What to Do:
- Refer to your RV owner’s manual for specific instructions on cleaning the water system.
- Ensure all components, including the water heater, are handled according to the manufacturer’s guidelines.
More related info will be available on Flamingo Motorhomes.

