Keeping your RV’s AC coils clean is essential for maintaining efficient cooling during your travels. Dirty coils reduce airflow, causing your system to overwork and increase energy consumption. In this guide, we’ll explore how to clean RV AC coils properly to ensure optimal performance.
Why Cleaning RV AC Coils Is Important
Regular cleaning of your RV’s air conditioning coils not only improves cooling efficiency but also extends the lifespan of your unit. Dust, debris, and grime can accumulate on the coils over time, restricting airflow and reducing performance. By cleaning the coils, you’ll enjoy better cooling and save on energy costs.
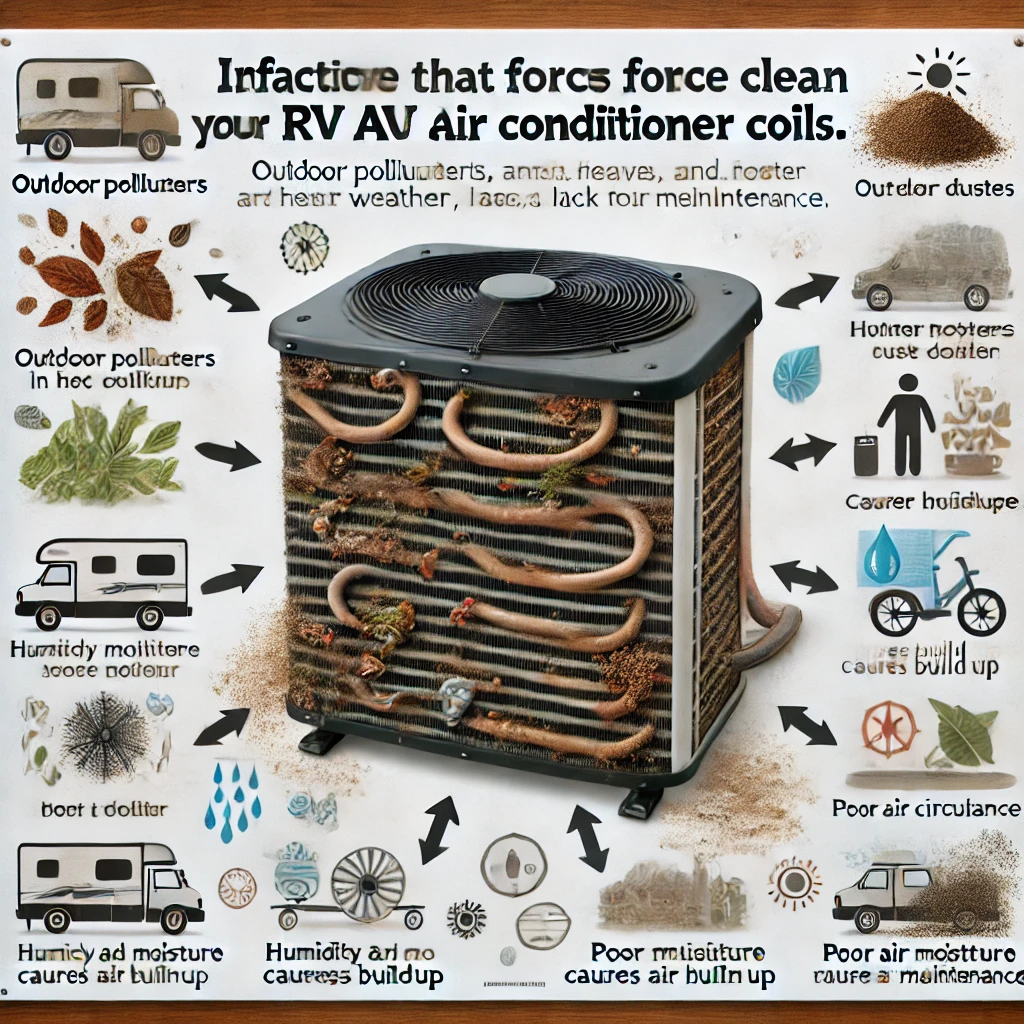
Factors That Force You to Clean RV AC Coils
Cleaning your RV AC coils is essential for maintaining peak performance and extending the lifespan of your air conditioning unit. Neglecting this simple task can lead to inefficiency, increased energy costs, and potential breakdowns. Below, we’ll explore the key factors that compel you to clean your RV AC coils.
1. Reduced Cooling Efficiency
One of the primary factors forcing you to clean RV AC coils is reduced cooling efficiency. Over time, dirt, dust, and grime accumulate on the coils, blocking airflow and making it harder for the unit to cool your RV. Regular cleaning ensures consistent and efficient cooling.
2. Increased Energy Consumption
Dirty RV AC coils require your air conditioning system to work harder to achieve the desired temperature. This additional strain increases energy consumption, leading to higher electricity bills. Cleaning the coils allows the system to run efficiently, saving both energy and money.
3. Risk of System Overheating
When RV AC coils are covered in debris, the unit struggles to dissipate heat effectively. This can lead to overheating, causing unnecessary wear and tear on the system. Prevent costly repairs by cleaning the coils regularly.
4. Poor Indoor Air Quality
Dirty AC coils can harbor mold, mildew, and bacteria, which can circulate through your RV’s interior air. This reduces air quality and can lead to health issues, especially for allergy sufferers. Cleaning the coils ensures cleaner, healthier air inside your RV.
5. Prolonged Equipment Lifespan
Neglecting coil maintenance can shorten the lifespan of your RV AC unit. Dirty coils force the system to operate under stress, increasing the likelihood of mechanical failure. Routine cleaning helps protect your investment and ensures it lasts longer.
6. Preventative Maintenance for Seasonal Use
RV AC systems often sit idle during the off-season, allowing dust and debris to settle on the coils. Before hitting the road, cleaning the coils ensures your air conditioning system is ready for peak performance when you need it most.
Methods to Clean RV AC Coils
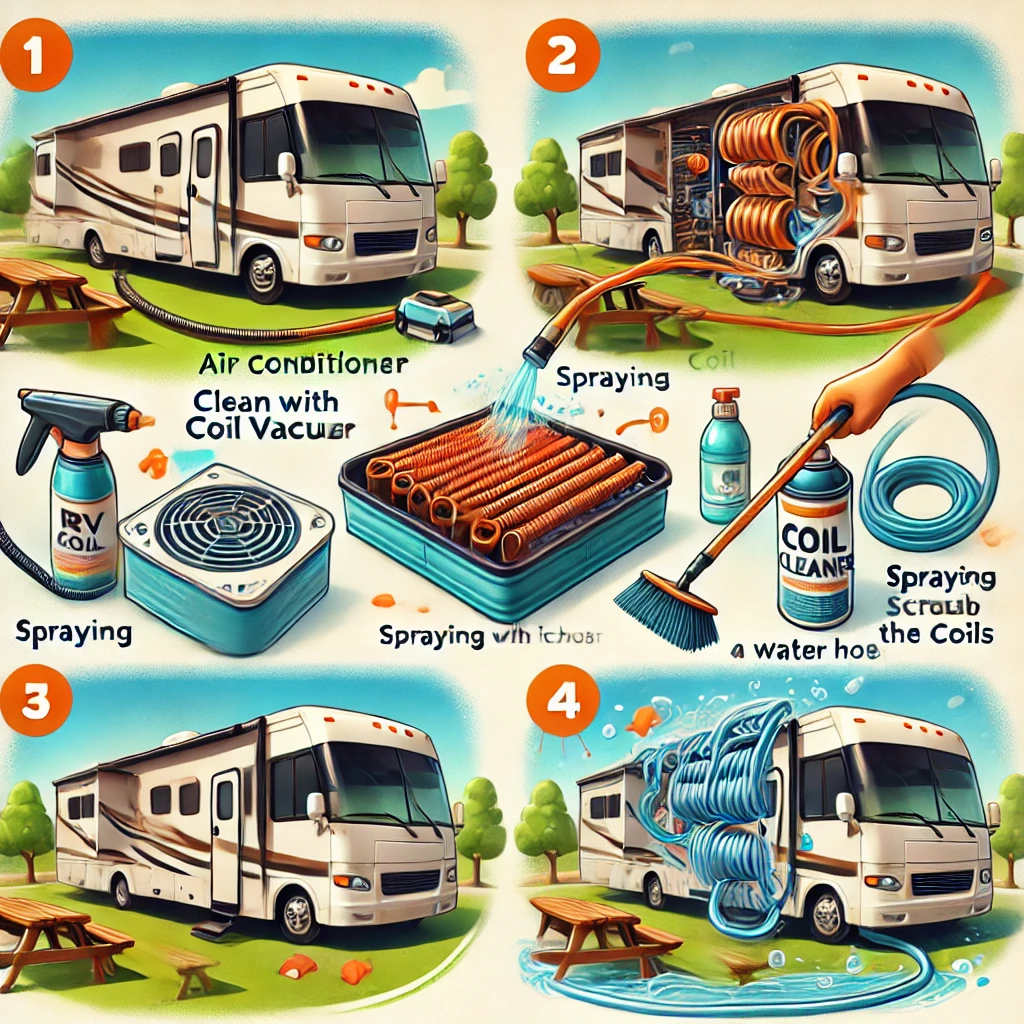
Regularly cleaning your RV AC coils is crucial for maintaining optimal cooling efficiency and prolonging the life of your air conditioning unit. Dirt and debris buildup can hinder performance, but using the right methods ensures thorough cleaning without damaging the coils. Below are the most effective ways to clean RV AC coils.
1. Vacuuming the Coils
Vacuuming is one of the easiest and quickest methods to clean RV AC coils.
- Steps:
- Turn off the AC and disconnect the power.
- Remove the outer cover to access the coils.
- Use a vacuum cleaner with a soft brush attachment to gently remove dirt and debris.
- When to Use:
This method is ideal for light cleaning or when dealing with minor dust buildup.
2. Using Coil Cleaner Spray
Coil cleaners are specially formulated to dissolve dirt and grime on AC coils effectively.
- Steps:
- Spray the cleaner evenly on the coils (both evaporator and condenser).
- Allow it to sit for the recommended time (typically 5–10 minutes).
- Wipe away or rinse the residue with a damp cloth or low-pressure water.
- Benefits:
This method is highly effective for stubborn grime and provides a deep clean.
3. Brushing the Coils
Using a soft-bristle brush is another manual method for cleaning RV AC coils.
- Steps:
- Gently scrub the coils to loosen and remove dirt.
- Be cautious not to bend or damage the delicate fins.
- Best Practices:
Combine brushing with vacuuming or a coil cleaner for better results.
4. Rinsing with Water
For heavy dirt buildup, rinsing the coils with water can be an effective solution.
- Steps:
- Use a garden hose or spray bottle with low-pressure water.
- Rinse thoroughly to remove loosened dirt and cleaner residue.
- Important Note:
Avoid high-pressure water as it can bend the coil fins, reducing airflow efficiency.
5. Professional Cleaning Services
If the coils are heavily soiled or you’re unsure about cleaning them yourself, consider hiring a professional.
- When to Opt for This:
- For extensive dirt accumulation
- If the coils are damaged or require deep maintenance
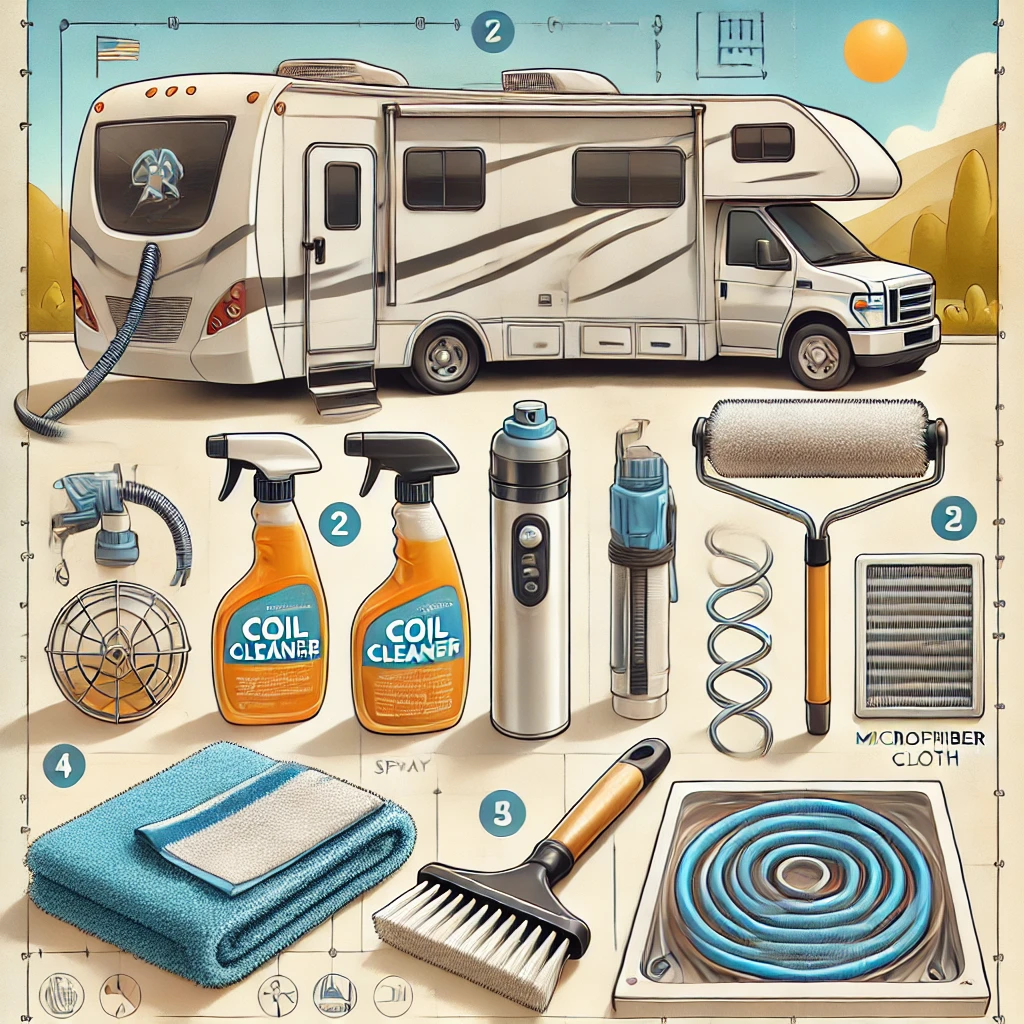
Essential Tools to Clean RV AC Coils
Cleaning your RV AC coils requires the right tools to ensure thorough maintenance without damaging the delicate components. Using these tools, you can efficiently remove dirt, dust, and grime to keep your air conditioning system running smoothly. Here’s a list of essential tools you need to clean RV AC coils.
1. Vacuum Cleaner with Brush Attachment
A vacuum cleaner with a soft brush attachment is ideal for removing surface dust and debris from the coils.
- Why It’s Essential:
It helps clean without damaging the coil fins. - Tip:
Use gentle strokes to avoid bending the fins.
2. Coil Cleaner Spray
Specially designed coil cleaners dissolve dirt, grease, and grime that accumulate on AC coils.
- Why It’s Essential:
It provides a deep clean and is safe for delicate components. - Tip:
Choose a non-corrosive and RV-friendly coil cleaner for the best results.
3. Soft-Bristle Brush
A soft-bristle brush is perfect for scrubbing stubborn dirt off the coils.
- Why It’s Essential:
It allows you to clean manually without scratching the surface. - Tip:
Use gentle pressure to avoid bending or damaging the fins.
4. Garden Hose or Spray Bottle
Low-pressure water sources like a garden hose or spray bottle are helpful for rinsing the coils.
- Why It’s Essential:
It removes cleaner residue and any remaining dirt. - Tip:
Avoid using high-pressure water to prevent bending the coil fins.
5. Fin Comb
A fin comb is used to straighten bent fins on the coils, improving airflow.
- Why It’s Essential:
Bent fins restrict airflow, reducing cooling efficiency. - Tip:
Match the comb’s size to your coil fins for precise straightening.
6. Screwdriver Set
A basic screwdriver set is necessary for removing the AC unit’s cover to access the coils.
- Why It’s Essential:
It allows easy disassembly without damaging the casing. - Tip:
Keep screws organized to make reassembly easier.
7. Microfiber Cloth
A microfiber cloth is perfect for wiping down the coils after cleaning.
- Why It’s Essential:
It helps dry the coils without leaving lint or scratches. - Tip:
Use a clean, dry cloth for the best results.
Steps to Clean RV AC Coils
Regular cleaning of your RV AC coils is essential to maintain efficient cooling, improve air quality, and prolong the lifespan of your air conditioning unit. Follow these step-by-step instructions to clean your RV AC coils properly and ensure they operate at peak performance.
1. Turn Off the Power
Before starting, turn off the AC unit and disconnect it from the power source.
- Why It’s Important:
This ensures safety and prevents accidental damage during the cleaning process.
2. Remove the AC Cover
Using a screwdriver, carefully remove the outer cover of the AC unit to access the coils.
- Tip:
Keep all screws organized for easy reassembly.
3. Inspect the Coils
Examine both the evaporator and condenser coils for dust, dirt, and grime buildup.
- Why It’s Important:
Identifying the level of dirt helps determine the cleaning method you’ll use.
4. Vacuum the Coils
Use a vacuum cleaner with a soft brush attachment to gently remove loose dirt and debris from the coils.
- Pro Tip:
Work in a consistent direction to avoid bending the delicate fins.
5. Apply Coil Cleaner
Spray a coil cleaner evenly on the coils.
- Steps:
- Choose a non-corrosive cleaner specifically designed for AC coils.
- Allow the cleaner to sit for 5–10 minutes to loosen stubborn dirt and grease.
6. Brush the Coils
Use a soft-bristle brush to scrub away any remaining grime.
- Tip:
Be gentle to avoid damaging the coil fins.
7. Rinse or Wipe the Coils
If the cleaner requires rinsing, use a low-pressure water source to wash off the residue. Alternatively, wipe the coils clean with a damp microfiber cloth.
- Important Note:
Ensure all residue is removed for optimal performance.
8. Straighten Bent Fins (Optional)
If you notice bent fins, use a fin comb to straighten them.
- Why It’s Important:
Straight fins improve airflow and cooling efficiency.
9. Reassemble the AC Unit
Once the coils are completely dry, reassemble the AC unit by replacing the cover and securing the screws.
10. Test the AC
Reconnect the power and turn on the AC to ensure it’s operating efficiently.
- Pro Tip:
Listen for unusual noises or performance issues after cleaning.
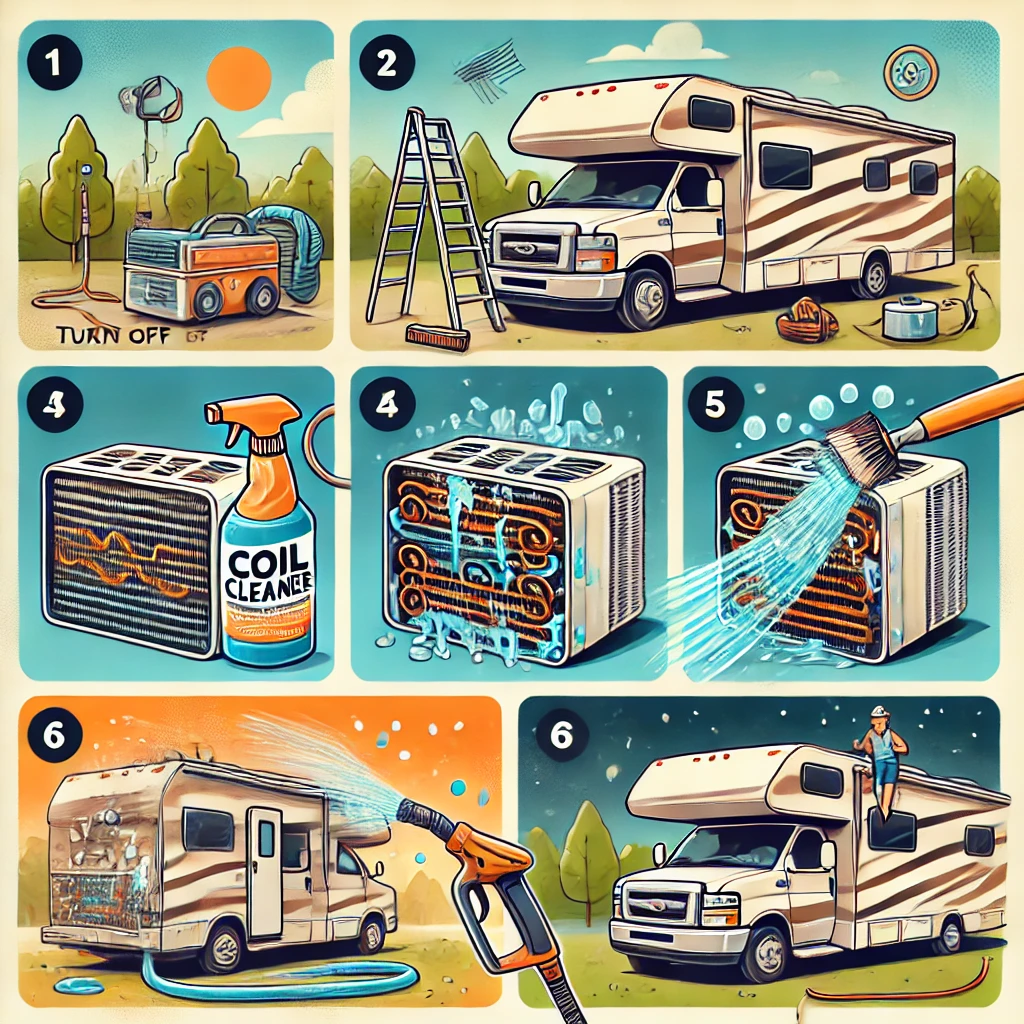
How to Clean RV AC Coils for Different Classes
Cleaning RV AC coils is a critical maintenance task for all types of RVs. However, each class of RV—Class A, Class B, Class C, travel trailers, and fifth wheels—has unique air conditioning systems that require slightly different approaches. Let’s break down how to clean RV AC coils for different classes.
1. Class A RVs
Class A motorhomes typically feature larger rooftop AC units that cool expansive interiors.
- Steps to Clean:
- Turn off the power and disconnect the AC unit.
- Access the rooftop AC by removing the protective shroud.
- Use a vacuum with a soft-bristle attachment to remove debris from the coils.
- Spray a non-corrosive coil cleaner and allow it to sit.
- Rinse the coils gently with a low-pressure water source or wipe with a microfiber cloth.
- Reassemble the shroud and test the AC unit.
- Tips:
Clean Class A RV AC units at least twice a year due to their larger size and frequent use.
2. Class B RVs
Class B RVs often use compact rooftop or portable air conditioning systems.
- Steps to Clean:
- Disconnect the unit from power.
- Access the small AC unit, usually located on the roof or within the interior.
- Remove the cover and inspect the coils for dust or grime.
- Clean with a soft brush and coil cleaner spray.
- Wipe off the cleaner with a damp cloth or rinse gently if applicable.
- Reassemble the cover and test the unit.
- Tips:
Avoid using high-pressure water to protect delicate internal components.
3. Class C RVs
Class C RVs use rooftop AC units similar to Class A, but with smaller capacity.
- Steps to Clean:
- Power down the unit and remove the exterior shroud.
- Inspect both evaporator and condenser coils.
- Vacuum or brush away loose dirt.
- Apply a coil cleaner and let it sit.
- Use a low-pressure hose or microfiber cloth to remove residue.
- Dry the coils completely before reassembling the unit.
- Tips:
Clean the AC coils after long trips or seasonal use to maintain efficiency.
4. Travel Trailers
Travel trailers often rely on rooftop or window-mounted AC units.
- Steps to Clean:
- Disconnect power and remove the AC cover.
- Inspect the coils for dust, debris, and grime.
- Use a brush or vacuum to clean the surface.
- Spray the coils with cleaner and wipe clean with a cloth or rinse gently.
- Reassemble the cover and ensure proper function.
- Tips:
Travel trailers may require additional cleaning if stored in dusty environments.
5. Fifth Wheels
Fifth-wheel trailers often feature ducted rooftop AC systems.
- Steps to Clean:
- Disconnect the AC from power.
- Access the rooftop unit and remove the protective shroud.
- Vacuum or brush away loose dirt from the coils.
- Apply coil cleaner and allow it to penetrate for a few minutes.
- Rinse or wipe the coils clean.
- Dry thoroughly and reassemble the unit.
- Tips:
Consider cleaning the ducts along with the coils for better air circulation.
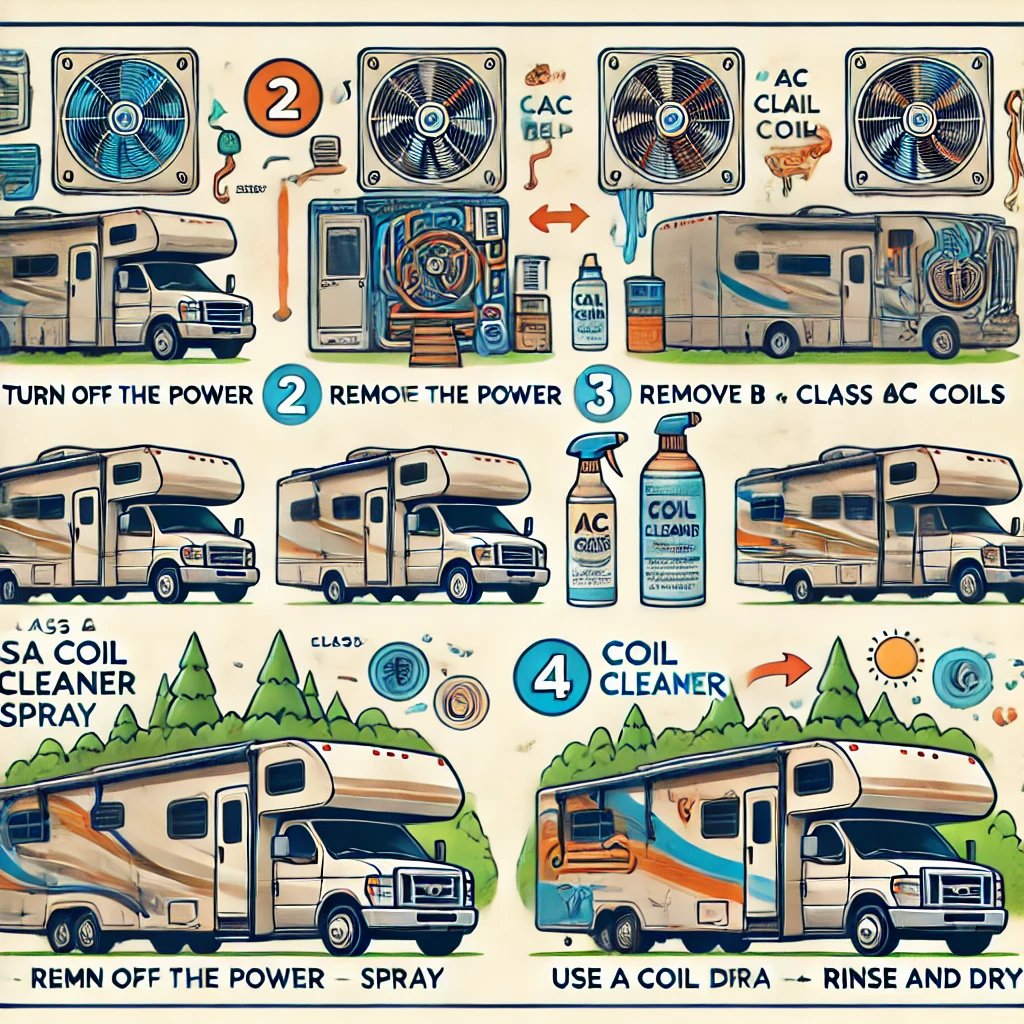
Do You Need a Professional to Clean RV AC Coils, or Can You Do It Yourself?
Keeping your RV’s air conditioning system in top condition often raises a common question: Should you clean the RV AC coils yourself or hire a professional? The answer depends on your comfort level, the condition of the AC, and the tools at your disposal. Let’s explore both options to help you decide.
When You Can Clean RV AC Coils Yourself
Cleaning RV AC coils is a straightforward process that many RV owners can handle with basic tools and a little guidance.
1. Signs You Can DIY
- Light Dirt or Dust Buildup: If the coils have minor debris, you can clean them easily.
- Access to Tools: A vacuum, coil cleaner spray, soft brush, and a screwdriver are sufficient for most cleaning tasks.
- Routine Maintenance: Regular cleaning, such as seasonal upkeep, can typically be done without professional help.
DIY Steps Overview
- Turn off the AC and disconnect power.
- Remove the AC cover to access the coils.
- Use a vacuum or brush to remove dirt.
- Apply coil cleaner and wipe or rinse it off.
- Reassemble and test the unit.
- Benefits of DIY:
- Cost-effective
- Convenient
- Enhances your understanding of your RV’s AC system
When You Need a Professional to Clean RV AC Coils
Sometimes, calling in a professional is the better choice, especially if the AC system is heavily soiled or shows signs of damage.
1. Signs You Need Professional Help
- Heavy Dirt or Grease: Excessive grime may require specialized equipment for a deep clean.
- Bent or Damaged Fins: Professionals can use tools like fin combs to repair the fins without causing further damage.
- Suspected Mold or Mildew: Professionals have the expertise to safely remove mold and improve indoor air quality.
- Performance Issues: Reduced cooling or unusual noises could indicate underlying problems that need expert diagnosis.
Advantages of Hiring a Professional
- Thorough cleaning and inspection of the entire AC system
- Expertise in handling complex or delicate components
- Saves time and effort, especially for first-time RV owners
Key Factors to Consider
1. Cost
- DIY: The cost is minimal, limited to cleaning products and basic tools.
- Professional: Hiring a technician typically costs $100–$300, depending on the scope of work.
2. Skill Level
- DIY: Ideal for basic maintenance and cleaning.
- Professional: Necessary for extensive dirt buildup, mold, or repairs.
3. Time
- DIY: Takes 1–2 hours depending on your experience.
- Professional: A quicker option if you’re short on time or unfamiliar with the process.
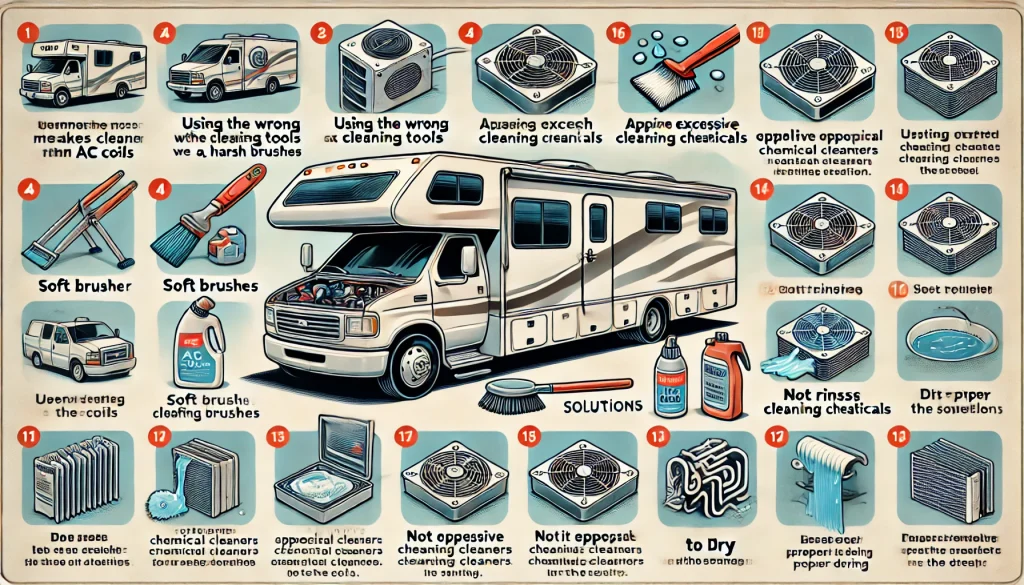
Common Mistakes When Cleaning RV AC Coils and Their Solutions
Cleaning your RV AC coils is essential for maintaining efficient cooling and extending the lifespan of your air conditioning system. However, mistakes during the cleaning process can cause damage or reduce performance. Here are the most common mistakes RV owners make and practical solutions to avoid them.
1. Using High-Pressure Water
High-pressure water can bend the delicate coil fins, restricting airflow and reducing cooling efficiency.
- Solution:
Always use a low-pressure hose or spray bottle to rinse the coils. If the dirt is stubborn, let a coil cleaner loosen it instead of applying excessive water pressure.
2. Skipping Power Disconnection
Cleaning the coils without disconnecting the AC from the power source is a safety hazard.
- Solution:
Turn off the AC and unplug it before starting the cleaning process. Safety first!
3. Applying the Wrong Cleaner
Using harsh or corrosive chemicals can damage the coils and fins.
- Solution:
Use a non-corrosive, RV-friendly coil cleaner specifically designed for AC systems. Avoid general-purpose cleaners.
4. Brushing Too Hard
Excessive scrubbing with a brush can bend or break the coil fins, affecting airflow.
- Solution:
Use a soft-bristle brush and apply gentle pressure. For heavy grime, rely on the coil cleaner to loosen the dirt before brushing.
5. Ignoring Bent Fins
Bent fins restrict airflow and decrease the efficiency of your AC system.
- Solution:
Use a fin comb to straighten bent fins carefully. Match the comb’s size to your coil’s fin spacing for the best results.
6. Not Allowing Coils to Dry Properly
Failing to let the coils dry after cleaning can lead to mold or mildew growth.
- Solution:
Allow the coils to air-dry completely before reassembling the AC unit. Use a microfiber cloth to speed up the process if necessary.
7. Overlooking the Importance of Filters
Cleaning the coils without checking or replacing the air filter means dirt will quickly reaccumulate.
- Solution:
Clean or replace the air filter as part of your coil maintenance routine. This ensures cleaner air and better AC performance.
8. Skipping Regular Maintenance
Waiting too long between cleanings allows dirt and grime to build up, making cleaning more difficult and reducing AC efficiency.
- Solution:
Clean the RV AC coils at least once or twice a year, or more often if you frequently travel in dusty or humid environments.
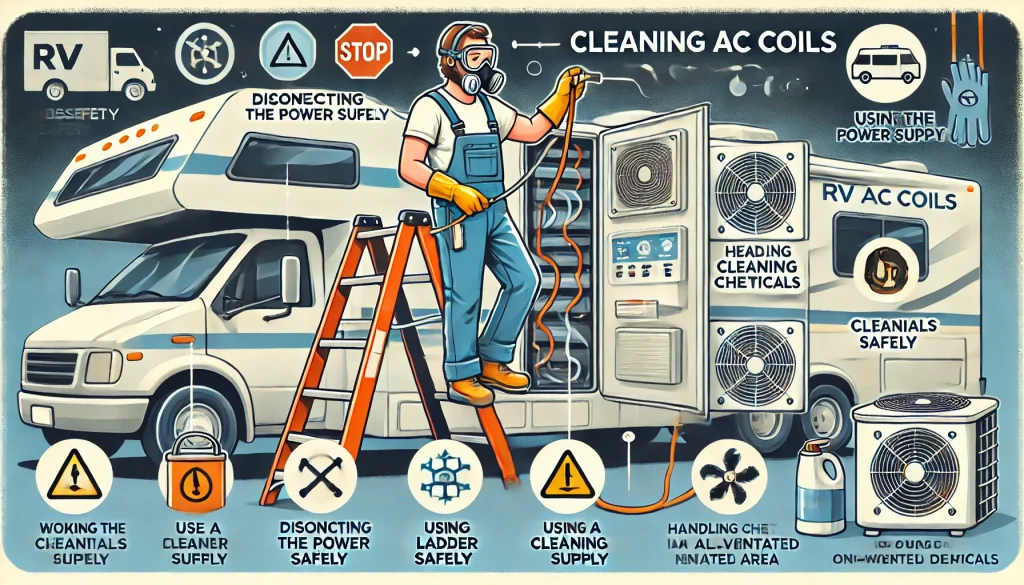
Safety Precautions to Clean RV AC Coils
Cleaning RV AC coils is an important maintenance task, but it’s essential to follow proper safety precautions to avoid injuries or damage to your air conditioning system. Whether you’re a seasoned RV owner or tackling this task for the first time, adhering to these safety tips ensures a smooth and risk-free process.
1. Turn Off the Power
Before starting, always disconnect the RV AC unit from its power source.
- Why It’s Important:
This eliminates the risk of electrical shocks or accidental activation while cleaning. - How to Do It:
Unplug the AC unit or turn off the breaker that powers it.
2. Use Safe and Non-Corrosive Cleaners
Always choose coil cleaners specifically designed for AC systems.
- Why It’s Important:
Harsh chemicals can damage the coils and create harmful fumes. - Pro Tip:
Check the product label to ensure it’s non-corrosive and environmentally friendly.
3. Wear Protective Gear
Equip yourself with gloves, safety goggles, and a mask to stay safe during cleaning.
- Why It’s Important:
Gloves protect your hands from sharp edges and chemicals, while goggles and masks shield you from fumes and debris.
4. Avoid Using High-Pressure Water
High-pressure water can bend coil fins or damage delicate components.
- Why It’s Important:
Damaged fins reduce airflow and efficiency. - Pro Tip:
Use a low-pressure hose or spray bottle for rinsing.
5. Be Careful on Ladders
If your RV has a rooftop AC unit, using a ladder may be necessary.
- Why It’s Important:
Improper ladder use can lead to falls and injuries. - How to Stay Safe:
- Use a sturdy ladder on a flat surface.
- Have someone hold the ladder steady while you work.
6. Avoid Bending the Fins
Coil fins are delicate and can easily be bent during cleaning.
- Why It’s Important:
Bent fins restrict airflow, reducing the AC unit’s cooling performance. - Pro Tip:
Use soft brushes and handle the fins gently.
7. Allow Coils to Dry Completely
Ensure the coils are completely dry before reassembling the AC unit.
- Why It’s Important:
Moisture can lead to mold and mildew growth, causing health issues and odors. - Pro Tip:
Use a microfiber cloth to speed up the drying process.
8. Inspect for Damage
While cleaning, inspect the coils and surrounding components for signs of wear or damage.
- Why It’s Important:
Identifying issues early can prevent costly repairs later. - Pro Tip:
If you notice significant damage, consult a professional.
9. Keep Children and Pets Away
Ensure children and pets are not nearby during the cleaning process.
- Why It’s Important:
This prevents accidental exposure to chemicals or tools.
Final Thoughts
By following these safety precautions, you can clean your RV AC coils effectively and without risks. A little preparation goes a long way in ensuring a smooth and safe cleaning process, keeping both you and your RV AC unit in excellent condition.
More related info will be available on Flamingo Motorhomes.

