Maintaining your RV’s rubber roof is essential for prolonging its life and preventing costly repairs. Regular cleaning not only improves its appearance but also helps prevent cracks, leaks, and mold buildup. Let’s explore the best ways to clean your RV rubber roof effectively and safely.
Why Cleaning Your RV Rubber Roof is Important
Rubber roofs on RVs are durable but prone to dirt, mildew, and UV damage. Neglecting maintenance can lead to structural issues, decreased energy efficiency, and a shorter lifespan for your RV roof. Cleaning regularly ensures:
- Longer Roof Lifespan
- Improved Energy Efficiency
- Protection Against Leaks
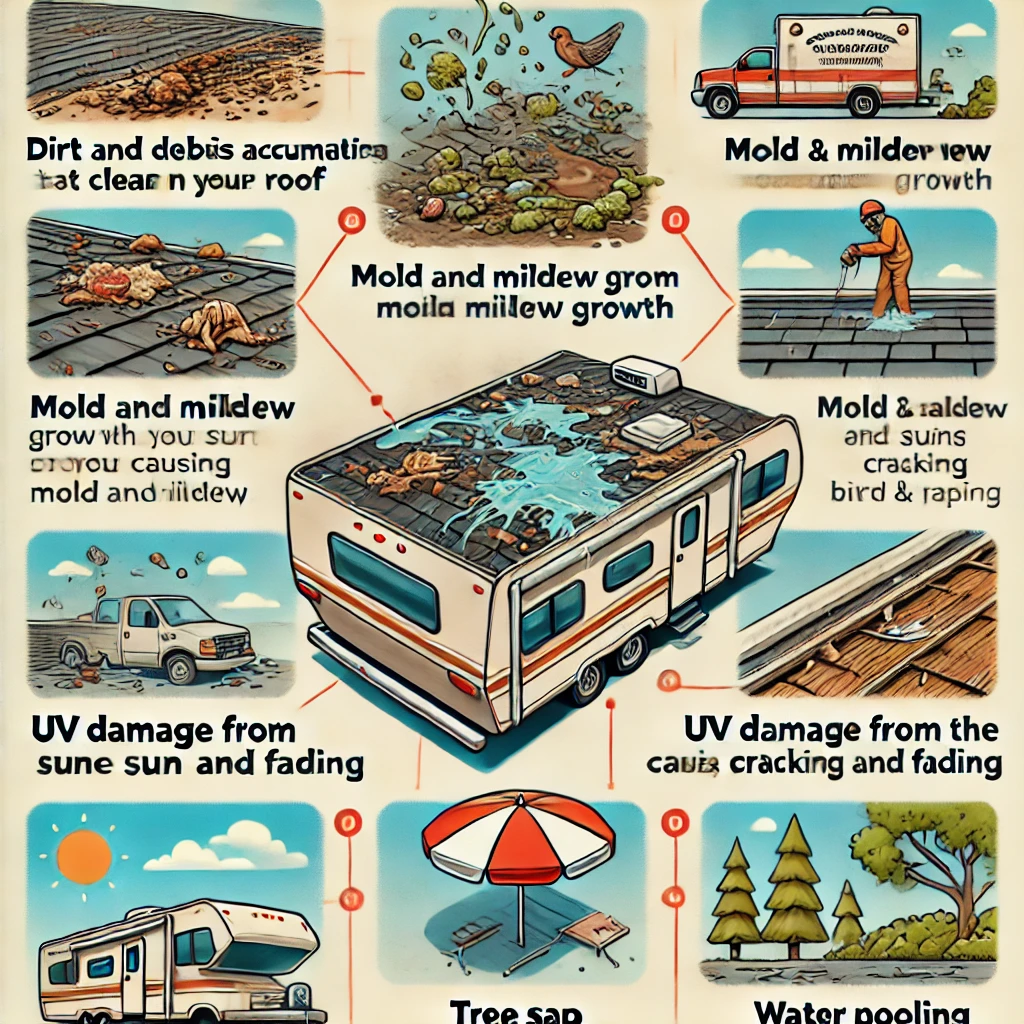
Factors That Force You to Clean Your RV Rubber Roof
Your RV’s rubber roof endures constant exposure to harsh elements, making regular cleaning a necessity. Ignoring maintenance can lead to costly repairs and reduced performance. Here are the key factors that compel you to clean your RV rubber roof and ensure its longevity.
1. Dirt and Debris Accumulation
Dust, leaves, and bird droppings accumulate quickly, especially if your RV is parked outdoors. These can:
- Trap moisture, leading to mold and mildew growth.
- Cause scratches or damage if left uncleaned for long periods.
- Create a dirty appearance, diminishing your RV’s aesthetic.
2. UV Damage
Constant exposure to the sun’s UV rays can dry out and weaken the rubber material. Cleaning and applying a UV protectant reduce:
- Cracking and brittleness of the roof surface.
- Heat absorption, which helps maintain interior comfort.
3. Mildew and Mold Growth
Moisture trapped on the roof encourages the growth of mildew and mold, especially in humid conditions. These fungi can:
- Compromise the roof’s integrity, leading to leaks.
- Trigger allergies and unpleasant odors inside the RV.
4. Staining from Environmental Pollutants
Tree sap, industrial fallout, and smog can leave unsightly stains that are tough to remove if not addressed promptly. Regular cleaning prevents:
- Permanent discoloration of the roof.
- Chemical reactions that might degrade the rubber surface.
5. Preventing Roof Leaks
Neglecting your roof allows dirt and grime to hide potential cracks or damage. Cleaning ensures you:
- Spot small issues early before they escalate.
- Avoid costly repairs caused by undetected leaks.
6. Warranty Compliance
Most RV manufacturers require routine roof maintenance as part of their warranty conditions. Skipping regular cleaning could:
- Void your warranty, leaving you responsible for repairs.
- Impact resale value if maintenance records are insufficient.
Methods to Clean an RV Rubber Roof
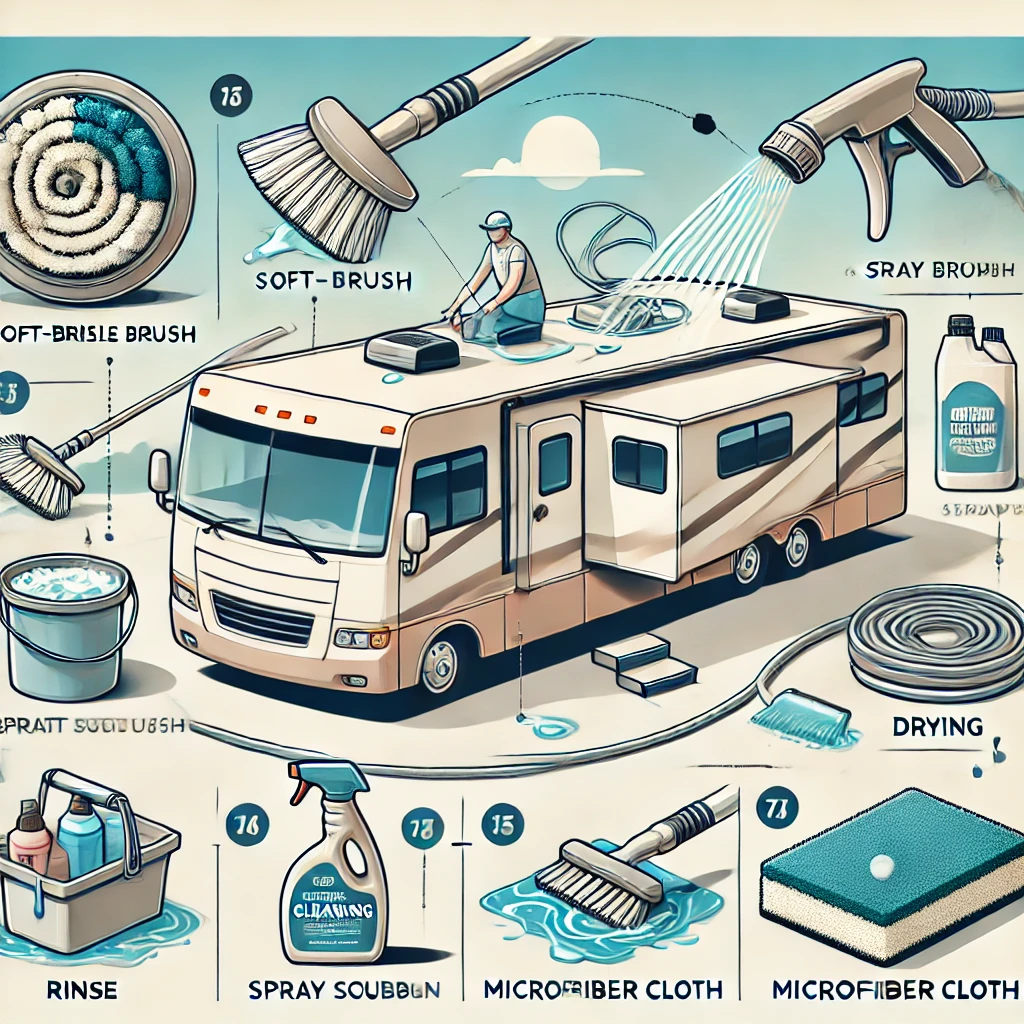
Cleaning your RV rubber roof is crucial for its longevity and performance. Whether you’re dealing with dirt, mildew, or stains, using the right methods ensures the roof remains durable and damage-free. Here’s a breakdown of the most effective methods to clean an RV rubber roof safely and efficiently.
1. Basic Cleaning Method
This method is ideal for routine maintenance and light dirt removal.
Steps:
- Gather Supplies: Use a mild, RV-safe rubber roof cleaner, a soft-bristled brush, and a garden hose.
- Sweep Debris: Remove loose debris like leaves and twigs to avoid scratching.
- Apply Cleaner: Spray or apply the cleaner evenly across the roof.
- Scrub Gently: Use the brush to remove dirt in circular motions.
- Rinse Thoroughly: Wash off the cleaner with water until no residue remains.
Benefits:
- Safe for rubber surfaces.
- Quick and simple for regular upkeep.
2. Deep Cleaning for Stubborn Stains
For tough stains or mildew, a deep cleaning method is more effective.
Steps:
- Choose a Cleaner: Use a rubber-roof-approved stain remover or a diluted bleach solution (1 part bleach to 10 parts water).
- Apply and Soak: Let the solution sit on the stained areas for 10-15 minutes.
- Scrub with Care: Use a soft brush to lift stains, avoiding excessive pressure.
- Rinse Thoroughly: Ensure all cleaner residue is washed away to prevent roof damage.
Warning:
Always check the manufacturer’s guidelines to ensure bleach-based solutions are safe for your roof type.
3. Pressure Washing
Pressure washing is a quick way to clean larger roofs but requires caution.
Steps:
- Use a Low-Pressure Setting: Keep the pressure under 1500 PSI to avoid damage.
- Maintain Distance: Hold the nozzle at least 12 inches away from the roof surface.
- Rinse Carefully: Work in sections to ensure thorough cleaning.
Benefits:
- Fast for large surfaces.
- Removes stubborn grime effectively.
Caution:
Avoid high-pressure settings or narrow nozzles that can tear or weaken the rubber.
4. Eco-Friendly Cleaning with Vinegar
A natural and cost-effective alternative, vinegar is great for mild cleaning.
Steps:
- Mix Solution: Combine equal parts white vinegar and water.
- Apply to Roof: Spray or sponge the mixture onto the surface.
- Scrub Lightly: Use a non-abrasive sponge to clean the roof.
- Rinse Thoroughly: Ensure no residue is left behind.
Benefits:
- Environmentally friendly.
- Prevents mold and mildew naturally.
5. Professional Cleaning Services
If cleaning the roof yourself feels overwhelming, hiring professionals can save time and effort.
Advantages:
- Thorough cleaning without risk of damage.
- Ideal for RV owners with limited time or mobility.
Essential Tools to Clean an RV Rubber Roof
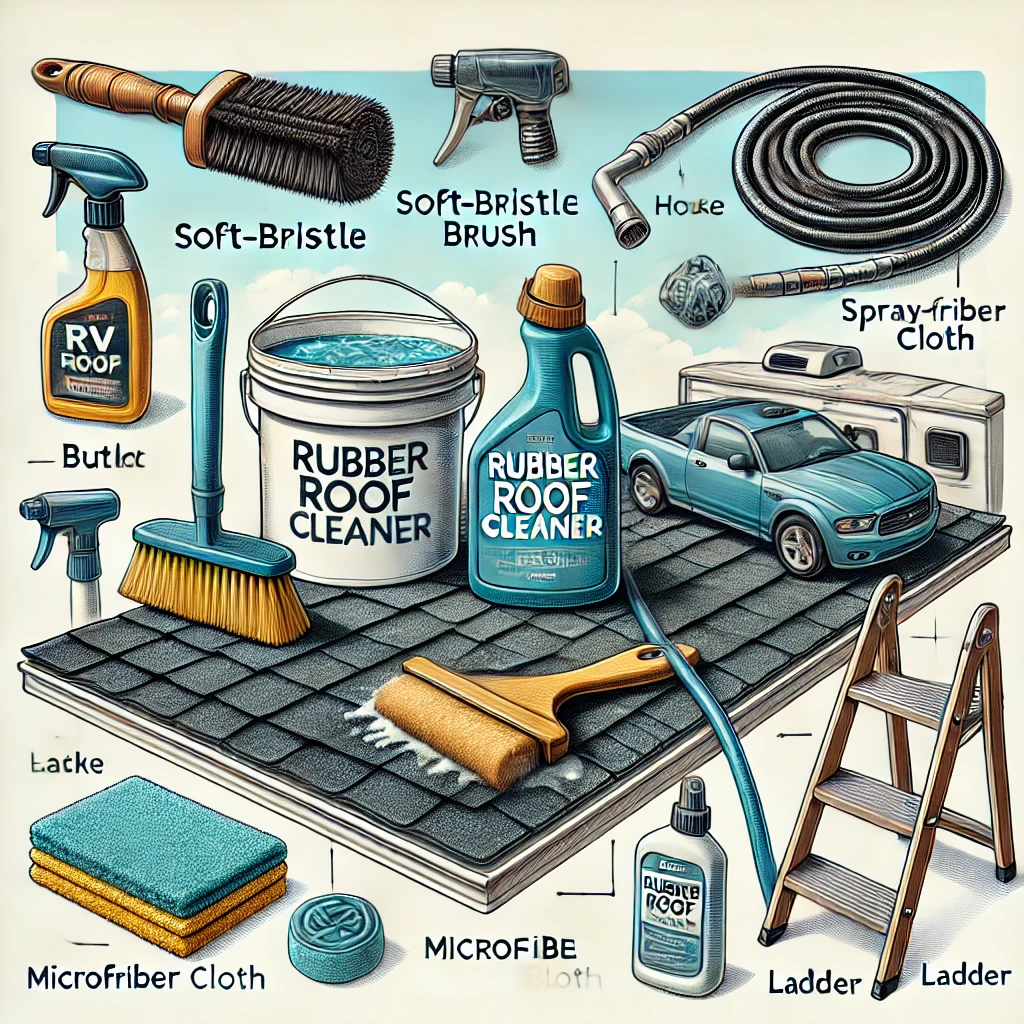
Maintaining your RV rubber roof is easy when you have the right tools on hand. Using appropriate equipment not only makes the job quicker but also protects your roof from damage. Here’s a list of essential tools you’ll need for cleaning an RV rubber roof effectively.
1. RV-Safe Rubber Roof Cleaner
Using a specially formulated cleaner designed for RV rubber roofs is crucial. These cleaners are:
- Non-abrasive and safe for rubber materials.
- Effective at removing dirt, stains, and mildew without causing damage.
Tip: Avoid harsh chemicals like petroleum-based products, which can degrade the roof surface.
2. Soft-Bristled Brush or Sponge
A soft-bristled brush or non-abrasive sponge is ideal for scrubbing your roof without scratching.
- Brush: Best for removing stubborn dirt and stains.
- Sponge: Great for delicate surfaces and light cleaning.
3. Garden Hose with Spray Nozzle
A garden hose with a spray nozzle allows for controlled rinsing.
- Use a gentle spray setting to avoid damaging the roof material.
- Ensure thorough rinsing to remove all cleaner residue.
4. Safety Equipment
Protect yourself while working on the roof by using:
- Safety Gloves: Prevent irritation from cleaning products.
- Non-Slip Shoes: Reduce the risk of slipping while on the roof.
- Protective Goggles: Keep splashes out of your eyes.
5. Ladder or Roof Access Platform
A sturdy ladder or access platform ensures safe and easy roof access.
- Use a ladder stabilizer to prevent slipping.
- Always have someone nearby to hold the ladder for added safety.
6. Bucket for Mixing Solutions
For deep cleaning or eco-friendly cleaning methods, a bucket is essential for mixing solutions like diluted bleach or vinegar.
7. UV Protectant
After cleaning, applying a UV protectant extends the life of your roof by shielding it from sun damage. Look for a product specifically designed for RV rubber roofs.
8. Pressure Washer (Optional)
A pressure washer with a low-pressure setting (below 1500 PSI) can help clean large surfaces quickly.
Caution: Always maintain a safe distance and use a wide spray nozzle to avoid damage.
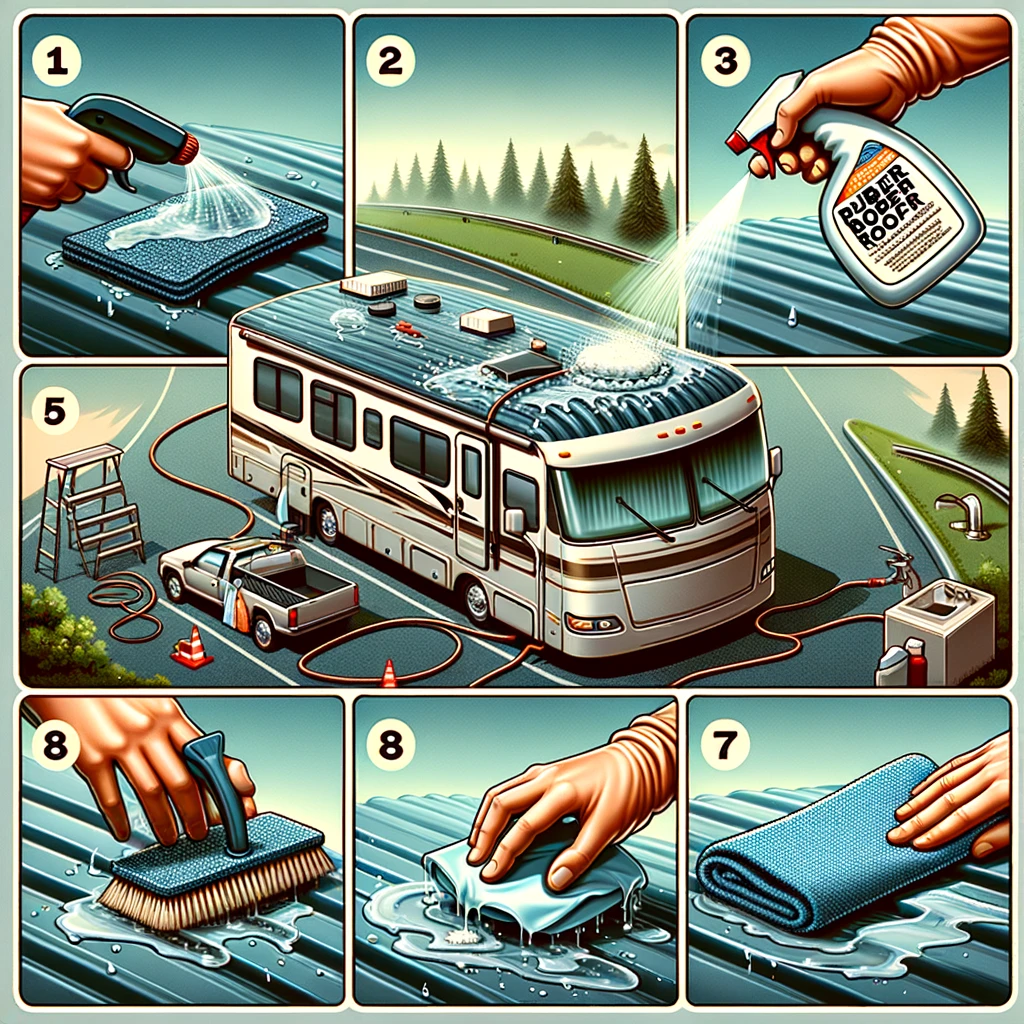
Steps to Clean an RV Rubber Roof
Cleaning your RV’s rubber roof is essential for maintaining its durability and preventing damage. Following the right steps ensures the roof stays free of dirt, mildew, and stains while avoiding unnecessary wear and tear. Here’s a simple, effective guide to clean your RV rubber roof.
1. Gather the Necessary Supplies
Before you begin, make sure you have the right tools:
- RV-safe rubber roof cleaner
- Soft-bristled brush or sponge
- Garden hose with spray nozzle
- Ladder or roof access platform
- Safety gloves and goggles
Tip: Avoid using abrasive tools or harsh chemicals that can damage the rubber surface.
2. Park and Prepare Your RV
- Park your RV on a flat, stable surface.
- Ensure the roof is cool by working in a shaded area.
- Sweep off loose debris, such as leaves or dirt, to avoid scratches during cleaning.
3. Apply the Roof Cleaner
- Use a rubber roof cleaner specifically designed for RVs.
- Spray or apply the cleaner evenly across the entire roof.
- Allow the cleaner to sit for 5-10 minutes to loosen dirt and grime.
Warning: Always check the product label to ensure compatibility with your roof type.
4. Scrub the Roof Gently
- Use a soft-bristled brush or sponge to scrub the roof in small, circular motions.
- Focus on areas with heavy dirt or stains but avoid using excessive pressure.
Tip: For stubborn stains, let the cleaner soak longer before scrubbing.
5. Rinse Thoroughly
- Use a garden hose with a spray nozzle to rinse off all the cleaner and loosened debris.
- Ensure no residue is left behind, as this can attract dirt and damage the roof.
6. Inspect for Damage
- Check the roof for cracks, tears, or areas that might need resealing.
- Address minor issues immediately to prevent leaks or further damage.
7. Apply a UV Protectant
- Once the roof is clean and dry, apply a UV protectant specifically designed for RV rubber roofs.
- This helps protect against sun damage and prolongs the life of the roof.
8. Regular Maintenance
- Clean your RV roof every 3-4 months or more frequently if exposed to harsh environments.
- Inspect and deep clean the roof at least twice a year to maintain its condition.
Do You Need a Professional to Clean Your RV Rubber Roof, or Can You Do It Yourself?
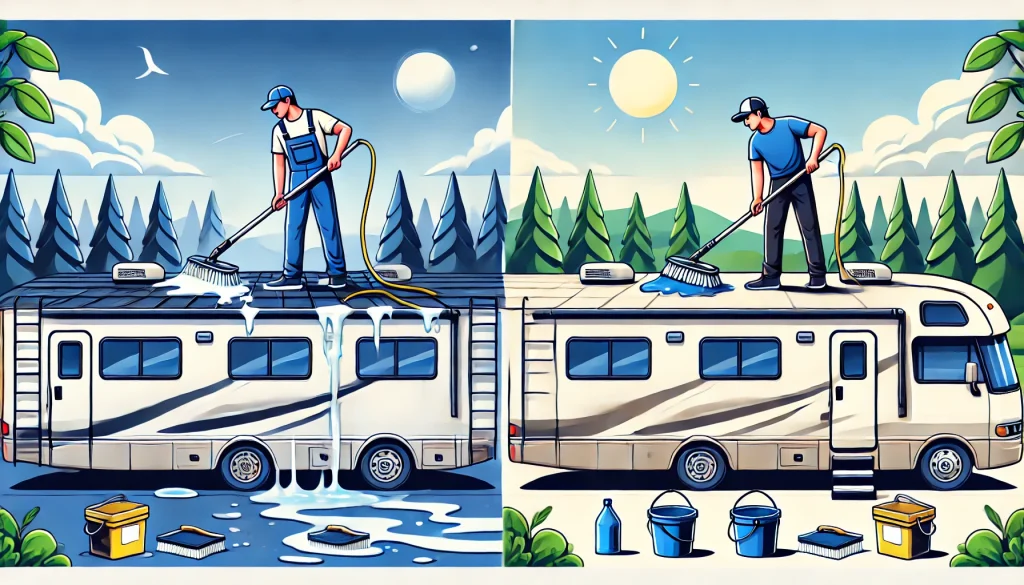
Keeping your RV’s rubber roof clean is essential for its longevity, but should you handle the task yourself or hire a professional? Both options have advantages, depending on your skills, time, and the roof’s condition. Let’s explore whether you should DIY or call in the pros.
When You Can Clean Your RV Rubber Roof Yourself
1. Routine Maintenance
For regular upkeep, such as removing dirt, mildew, or light stains, DIY cleaning is simple and cost-effective.
- Tools Needed: Soft brush, RV-safe roof cleaner, garden hose.
- Steps: Apply cleaner, scrub gently, and rinse thoroughly.
2. Cost Savings
DIY cleaning saves money, as professional services can be expensive. Most cleaning supplies are affordable and last for multiple uses.
3. Convenience
You can clean your RV roof on your schedule without waiting for an appointment. This is ideal for proactive RV owners who prefer hands-on maintenance.
4. Skill Level Required
Cleaning your RV roof doesn’t require specialized knowledge, making it accessible for most owners. Follow the manufacturer’s guidelines to avoid mistakes.
When to Hire a Professional
1. Severe Stains or Damage
If your roof has stubborn stains, extensive mildew, or visible cracks, a professional cleaner is better equipped to handle these issues.
- Benefit: Professionals use advanced tools and products for deep cleaning and repair.
2. Lack of Time or Physical Limitations
Climbing onto an RV roof can be challenging and time-consuming. If you’re short on time or uncomfortable with heights, hiring a professional ensures the job is done safely and efficiently.
3. Ensuring Warranty Compliance
Some RV warranties require professional maintenance records. Hiring an expert ensures you meet these conditions and protects your investment.
4. Risk of Roof Damage
Using the wrong cleaning products or techniques can harm the rubber material. Professionals have the expertise to clean safely without causing damage.
Common Mistakes When Cleaning an RV Rubber Roof and Their Solutions
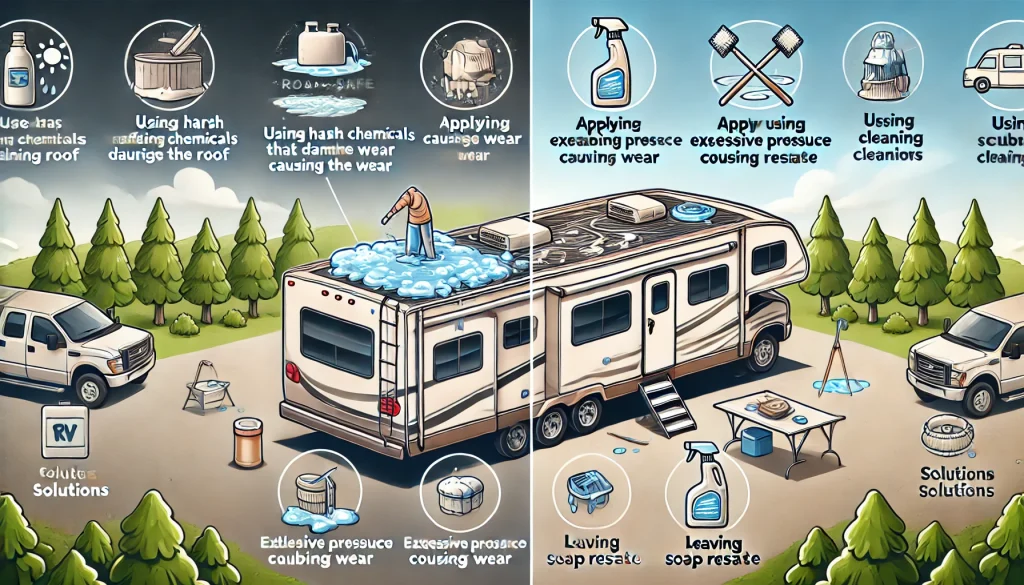
Cleaning your RV’s rubber roof is essential, but even small mistakes can lead to costly damage or reduced durability. Understanding these common errors and how to avoid them ensures your roof remains in excellent condition.
1. Using Harsh Cleaning Products
The Mistake:
Many RV owners use household cleaners, bleach, or petroleum-based products that can damage the rubber material, causing cracks, discoloration, or weakened seals.
The Solution:
- Always use RV-safe rubber roof cleaners specifically formulated to protect the material.
- Avoid abrasive or solvent-based products that can degrade the rubber over time.
2. Applying Excessive Pressure While Scrubbing
The Mistake:
Scrubbing too hard with abrasive brushes or tools can scratch the roof’s surface, leading to early wear and tear.
The Solution:
- Use a soft-bristled brush or sponge to clean the roof gently.
- Focus on stubborn stains with patience instead of excessive force.
3. Skipping Regular Cleaning
The Mistake:
Neglecting to clean your RV roof regularly allows dirt, mold, and mildew to build up, which can lead to long-term damage.
The Solution:
- Schedule roof cleaning every 3-4 months or more frequently if you park under trees or in harsh environments.
- Perform a visual inspection during cleaning to catch minor issues early.
4. Ignoring Proper Rinsing
The Mistake:
Leaving soap or cleaning residue on the roof attracts dirt and can degrade the rubber over time.
The Solution:
- Rinse thoroughly with a garden hose or low-pressure washer to remove all cleaner residue.
- Double-check that no areas are missed, especially around seams and edges.
5. Not Checking for Roof Damage Before Cleaning
The Mistake:
Cleaning a damaged roof without inspecting it first can worsen existing issues like cracks or leaks.
The Solution:
- Inspect the roof for cracks, tears, or peeling before cleaning.
- Perform minor repairs or consult a professional to fix damages before starting the cleaning process.
6. Using a High-Pressure Washer Incorrectly
The Mistake:
A high-pressure washer can tear or weaken the rubber material if used at close range or with high PSI.
The Solution:
- Use a low-pressure setting (under 1500 PSI) and maintain at least 12 inches of distance.
- Avoid aiming the spray directly at seams or edges to prevent water infiltration.
7. Neglecting to Apply UV Protectant After Cleaning
The Mistake:
Skipping UV protectant leaves the roof vulnerable to sun damage, which can cause cracking and fading.
The Solution:
- After cleaning and drying, apply a UV protectant specifically designed for RV rubber roofs.
- This step extends the roof’s life and enhances its resistance to harsh sunlight.
8. Climbing on the Roof Without Proper Safety Measures
The Mistake:
Failing to use proper safety equipment can lead to accidents or damage to the roof from excessive weight.
The Solution:
- Use a sturdy ladder and wear non-slip shoes.
- Distribute weight evenly, and avoid standing on weak areas of the roof.
Safety Precautions to Clean an RV Rubber Roof
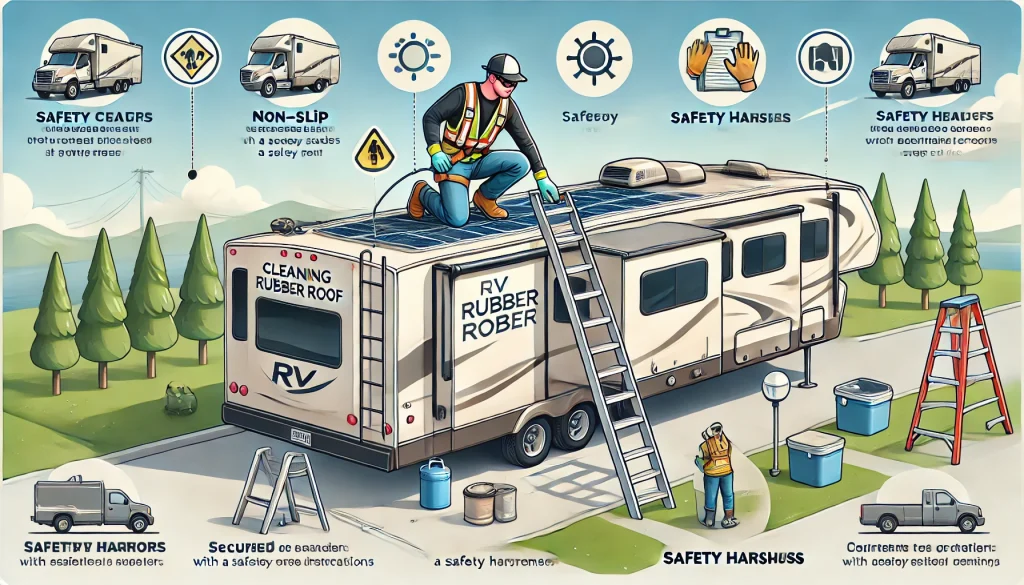
Cleaning your RV’s rubber roof is a necessary maintenance task, but it requires careful attention to safety. Working at heights and using cleaning agents can pose risks, so taking the right precautions is essential. Follow these safety tips to protect yourself and your RV while cleaning the roof.
1. Use Proper Equipment
The Risk:
Using unstable ladders or the wrong cleaning tools can lead to accidents or roof damage.
Precaution:
- Use a sturdy ladder with a stabilizer to ensure balance while climbing.
- Wear non-slip shoes to prevent slipping on wet surfaces.
- Opt for a soft-bristled brush or sponge to avoid damaging the rubber material.
2. Avoid Slippery Surfaces
The Risk:
A wet roof can become dangerously slippery during cleaning.
Precaution:
- Clean the roof on a dry, sunny day to allow it to dry quickly.
- Avoid stepping on areas that are wet and soapy.
- Always keep a bucket or tools on the ground instead of carrying them onto the roof.
3. Distribute Weight Evenly
The Risk:
Walking directly on the roof can cause damage or collapse weak spots.
Precaution:
- Use a roof access platform or kneeling boards to distribute your weight evenly.
- Avoid standing on roof seams or areas with visible damage.
4. Protect Yourself From Cleaning Chemicals
The Risk:
Exposure to harsh cleaning agents can irritate your skin, eyes, or respiratory system.
Precaution:
- Wear safety gloves and protective goggles when handling cleaning solutions.
- Use a face mask if you’re working with strong chemicals or in an enclosed space.
- Stick to RV-safe, non-toxic cleaners to minimize risks.
5. Avoid Using High-Pressure Washers Improperly
The Risk:
Incorrect use of a pressure washer can damage the roof or cause accidents.
Precaution:
- Set the pressure below 1500 PSI and maintain at least 12 inches of distance from the roof.
- Use a wide spray nozzle for even cleaning.
- Avoid spraying directly at seams, edges, or damaged areas.
6. Check the Weather Before Cleaning
The Risk:
Cleaning in windy or rainy conditions increases the risk of slipping or losing balance.
Precaution:
- Choose a calm, dry day for cleaning.
- Avoid cleaning in extreme temperatures, as heat can make the roof surface hot to the touch.
7. Inspect the Roof Before Starting
The Risk:
Ignoring pre-existing damage can lead to further issues during cleaning.
Precaution:
- Examine the roof for cracks, tears, or weak spots before stepping on it.
- Repair any damage or consult a professional before proceeding with cleaning.
8. Keep a Helper Nearby
The Risk:
Working alone on an RV roof can be dangerous if an accident occurs.
Precaution:
- Have someone nearby to hold the ladder or assist in case of an emergency.
- Communicate regularly with your helper for added safety.
9. Take Regular Breaks
The Risk:
Fatigue can lead to poor judgment and accidents while cleaning.
Precaution:
- Take breaks to rest and hydrate, especially on hot days.
- Avoid rushing; work methodically to ensure thorough and safe cleaning.
More related details will be available on Flamingo Motorhomes.

