Keeping your RV black tank clean is essential for a sanitary and enjoyable camping experience. Proper cleaning not only prevents foul odors but also extends the life of your tank. In this guide, we’ll walk you through the steps to effectively clean your RV black tank.
Why Cleaning Your RV Black Tank Matters
Cleaning the RV black tank is crucial for preventing buildup, blockages, and unpleasant smells. Regular maintenance ensures your RV’s waste system works efficiently, making your adventures stress-free.
Tips for Maintaining a Clean RV Black Tank
Use RV-Safe Toilet Paper
Choose toilet paper designed for RV use to prevent clogs.
Flush Regularly
Flush the tank thoroughly after each trip to avoid buildup.
Monitor Tank Levels
Use the RV tank sensors to check levels and prevent overfilling.
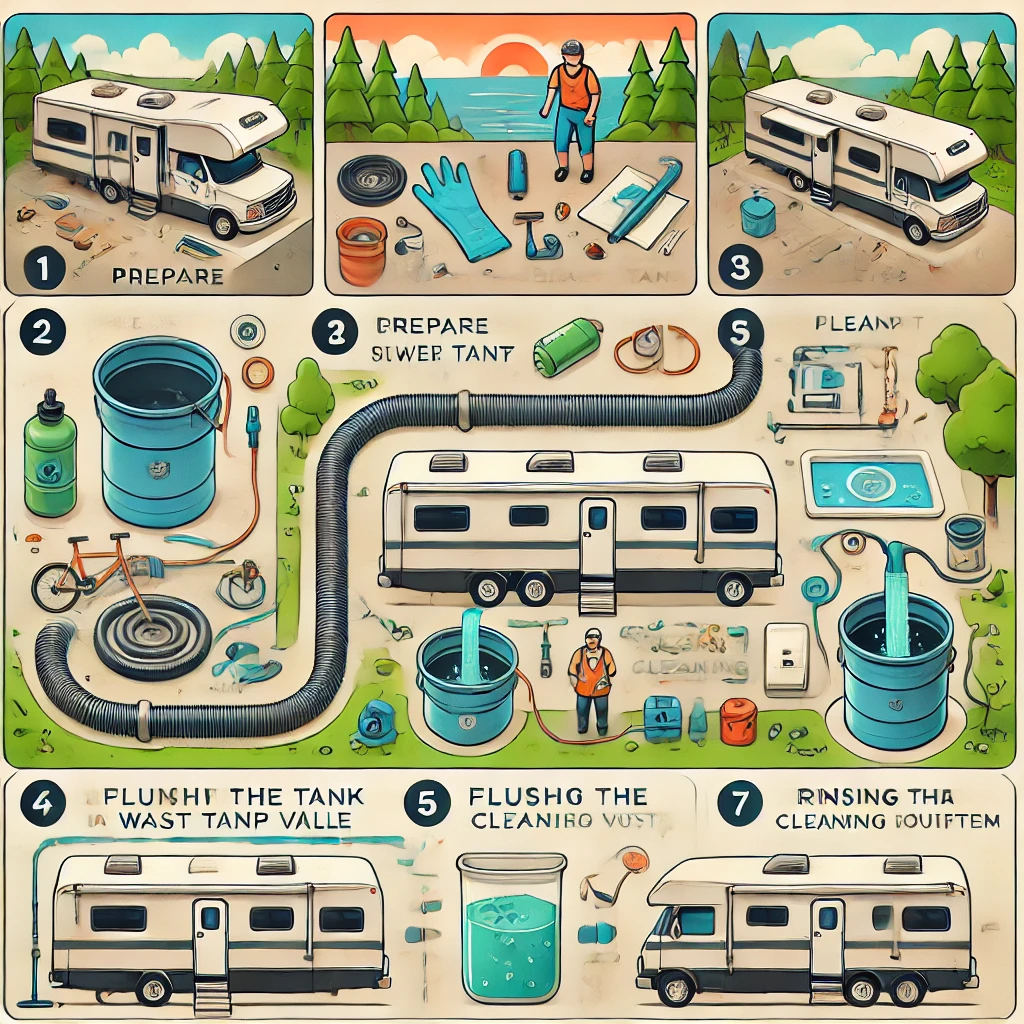
Steps to Clean an RV Black Tank: A Complete Guide
Keeping your RV black tank clean is essential for maintaining hygiene, preventing odors, and ensuring proper functioning. Follow these simple steps to clean your RV black tank effectively.
Step 1: Gather Your Cleaning Supplies
Before you start, ensure you have the following items:
- Disposable gloves
- A sewer hose
- A tank cleaning wand or flush system
- Black tank treatment solution
- Freshwater supply
Pro Tip: Always wear gloves for hygiene and safety.
Step 2: Empty the Black Tank
- Connect the sewer hose to your RV’s waste outlet and the dumping station.
- Open the black tank valve and let the waste drain completely.
- Once drained, close the black tank valve securely.
Important: Always empty the black tank before the gray tank to flush out any residue in the hose.
Step 3: Flush the Tank Thoroughly
- Use a tank cleaning wand or your RV’s built-in flush system to rinse the tank.
- Insert the wand through the toilet to spray water along the tank walls.
- Repeat the process until the water runs clear.
Tip: For RVs without a built-in system, consider using a high-pressure tank flusher.
Step 4: Check and Clean Tank Sensors
- If tank sensors are not reading correctly, use additional flushing to remove any waste buildup.
- Consider adding a cleaning solution specifically for sensor maintenance if problems persist.
Step 5: Add Black Tank Treatment
- After cleaning, pour a black tank treatment solution into the tank via the toilet.
- Add approximately 1 gallon of fresh water to activate the treatment.
Why This Matters: Tank treatments help break down waste and prevent odors.
Step 6: Inspect and Store Properly
- Check all connections for leaks before disconnecting the hose.
- Store your sewer hose and tools in a designated area to avoid contamination.
Extra Tips for Maintaining Your Black Tank
- Use RV-safe toilet paper to prevent clogs.
- Clean the tank after each trip to avoid buildup.
- Rinse with fresh water regularly, even when not in use.
How to Clean an RV Black Tank: Methods and the Best Option
Cleaning your RV black tank is essential for maintaining hygiene and avoiding unpleasant odors. Various methods are available, each with unique benefits. Here, we’ll cover the most effective ways and recommend the best one.
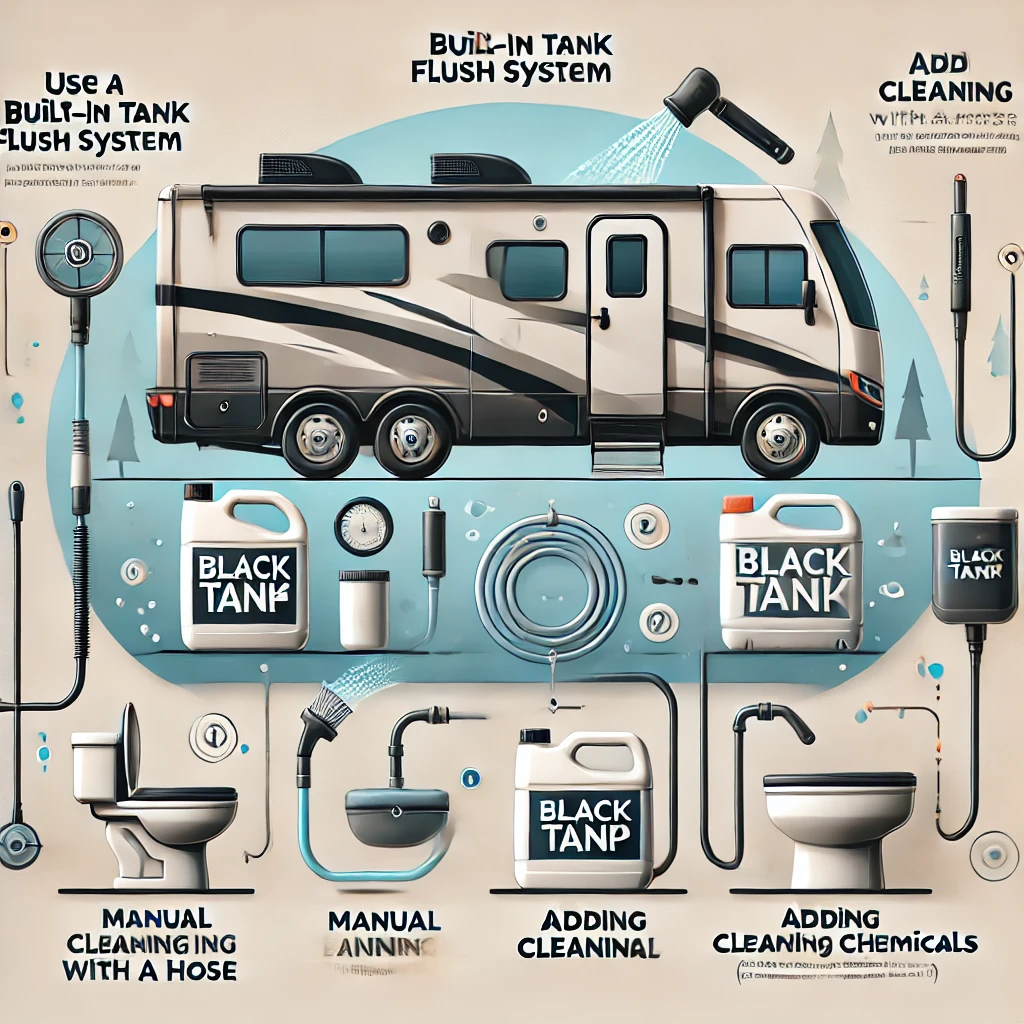
Methods to Clean an RV Black Tank
1. Manual Tank Flushing
Manual flushing involves connecting a tank flushing wand or hose to your black tank.
- Insert the wand into the toilet to spray pressurized water inside the tank.
- Move the wand to dislodge waste from tank walls.
- Flush until the water runs clear.
Pros: Affordable and effective for deep cleaning.
Cons: Requires effort and precision.
2. Built-In Black Tank Flush System
Some RVs come with a built-in black tank flush system.
- Attach a water hose to the flush valve.
- Let water circulate inside the tank, cleaning all surfaces.
Pros: Convenient and efficient.
Cons: Not available on all RVs.
3. Enzyme-Based Cleaning
Use enzyme or bacterial tank treatments to break down waste and control odors over time.
- Add the treatment solution to the tank with water.
- Let it sit for a few hours or as directed.
- Empty the tank and rinse thoroughly.
Pros: Eco-friendly and prevents buildup.
Cons: Not a deep cleaning solution.
4. Ice Cube Method
This DIY method involves adding ice cubes to the black tank and driving the RV.
- Pour a few bags of ice cubes into the tank through the toilet.
- Drive for 20–30 minutes to let the ice scrub the interior walls.
- Drain and flush the tank.
Pros: Innovative and uses minimal equipment.
Cons: Less effective for stubborn buildup.
5. Professional Cleaning Services
Hire professionals to clean the black tank using specialized equipment.
- They use high-pressure systems to flush out waste and debris.
Pros: Hassle-free and thorough.
Cons: Costly and requires scheduling.
The Best Method for Cleaning an RV Black Tank
The built-in black tank flush system is the best method if your RV is equipped with it. It provides a thorough clean with minimal effort and prevents the risk of damaging the tank. For RVs without this system, manual flushing with a tank wand is the most effective alternative.
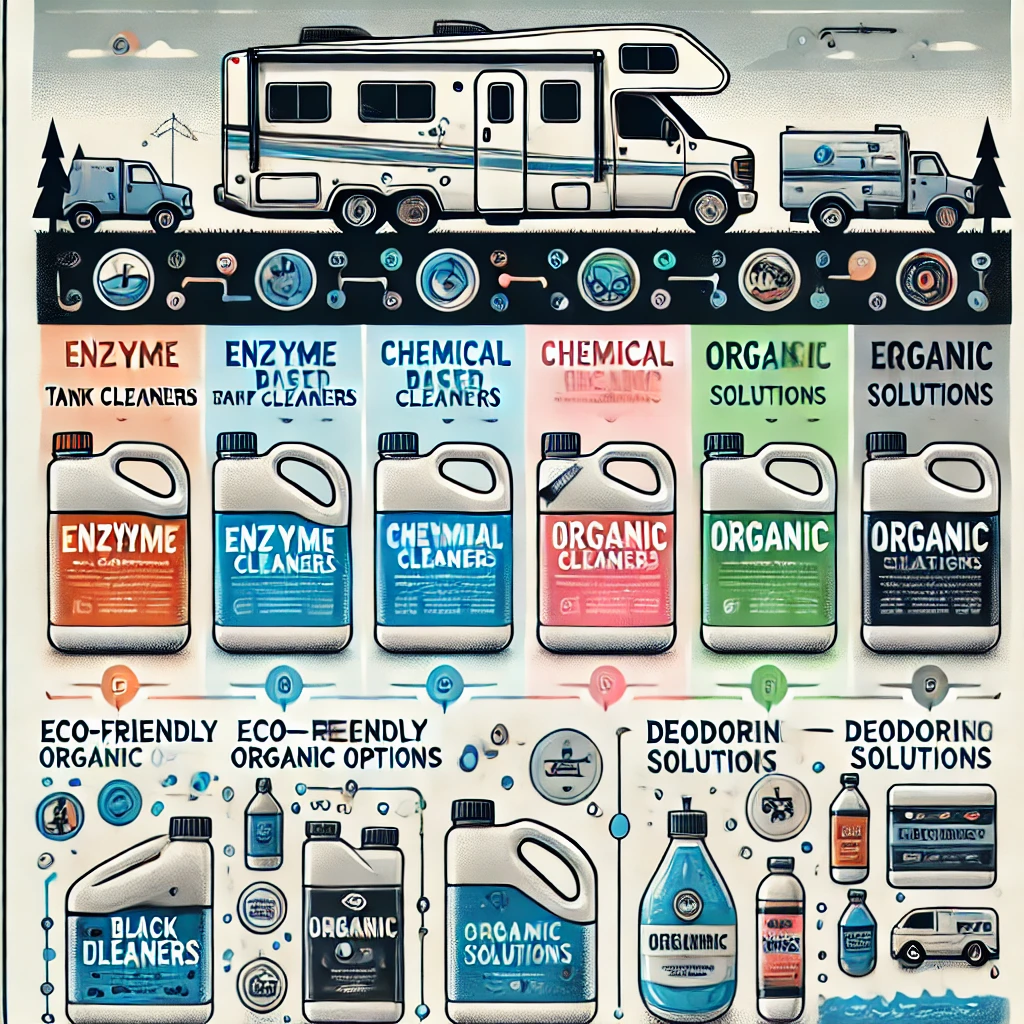
Best Detergents for Cleaning RV Black Tanks
Cleaning your RV black tank effectively requires the right detergents. These products are designed to break down waste, eliminate odors, and maintain the tank’s functionality. Below, we’ll explore the different detergents and suggest the best option.
Types of Detergents for RV Black Tank Cleaning
1. Enzyme-Based Detergents
- Contain natural enzymes and bacteria to break down waste and tissue.
- Promote eco-friendly waste digestion without harsh chemicals.
- Examples: Happy Campers Organic Treatment, RID-X.
Pros: Safe for septic systems and environmentally friendly.
Cons: Works gradually and requires regular use.
2. Chemical-Based Detergents
- Contain chemicals like formaldehyde or ammonia derivatives.
- Quickly dissolve waste and eliminate odors.
- Examples: Camco TST MAX, Thetford Aqua-Kem.
Pros: Strong and fast-acting for tough jobs.
Cons: Not eco-friendly and may harm certain systems if overused.
3. Oxygen-Based Cleaners
- Use oxygenation to break down waste and clean the tank.
- Gentle on plumbing systems and effective over time.
- Examples: Oxy-Kem, Unique RV Digest-It.
Pros: Eco-friendly, safe for sensors, and effective on buildup.
Cons: Requires time to work fully.
4. Bio-Gel Cleaners
- A combination of gel-based formulas and bio-active ingredients.
- Coats the tank walls for deeper cleaning while breaking down waste.
- Examples: EcoSave Bio-Gel, Green Gobbler.
Pros: Long-lasting and reduces odor significantly.
Cons: More expensive than other options.
Recommended Detergent for Cleaning RV Black Tanks
The Unique RV Digest-It Black Tank Cleaner stands out as the best option for several reasons:
- It is enzyme-based and eco-friendly, making it safe for septic systems.
- Works effectively to eliminate odors and dissolve buildup without harsh chemicals.
- Helps maintain tank sensors by preventing debris buildup.
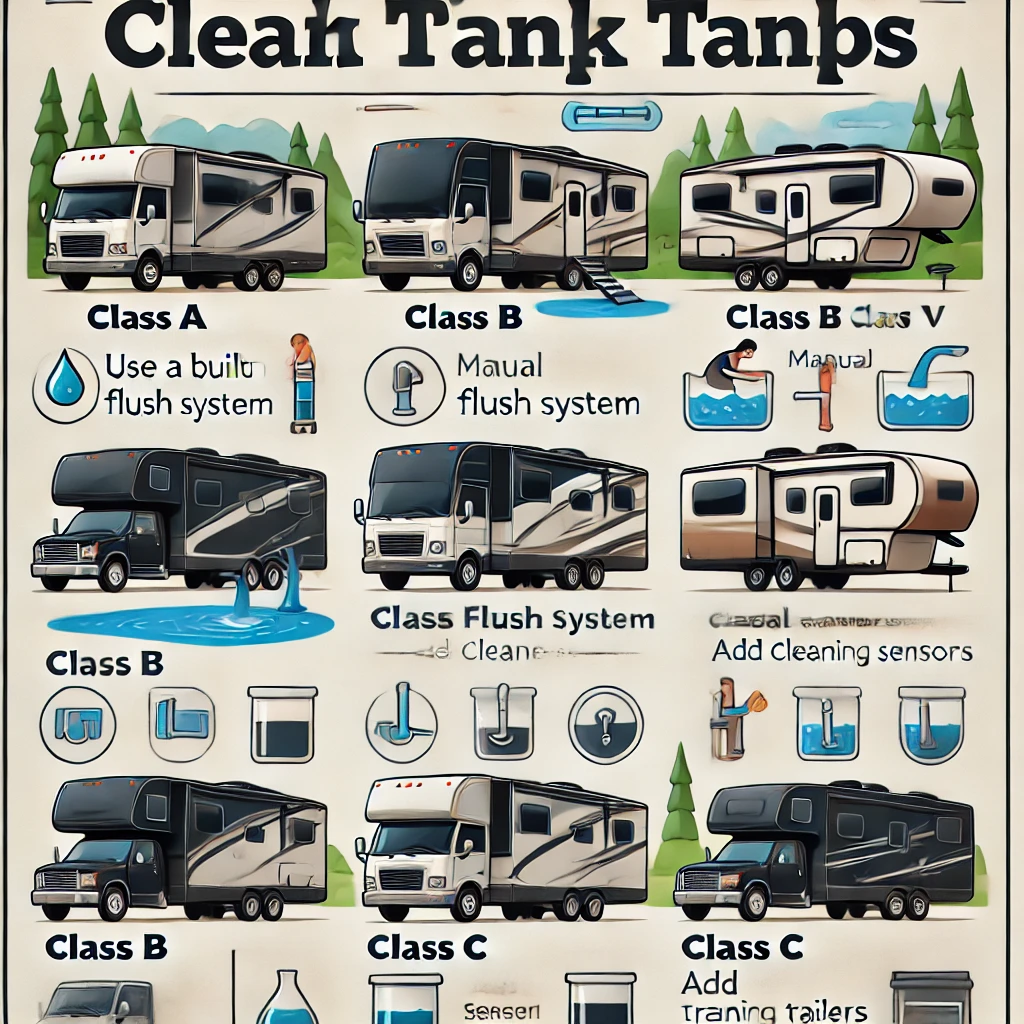
How to Clean Black Tanks for Different RV Classes
Black tanks are essential components of all RVs, regardless of their class. However, cleaning techniques can vary slightly depending on the type of RV. Whether you own a Class A, Class B, Class C, or a towable RV, this guide provides detailed steps to clean your black tank effectively.
1. Cleaning Black Tanks in Class A Motorhomes
Class A motorhomes are equipped with larger black tanks, often accommodating more passengers.
Steps to Clean:
- Flush with Built-In Systems: Most Class A motorhomes feature built-in flush systems. Connect a water hose to the black tank flush valve and run water through it.
- Use a Tank Treatment: After flushing, add a black tank treatment to break down waste and control odors.
- Inspect Sensors Regularly: Large tanks can lead to sensor buildup, so ensure thorough rinsing to maintain accuracy.
Pro Tip: Use enzyme-based treatments to protect the larger tank capacity.
2. Cleaning Black Tanks in Class B Camper Vans
Class B RVs typically have smaller tanks, making regular cleaning crucial to avoid odors.
Steps to Clean:
- Manual Flushing: Use a tank wand or portable flushing hose to clean thoroughly.
- Quick Rinse: Due to limited tank size, rinse after every trip to avoid buildup.
- Use RV-Safe Toilet Paper: Prevent clogs by using quick-dissolving toilet paper.
Pro Tip: Carry portable cleaning supplies since smaller tanks fill up faster.
3. Cleaning Black Tanks in Class C Motorhomes
Class C motorhomes often combine features of Class A and Class B RVs, with mid-sized tanks.
Steps to Clean:
- Follow Regular Flushing Protocols: Drain the tank completely and use a built-in flush system if available.
- Use Ice Cube Method for Scrubbing: Add ice cubes and drive a short distance to dislodge waste from walls.
- Treat with Odor Control Products: These tanks often serve families, so odor control is key.
Pro Tip: Combine enzyme-based cleaners with thorough rinsing for best results.
4. Cleaning Black Tanks in Towable RVs (Travel Trailers, Fifth-Wheels, and Pop-Ups)
Towable RVs vary widely in size, which affects their black tank cleaning needs.
Steps to Clean:
- Use Portable Flush Systems: Attach an external tank flusher or wand for effective cleaning.
- Rinse with High-Pressure Hoses: Since built-in systems are less common, a high-pressure hose can flush out waste.
- Treat During Storage: Add treatments to the tank if the RV will be stored for an extended period.
Pro Tip: Always stabilize your trailer before cleaning to ensure proper drainage.
Best Practices for Cleaning Any RV Black Tank
1. Always Empty in Proper Sequence
- Empty the black tank first, followed by the gray tank, to flush out the hose.
2. Use Enzyme-Based Treatments
- These work well across all RV classes to break down waste and control odors.
3. Flush Regularly
- Never let waste sit for extended periods. Rinse the tank after every trip.
4. Monitor Tank Sensors
- Clean thoroughly to ensure tank sensors function correctly.
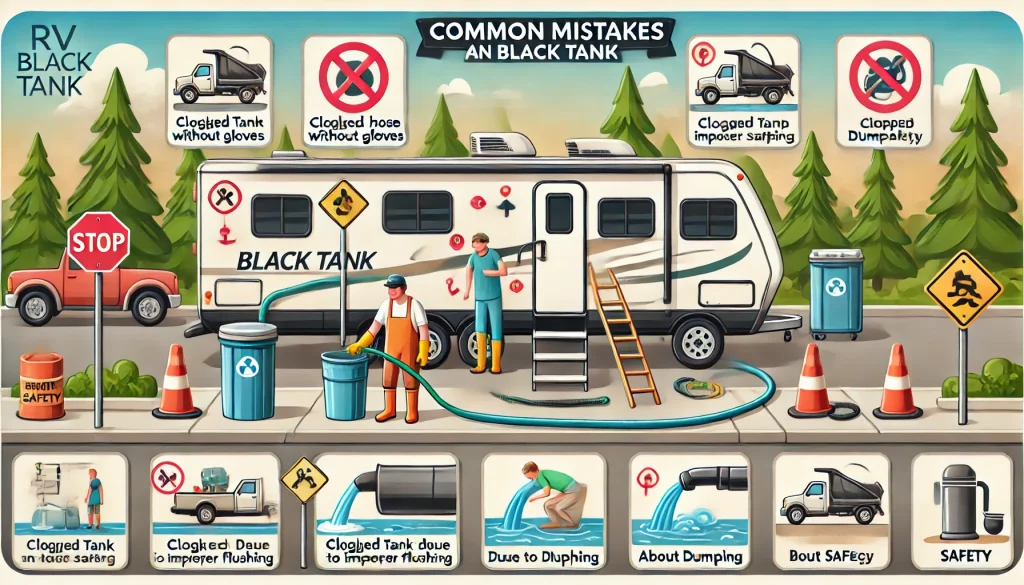
Common Mistakes When Cleaning an RV Black Tank (and How to Fix Them)
Cleaning your RV black tank is essential, but even seasoned RVers can make mistakes. These errors can lead to clogs, odors, or damage to your tank. Let’s discuss the most common mistakes and how to avoid or fix them.
1. Not Using RV-Safe Toilet Paper
RV black tanks are sensitive to clogs caused by standard toilet paper.
The Problem:
Regular toilet paper doesn’t break down easily, leading to blockages in the tank or pipes.
The Solution:
- Use RV-specific toilet paper designed to dissolve quickly.
- Alternatively, perform a “toilet paper test” by soaking your preferred brand in water to check if it disintegrates quickly.
2. Skipping Regular Flushing
Some RVers only clean the black tank when it’s full, causing waste buildup and odors.
The Problem:
Sitting waste hardens over time, making it difficult to remove and causing foul smells.
The Solution:
- Flush your tank thoroughly after each trip.
- Use a tank wand or built-in flushing system to clean the walls and corners.
3. Relying Solely on the Tank Sensors
RV tank sensors can provide inaccurate readings if waste or tissue sticks to them.
The Problem:
You may think the tank is full or empty when it isn’t, leading to improper maintenance.
The Solution:
- Flush the tank thoroughly with a cleaning wand to clear debris from sensors.
- Use enzyme-based treatments to break down waste and prevent buildup.
4. Emptying the Black Tank Too Often
Draining the black tank before it’s at least two-thirds full can cause waste to stick to the walls.
The Problem:
Low water levels don’t create enough pressure to flush out waste completely.
The Solution:
- Wait until the tank is at least 2/3 full before draining.
- If necessary, add water to the tank before emptying to create adequate flow.
5. Ignoring Proper Valve Maintenance
The black tank valve can become sticky or difficult to operate if not cleaned and lubricated regularly.
The Problem:
A neglected valve may leak or become stuck, leading to messy situations.
The Solution:
- Clean the valve area during each tank flush.
- Use a silicone-based lubricant to keep it moving smoothly.
6. Forgetting to Add Water After Emptying
Leaving the black tank completely dry can cause waste to stick when used next.
The Problem:
A dry tank allows solid waste to cling to the surface, creating stubborn buildup.
The Solution:
- Always add 1–2 gallons of fresh water and a black tank treatment after emptying.
7. Using Harsh Chemicals
Strong chemicals like bleach can damage the black tank and plumbing system.
The Problem:
Harsh cleaners may corrode seals and harm the environment.
The Solution:
- Stick to RV-safe, enzyme-based, or biodegradable cleaning solutions.
- Avoid using bleach or non-RV-specific cleaning agents.
8. Neglecting the Sewer Hose Connection
Improperly attached hoses can lead to leaks or spills during the emptying process.
The Problem:
A loose connection results in waste spillage, which is unpleasant and unhygienic.
The Solution:
- Double-check all hose connections before opening the black tank valve.
- Inspect hoses regularly for cracks or wear and replace them as needed.
9. Overloading the Black Tank with Additives
Adding too many chemicals or treatments can cause residue buildup over time.
The Problem:
Excessive product use may clog the tank instead of cleaning it.
The Solution:
- Follow the product instructions carefully.
- Use only the recommended amount of black tank treatments.
10. Skipping Black Tank Maintenance During Storage
Failing to prepare the black tank before storing your RV can lead to lingering odors and dried waste.
The Problem:
Long-term storage with an uncleaned tank results in stubborn waste deposits and unpleasant smells.
The Solution:
- Flush and clean the black tank thoroughly before storing.
- Add water and a treatment solution to prevent odors during storage.
Do You Need a Professional to Clean Your RV Black Tank, or Can You Do It Yourself?
Maintaining your RV’s black tank is essential for hygiene and functionality. While some RV owners prefer to hire professionals, others tackle the task themselves. Let’s explore both options to help you decide what’s best for you.
DIY Black Tank Cleaning
Pros of Cleaning the Black Tank Yourself
- Cost-Effective: Cleaning your RV black tank saves money compared to hiring professionals.
- Convenience: You can clean it anytime without needing to schedule an appointment.
- Personal Control: You can ensure that the tank is thoroughly cleaned to your standards.
Steps for DIY Cleaning
- Empty the Tank: Use a sewer hose to drain the tank completely.
- Flush the Tank: Use a wand or built-in system to rinse the tank thoroughly.
- Add Treatment: Add an enzyme-based or chemical treatment to break down waste and control odors.
- Regular Maintenance: Flush after every trip and add water to the tank to prevent buildup.
When DIY is Best
- If you’re comfortable handling waste management and cleaning.
- When your RV has a built-in black tank flush system for easier cleaning.
- If you have access to a proper dumping station and the right tools.
Professional Black Tank Cleaning
Pros of Hiring Professionals
- Thorough Cleaning: Professionals use specialized equipment, such as high-pressure systems, to remove all waste and buildup.
- Sensor Calibration: Experts can resolve sensor issues caused by waste residue.
- Convenience: No need to handle the mess yourself.
- Safe for Novices: Ideal if you’re unsure about handling tank cleaning properly.
Cost of Professional Services
Professional black tank cleaning typically costs $100–$300, depending on the service and RV size.
When Professional Cleaning is Best
- If the tank is heavily clogged or has persistent odor issues.
- When sensors stop functioning and regular cleaning doesn’t resolve the problem.
- Before long-term storage or after a long camping season.
Which Option is Right for You?
Choose DIY If:
- You’re comfortable with routine maintenance.
- You want to save money.
- Your tank requires only basic cleaning.
Choose Professional Help If:
- The tank has stubborn waste buildup or sensor problems.
- You lack the tools or experience for a thorough clean.
- You prefer hassle-free, expert care for your RV.
Conclusion: DIY vs. Professional Cleaning
For regular maintenance, DIY cleaning is cost-effective and manageable with the right tools. However, for deep cleaning, sensor issues, or tough clogs, professional services are worth considering.
By choosing the right approach, you’ll ensure your RV black tank stays clean, odor-free, and ready for your next adventure. For more expert RV tips, visit our blog today!
More info will be available on Flamingo Motorhomes.