Keeping your RV’s fresh water tank clean is essential for safe and healthy travels. Over time, sediment, bacteria, and odors can build up in the tank. how to clean fresh water tank rv. Cleaning it properly ensures fresh-tasting, safe water for all your needs. Below is a step-by-step guide to help you clean your RV’s fresh water tank efficiently. Learn how to clean your RV fresh water tank with this easy step-by-step guide. Discover essential tips and best practices for maintaining a fresh, safe water supply in your RV
Why Is It Important to Clean Your Fresh Water Tank?
Regularly cleaning your RV’s fresh water tank prevents harmful bacteria, unpleasant odors, and sediment buildup. This step is especially critical if your RV has been unused for an extended period or if you notice a strange taste in your water.
Factors That Force You to Clean Your RV Fresh Water Tank
Maintaining the cleanliness of your RV fresh water tank is crucial for your health and the longevity of your RV. Several factors can make cleaning your fresh water tank a necessity. Addressing these issues promptly ensures safe, fresh water for drinking, cooking, and showering during your travels.
Why Cleaning Your RV Fresh Water Tank Is Important
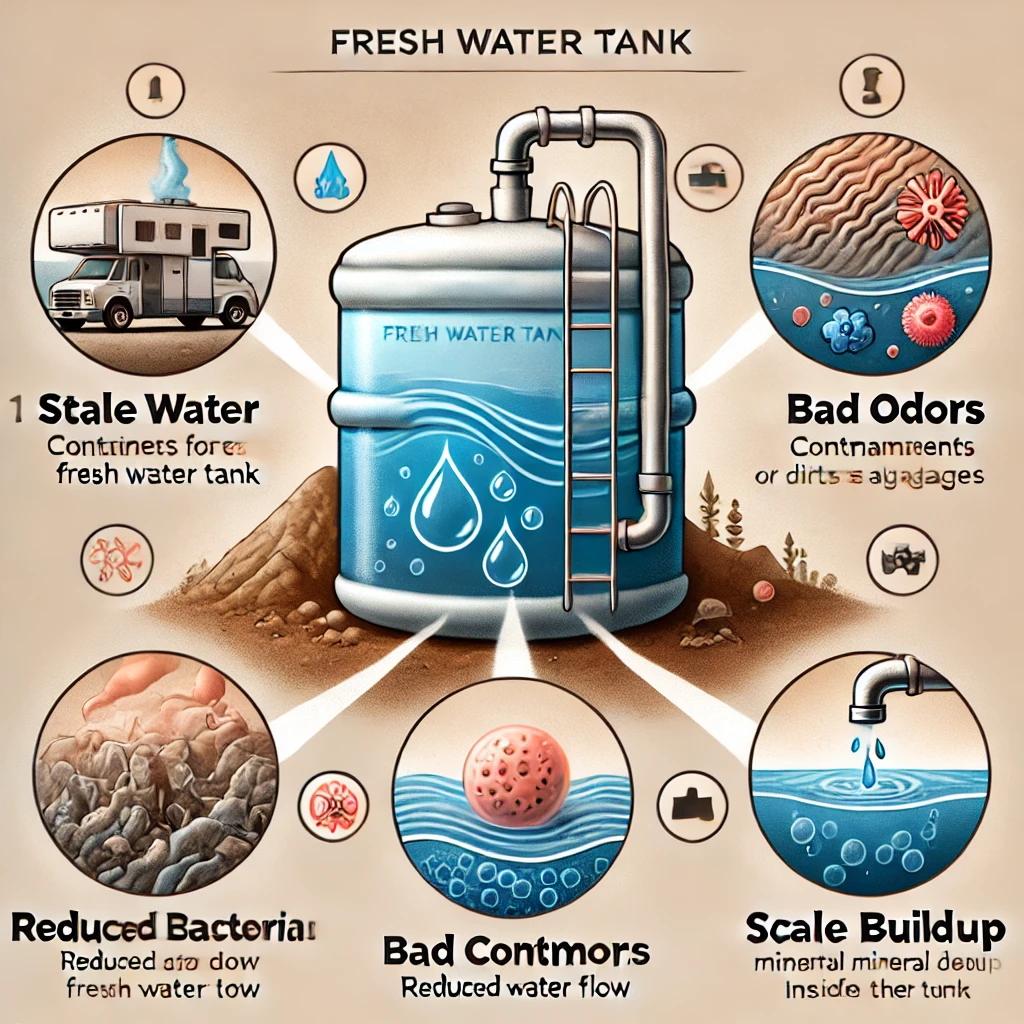
Over time, your RV fresh water tank can accumulate bacteria, mold, and sediment, compromising water quality. Here are the key factors that make cleaning essential.
1. Stagnant Water Leads to Contamination
When water sits unused in the tank for extended periods, it becomes a breeding ground for bacteria and algae. This stagnant water can cause:
- Foul odors
- Discoloration
- Health risks
To prevent this, always drain and clean your fresh water tank after prolonged storage or inactivity.
2. Sediment Build-Up Over Time
Natural minerals in water can settle at the bottom of the tank, leading to sediment accumulation. This can:
- Reduce water flow
- Clog pipes and filters
- Affect the efficiency of your water pump
Regular cleaning flushes out sediment and keeps your system running smoothly.
3. Odors and Taste Issues
Have you noticed an unpleasant taste or smell in your water? This is often caused by bacteria, mold, or old water in the tank. These issues are common when:
- The tank isn’t cleaned regularly
- Non-potable water is used
Sanitizing the tank eliminates these problems and restores water quality.
4. Seasonal Usage and Long-Term Storage
If you store your RV during the off-season, residual water left in the tank can grow bacteria or mold. Before using your RV again, always:
- Sanitize the tank
- Flush the system thoroughly
This ensures the water is safe and fresh for your next adventure.
5. Cross-Contamination During Refills
Filling your tank from an unclean or non-potable water source can introduce harmful contaminants. Always use:
- Clean hoses
- Water filters
- Potable water sources
If contamination occurs, immediate cleaning and sanitization are necessary.
6. Changes in Water Quality
If you travel across different regions, the quality of water you fill into your tank can vary. Hard water, high mineral content, or unknown water sources can impact cleanliness and taste, necessitating more frequent cleaning.
Methods to Clean Your RV Fresh Water Tank
Cleaning your RV fresh water tank is a critical task to maintain the quality of your water supply. Over time, bacteria, sediment, and unpleasant odors can accumulate, making it essential to sanitize your tank regularly. Below are proven methods to clean your RV fresh water tank effectively and safely.
Why Cleaning Your RV Fresh Water Tank Is Important
A clean RV fresh water tank ensures safe, fresh water for drinking, cooking, and other essential uses. Without regular cleaning, the tank can harbor bacteria, mold, and foul odors, leading to health risks and unpleasant experiences.
1. Using Bleach to Sanitize Your RV Fresh Water Tank
Step-by-Step Instructions:
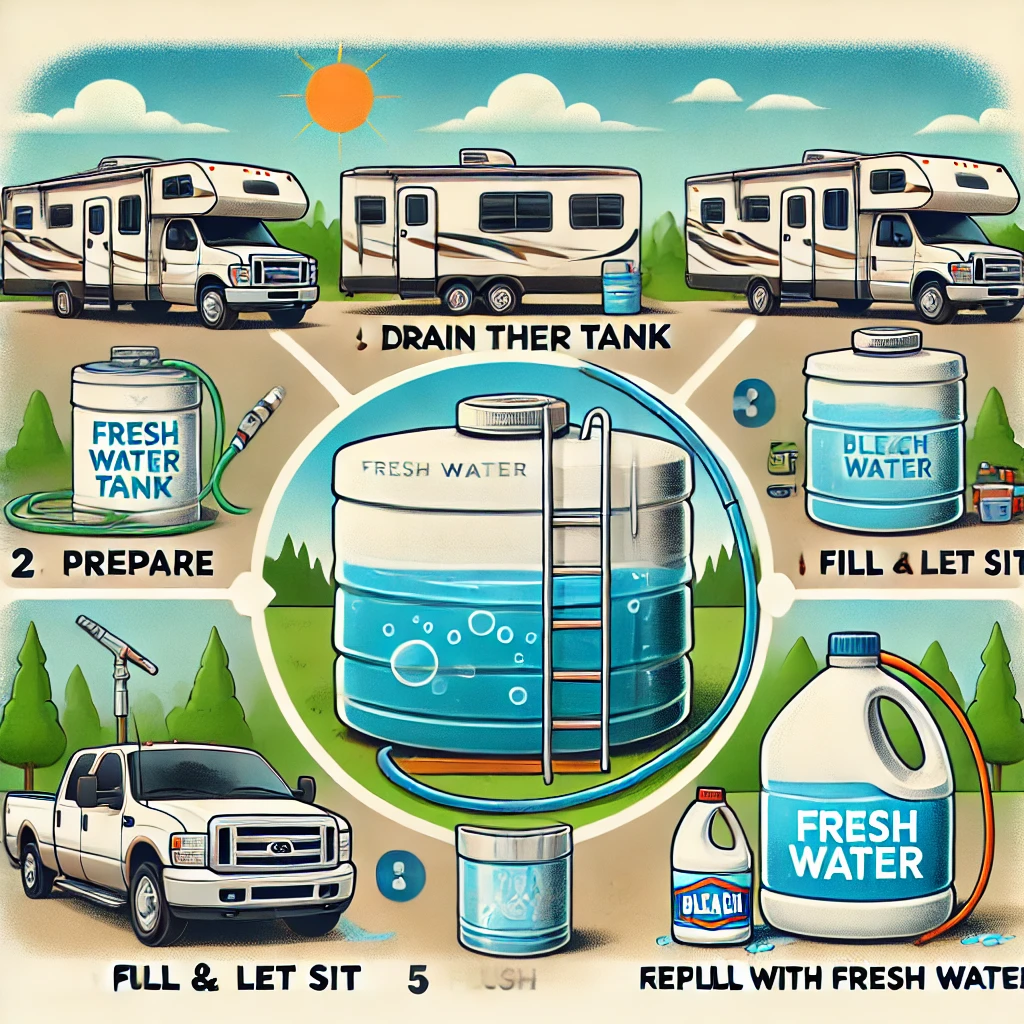
- Drain the Tank: Start by emptying the fresh water tank completely.
- Prepare the Solution: Mix 1/4 cup of household bleach per 15 gallons of water.
- Fill the Tank: Use a funnel to pour the bleach solution into the tank, then fill the tank with fresh water.
- Run Through the System: Turn on faucets (hot and cold) until you smell bleach in the water.
- Let It Sit: Allow the solution to sit in the tank and lines for 12 hours to disinfect thoroughly.
- Rinse and Flush: Drain the tank, refill with clean water, and run it through the system until the bleach smell disappears.
2. Cleaning with White Vinegar
Why Use Vinegar?
White vinegar is a natural, eco-friendly cleaning agent that effectively removes odors and bacteria.
Steps to Follow:
- Drain the Tank: Ensure the tank is empty.
- Mix the Solution: Combine 1 gallon of white vinegar with 10 gallons of water.
- Fill the Tank: Pour the solution into the tank and fill it with water.
- Circulate the Solution: Run the water pump and open all faucets until the vinegar smell is evident.
- Wait: Let the mixture sit for 4-6 hours.
- Rinse Thoroughly: Drain the tank and flush with fresh water until the vinegar smell is gone.
3. Using Commercial Tank Cleaners
Benefits of Commercial Cleaners
Tank cleaning products are specifically designed to sanitize and deodorize RV fresh water systems.
How to Use Them:
- Follow the manufacturer’s instructions for mixing the cleaner with water.
- Add the solution to your fresh water tank.
- Circulate the mixture through your faucets and let it sit for the recommended time.
- Rinse thoroughly with clean water.
4. Shock Treatment for Persistent Issues
If your tank has heavy contamination or persistent odors, a shock treatment using a stronger cleaning solution or higher bleach concentration may be necessary. Always rinse thoroughly after this method.
Preventive Tips for Maintaining a Clean Fresh Water Tank
- Clean your tank every 3-6 months or after extended storage.
- Use potable water and a water filter when filling the tank.
- Drain and dry the tank before storing your RV.
Essential Tools to Clean Your RV Fresh Water Tank
Cleaning your RV’s fresh water tank is a vital part of maintenance, ensuring safe and fresh water for your travels. To make the process efficient and hassle-free, having the right tools on hand is essential. Below is a list of must-have tools for cleaning your RV fresh water tank effectively.
Why Are Proper Tools Important?
Using the right tools for cleaning your RV fresh water tank ensures thorough sanitation, minimizes effort, and extends the life of your RV’s plumbing system. These tools help remove bacteria, odors, and sediment efficiently.
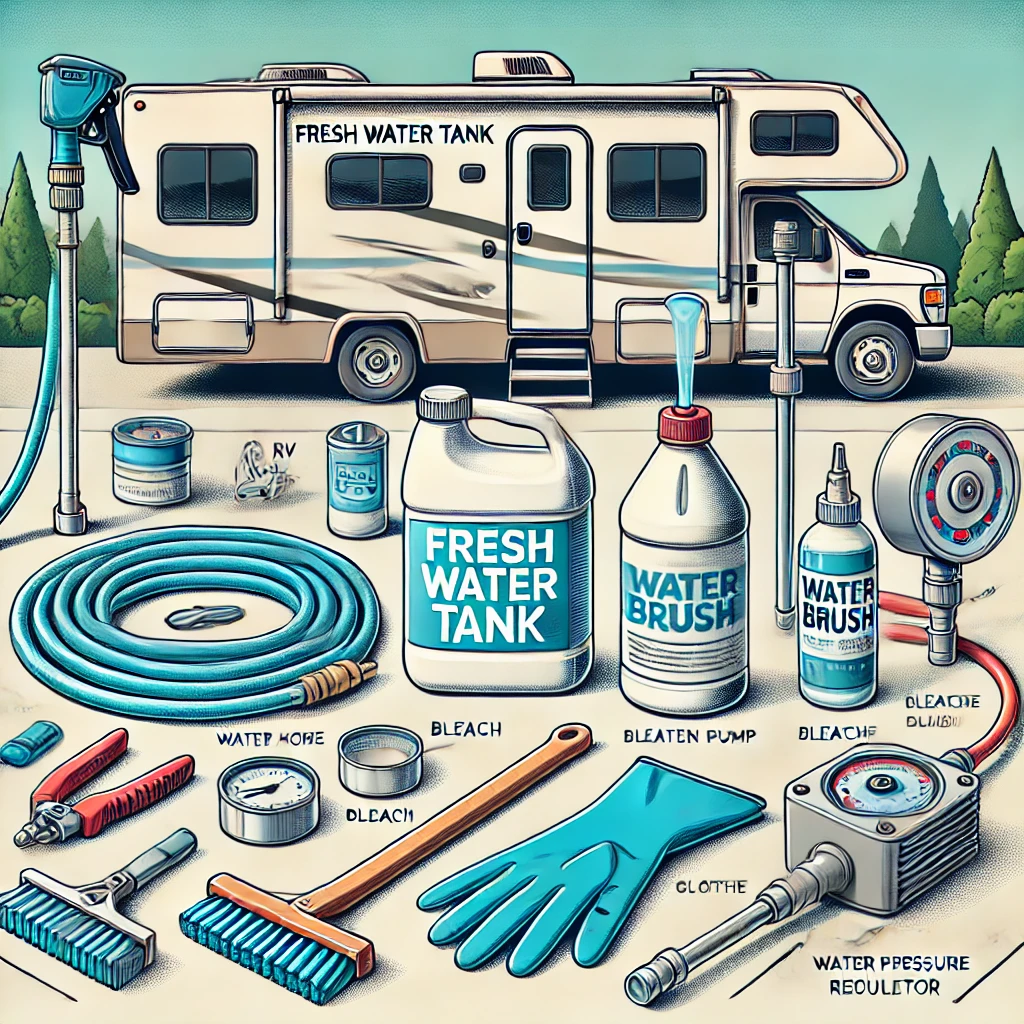
1. Water Hose with High Pressure
Why You Need It:
A high-pressure water hose is perfect for flushing out debris and sediment from your fresh water tank and lines. It ensures a powerful flow to thoroughly rinse the tank after cleaning.
Features to Look For:
- BPA-free materials for safety
- Long reach for flexibility
- Adjustable nozzle for precision
2. Water Filter
Purpose:
A water filter removes impurities from the water source before it enters your fresh water tank, preventing sediment buildup and contamination.
Recommended Type:
- Inline water filters for easy installation
- Carbon filters for improved taste and odor removal
3. Cleaning Solution
Options:
- Household Bleach: An effective sanitizer for killing bacteria and mold.
- White Vinegar: A natural, eco-friendly alternative to bleach.
- Commercial Tank Cleaners: Specialized products designed for RV water systems.
Tip:
Always follow the recommended dilution ratios for safety and effectiveness.
4. Measuring Cup and Funnel
Why These Are Essential:
- A measuring cup ensures accurate mixing of cleaning solutions.
- A funnel helps pour the solution into the tank without spills.
Pro Tip:
Choose a funnel with a wide opening to save time and effort.
5. Tank Flusher or Wand
What It Does:
A tank flusher or cleaning wand attaches to your hose and sprays water at high pressure inside the tank, loosening stubborn debris and buildup.
Features to Consider:
- Adjustable spray patterns
- Long handle for deep cleaning
6. Bucket
Uses:
A sturdy bucket is handy for mixing cleaning solutions and disposing of water during the cleaning process.
Tip:
Opt for a bucket with measurement markings for convenience.
7. RV Water Pump
Purpose:
Running your RV’s water pump during cleaning helps circulate the cleaning solution through all faucets and lines, ensuring thorough sanitation.
8. Protective Gear
What You Need:
- Rubber gloves to protect your hands from cleaning solutions.
- Safety goggles if working with bleach or other strong cleaners.
Preventive Maintenance Tools
In addition to cleaning tools, consider these for regular maintenance:
- Inline Hose Pressure Regulator: Protects your plumbing from high water pressure.
- Fresh Water Tank Cap with Built-In Hose Connector: Makes refilling and rinsing easier.
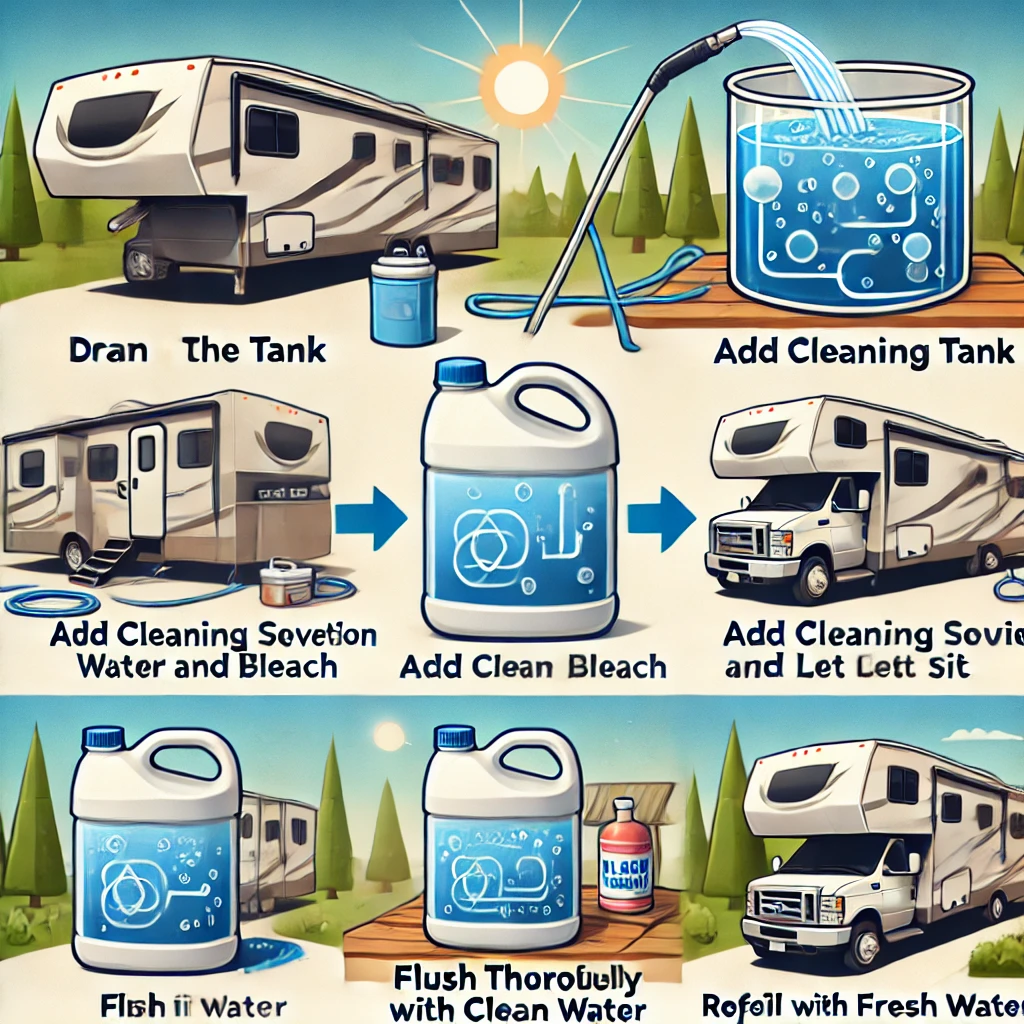
Steps to Clean Your RV Fresh Water Tank
Cleaning your RV fresh water tank is a simple yet crucial task to ensure safe, fresh, and odor-free water for your adventures. Below is a step-by-step guide to clean your RV fresh water tank effectively.
Why Cleaning Your RV Fresh Water Tank Is Important
Over time, bacteria, sediment, and foul odors can build up in your RV’s fresh water system. Cleaning your tank regularly prevents contamination, protects your health, and maintains water quality.
Step 1: Drain the Tank Completely
Why?
Removing old water eliminates stagnant water and reduces the risk of bacteria growth.
How to Do It:
- Open the tank’s drain valve and allow all the water to flow out.
- Run the water pump briefly to clear the remaining water from the system.
Step 2: Prepare a Cleaning Solution
Options:
- Bleach Solution: Mix 1/4 cup of bleach per 15 gallons of tank capacity.
- Vinegar Solution: Combine 1 gallon of white vinegar with 10 gallons of water for a natural alternative.
Tip:
Use a funnel to pour the cleaning solution into the fresh water tank without spilling.
Step 3: Fill the Tank with Water
- Add clean water to the tank after pouring in the cleaning solution.
- Ensure the solution is well-mixed and fills the entire tank.
Step 4: Circulate the Solution
How?
- Turn on your RV water pump.
- Open all faucets (hot and cold) until you smell the cleaning solution in the water.
- This ensures the cleaning solution sanitizes the entire plumbing system.
Step 5: Let It Sit
Allow the solution to sit in the tank and lines for at least 12 hours. This step ensures thorough disinfection and removes bacteria, mold, and odors.
Step 6: Drain and Rinse the Tank
- Drain the tank completely to remove the cleaning solution.
- Refill the tank with clean water and flush the system by running water through all faucets.
- Repeat this process until the bleach or vinegar smell is completely gone.
Step 7: Final Refill
- Fill your fresh water tank with potable water.
- Your RV fresh water tank is now clean and ready for use!
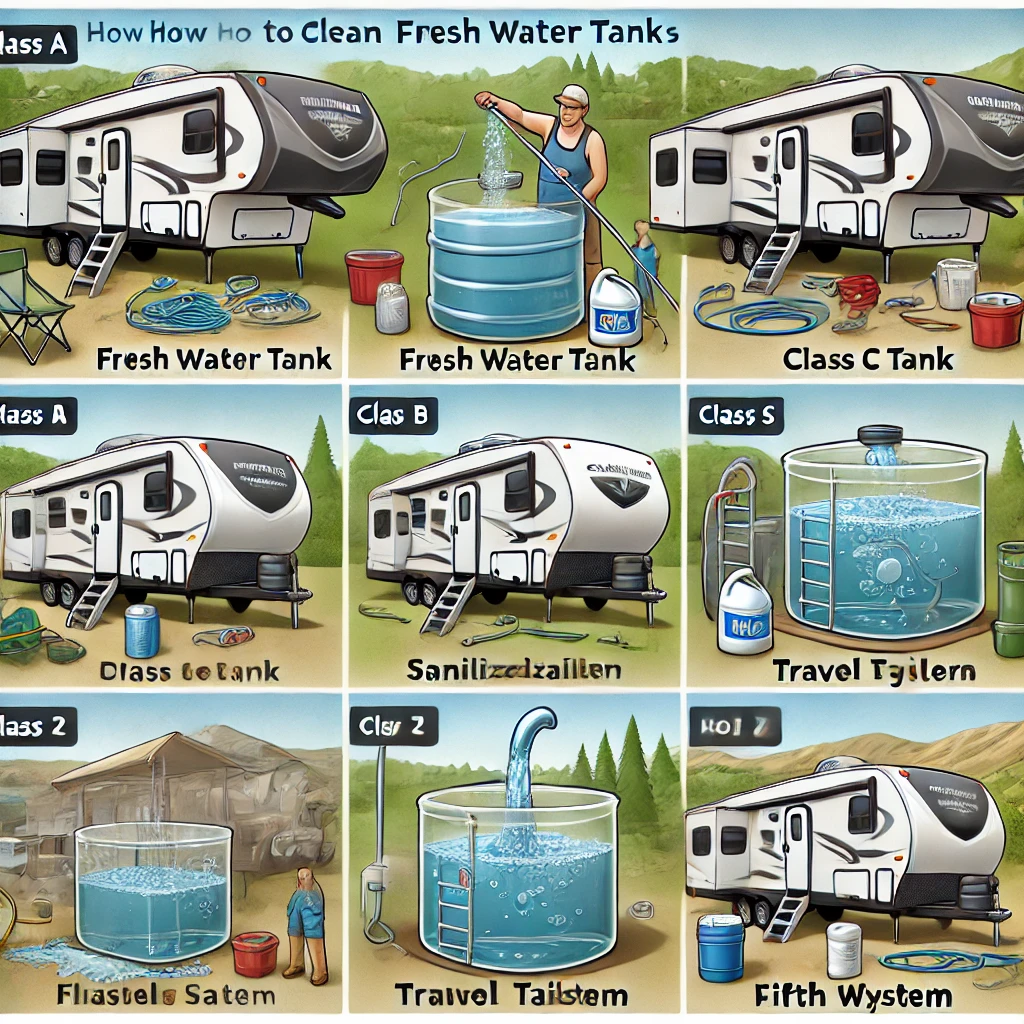
How to Clean Fresh Water Tanks for Different Classes of RV
Cleaning your RV’s fresh water tank is essential for maintaining water quality and ensuring safe usage, regardless of the RV class. However, the process can vary slightly depending on the type of RV you own. Here’s a step-by-step guide tailored to the different classes of RVs: Class A, Class B, Class C, and Towable RVs like travel trailers and fifth wheels.
Why Clean Your Fresh Water Tank?
Over time, bacteria, mold, and sediment can accumulate in your fresh water tank. Regular cleaning prevents contamination, eliminates odors, and ensures safe water for drinking and cooking.
Class A Motorhomes: Large Water Systems Require Careful Attention
Cleaning Steps:
- Drain the Tank: Open the drain valve to empty the water tank completely. Ensure your large-capacity water pump is turned off.
- Prepare a Cleaning Solution: Mix 1/4 cup of bleach for every 15 gallons of tank capacity.
- Add the Solution: Use a funnel to pour the cleaning solution into the tank.
- Fill with Water: Fill the tank with fresh water to mix the solution thoroughly.
- Run Through Lines: Turn on all faucets (hot and cold) until you smell bleach.
- Let It Sit: Allow the solution to sit for 12 hours to sanitize the system.
- Drain and Rinse: Drain the tank, refill with clean water, and flush all faucets until no bleach smell remains.
Special Considerations:
Class A motorhomes often have larger tanks, so plan for additional rinsing to remove all cleaning solution residue.
Class B Motorhomes: Compact Tanks for Efficient Cleaning
Cleaning Steps:
- Drain the Tank: Empty the tank completely. Due to the smaller size, this step is quick.
- Prepare and Add Solution: Use a bleach or vinegar solution appropriate for the smaller capacity (adjust quantities accordingly).
- Fill and Circulate: Fill the tank with water and pump the solution through all faucets.
- Wait and Rinse: Let the solution sit for 4-6 hours, then rinse thoroughly.
Special Considerations:
Compact tanks are quicker to clean, but due to frequent use, they may require more regular maintenance.
Class C Motorhomes: Balanced Capacity for Family Use
Cleaning Steps:
Follow the same steps as Class A, but adjust the cleaning solution based on the mid-sized tank capacity.
- Run the Cleaning Solution Through the System: Ensure it reaches all areas, including the shower.
- Flush Thoroughly: Rinse repeatedly, especially if the tank has been unused for an extended period.
Special Considerations:
Class C tanks are moderately sized, making the process less time-consuming than Class A but requiring more attention than Class B.
Towable RVs (Travel Trailers & Fifth Wheels): Portable Yet Spacious Tanks
Cleaning Steps:
- Drain and Inspect: Towable RV tanks are often exposed to different climates. Ensure there’s no visible debris during draining.
- Add Solution and Fill: Use bleach, vinegar, or commercial RV tank cleaner, adjusting the quantity for the tank size.
- Circulate and Wait: Run the cleaning solution through all outlets and let it sit for 12 hours.
- Flush System: Flush with clean water multiple times, ensuring no residue remains.
Special Considerations:
Travel trailers and fifth wheels often rely on external water sources, making water filters essential for refilling.
Tips for All RV Classes
- Clean the tank every 3-6 months or after long storage periods.
- Use potable water and a hose with a built-in filter to refill tanks.
- Drain tanks completely when storing your RV to prevent bacteria growth.
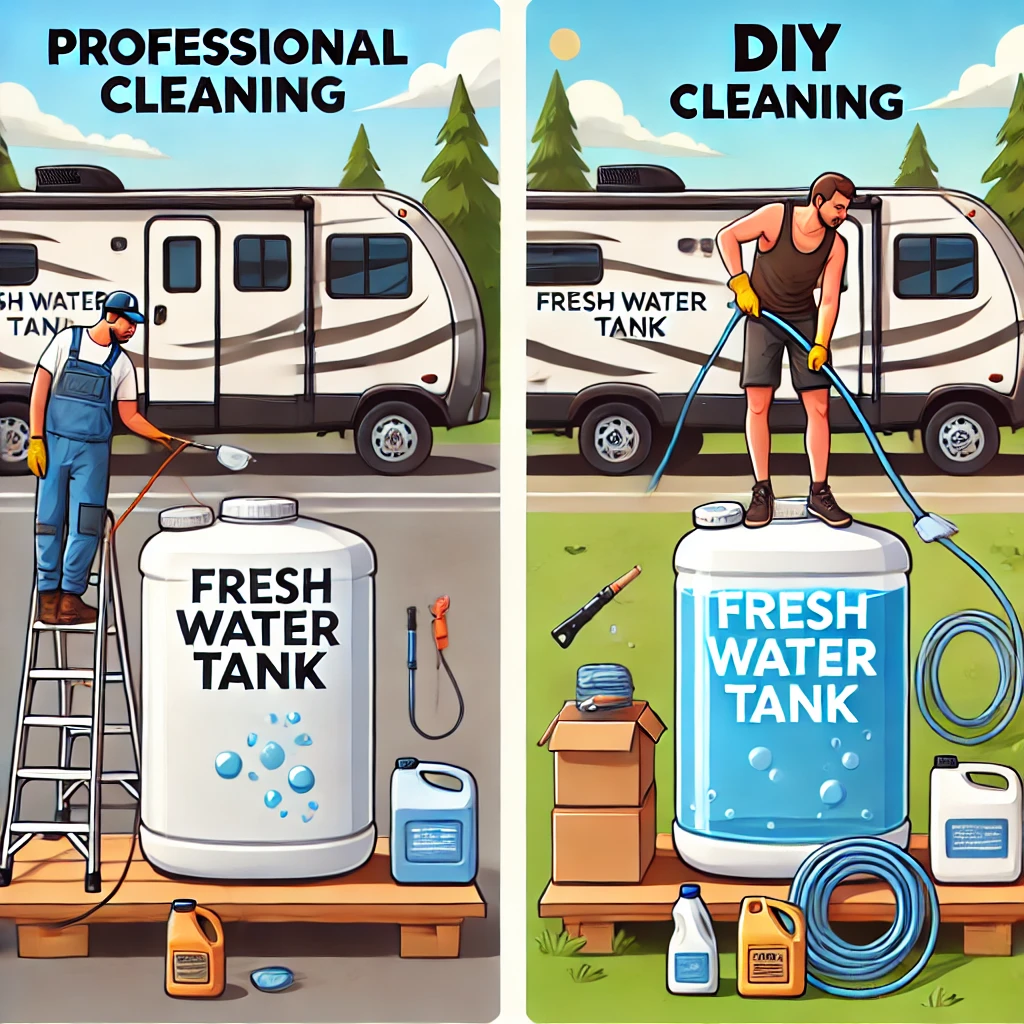
Do You Need a Professional to Clean Your RV Fresh Water Tank, or Can You Do It Yourself?
Cleaning your RV fresh water tank is a crucial task for maintaining water quality and ensuring a safe travel experience. But should you hire a professional for the job, or can you do it yourself (DIY)? Let’s explore the benefits and challenges of both options to help you decide what works best for your RV lifestyle.
Why Cleaning Your RV Fresh Water Tank Is Essential
Over time, your fresh water tank can accumulate bacteria, sediment, and odors, leading to unsafe water for drinking and cooking. Regular cleaning ensures your system stays hygienic and your water remains fresh.
DIY Cleaning: A Cost-Effective and Practical Option
Advantages of DIY Cleaning
- Cost Savings
- Cleaning your fresh water tank yourself eliminates labor costs.
- Basic supplies like bleach, vinegar, and water hoses are inexpensive.
- Convenience
- You can clean the tank at home or at a campsite.
- Cleaning at your own pace ensures you meet your standards.
- Ease of Process
- The steps are straightforward: drain, sanitize, and rinse.
- No special tools are required beyond basic RV supplies.
- Control Over Materials
- You choose the cleaning solutions, such as natural vinegar or chemical bleach, depending on your preference.
Challenges of DIY Cleaning
- Time-Consuming
- The process can take several hours, especially if you need to flush the system multiple times.
- Risk of Incomplete Cleaning
- If not done thoroughly, bacteria or residue may remain in the system.
- Proper rinsing is critical to avoid lingering odors or tastes.
Hiring a Professional: Expertise and Peace of Mind
Advantages of Hiring a Professional
- Thorough Cleaning
- Professionals use specialized tools and methods to ensure every corner of the tank is cleaned.
- They can address stubborn sediment or severe contamination.
- Saves Time
- A professional can clean your tank quickly and efficiently.
- You don’t have to spend hours learning or performing the process.
- Expert Advice
- Professionals can inspect your RV’s plumbing system for issues like leaks or wear and tear during the cleaning process.
Challenges of Hiring a Professional
- Higher Cost
- Professional cleaning services can range from $100 to $300, depending on your location and the tank size.
- Availability Issues
- Scheduling a professional may not always align with your travel plans.
- Loss of Control
- You may not have control over the cleaning products or methods used.
When to DIY vs. Hire a Professional
Opt for DIY Cleaning If:
- You’re comfortable following step-by-step instructions.
- Your tank is in good condition and doesn’t require deep cleaning.
- You want a budget-friendly solution.
Hire a Professional If:
- Your tank has severe contamination or persistent odors.
- You’re short on time or prefer convenience.
- You suspect issues like sediment buildup or plumbing damage.
Final Verdict: DIY or Professional?
For most RV owners, DIY cleaning is a practical and cost-effective option. However, hiring a professional can be beneficial if your tank requires a deep clean or if you’re unsure about the process. Regular maintenance and proper cleaning methods will keep your fresh water tank in top condition, regardless of who does the job.
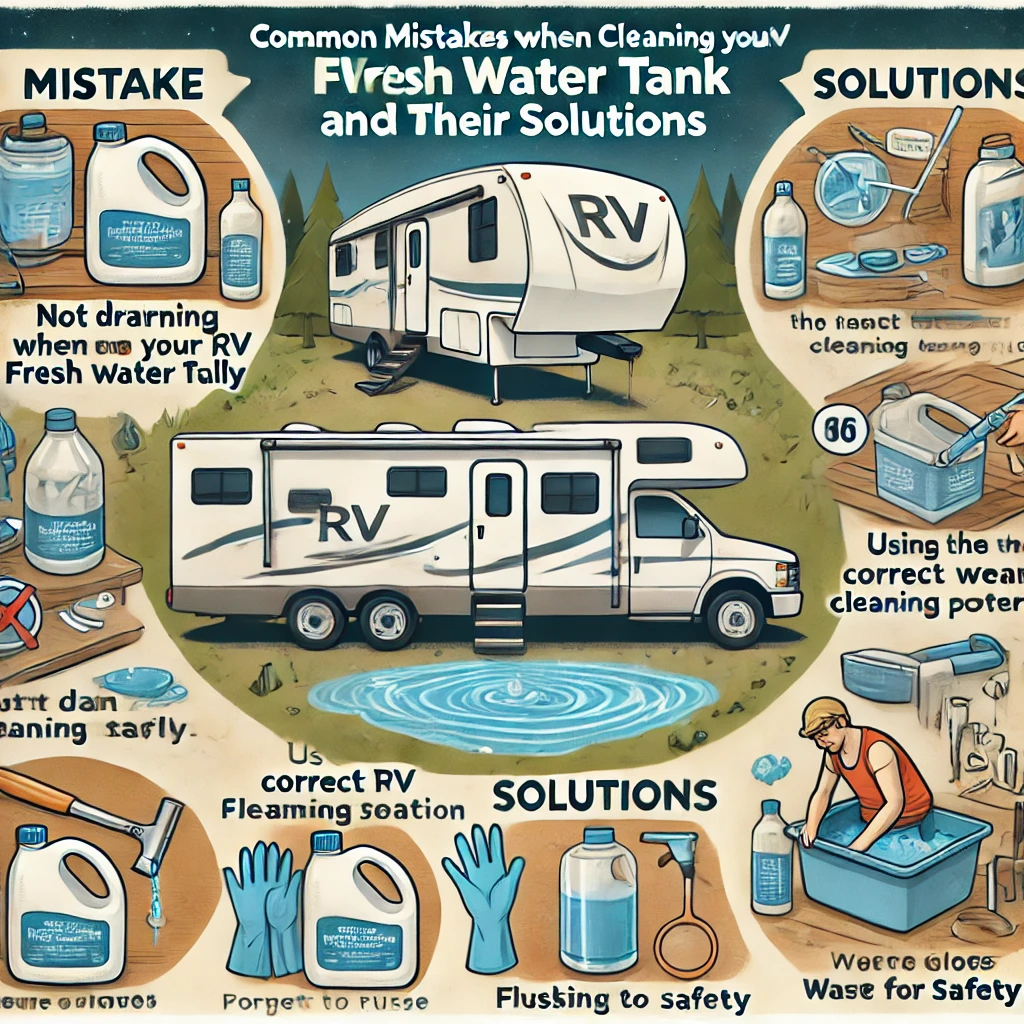
Common Mistakes When Cleaning Your RV Fresh Water Tank and Their Solutions
Cleaning your RV fresh water tank is essential, but even experienced RVers can make mistakes during the process. These errors can lead to poor cleaning results or even damage to your system. Here’s a guide to the most common mistakes and how to avoid them, ensuring a thorough and hassle-free cleaning process.
Why Avoiding Mistakes Is Crucial
Mistakes in cleaning your RV fresh water tank can leave bacteria, odors, or chemical residues in your system. Proper cleaning ensures safe water for drinking and cooking while extending the life of your RV’s plumbing.
1. Using the Wrong Cleaning Solution
Mistake:
- Using too much bleach, harsh chemicals, or non-food-grade products that can damage the tank or leave harmful residues.
Solution:
- Use Proper Ratios: Mix 1/4 cup of bleach for every 15 gallons of tank capacity. Alternatively, use white vinegar or commercial RV-safe cleaning products. Always follow manufacturer instructions.
2. Skipping the Plumbing System
Mistake:
- Cleaning only the fresh water tank but neglecting the pipes, faucets, and water pump.
Solution:
- Flush the Entire System: Run the cleaning solution through all water outlets, including faucets, showers, and outdoor spigots. This ensures the entire water system is sanitized.
3. Not Rinsing Thoroughly
Mistake:
- Leaving traces of bleach or cleaning solution in the tank, resulting in unpleasant tastes or smells.
Solution:
- Flush Multiple Times: After draining the cleaning solution, refill the tank with clean water and flush the system thoroughly until all odors and tastes are gone.
4. Forgetting to Let the Solution Sit
Mistake:
- Draining the cleaning solution immediately after circulating it through the system, reducing its effectiveness.
Solution:
- Allow Proper Contact Time: Let the solution sit in the tank and plumbing for at least 4–12 hours to eliminate bacteria and odors.
5. Cleaning Too Infrequently
Mistake:
- Waiting too long between cleanings, allowing bacteria, mold, and sediment to build up.
Solution:
- Set a Schedule: Clean your fresh water tank every 3–6 months or after extended periods of storage.
6. Ignoring Sediment Buildup
Mistake:
- Overlooking sediment at the bottom of the tank, which can clog pipes and reduce water quality.
Solution:
- Use a Tank Flusher: Invest in a tank-cleaning wand or flusher to dislodge sediment during the cleaning process.
7. Not Draining the Tank Completely
Mistake:
- Leaving water in the tank before adding the cleaning solution, which dilutes its effectiveness.
Solution:
- Drain First: Always start with an empty tank before adding your cleaning solution.
8. Overlooking Safety Precautions
Mistake:
- Failing to wear protective gloves or goggles when handling bleach or other cleaning agents.
Solution:
- Use Protective Gear: Wear gloves and goggles to protect your skin and eyes from irritation.
9. Neglecting Water Filter Maintenance
Mistake:
- Forgetting to clean or replace your RV’s water filter, which can lead to reduced water quality.
Solution:
- Replace Filters Regularly: Check and replace your water filters as part of your tank-cleaning routine.
10. Filling with Non-Potable Water After Cleaning
Mistake:
- Using non-potable or contaminated water to refill the tank, undoing all your cleaning efforts.
Solution:
- Use Potable Water: Always refill your fresh water tank from a safe, clean water source.
Safety Precautions to Clean Your RV Fresh Water Tank
Cleaning your RV fresh water tank is a straightforward task, but it involves handling chemicals and equipment that require proper safety measures. Following these precautions ensures your cleaning process is effective and risk-free for you and your RV.
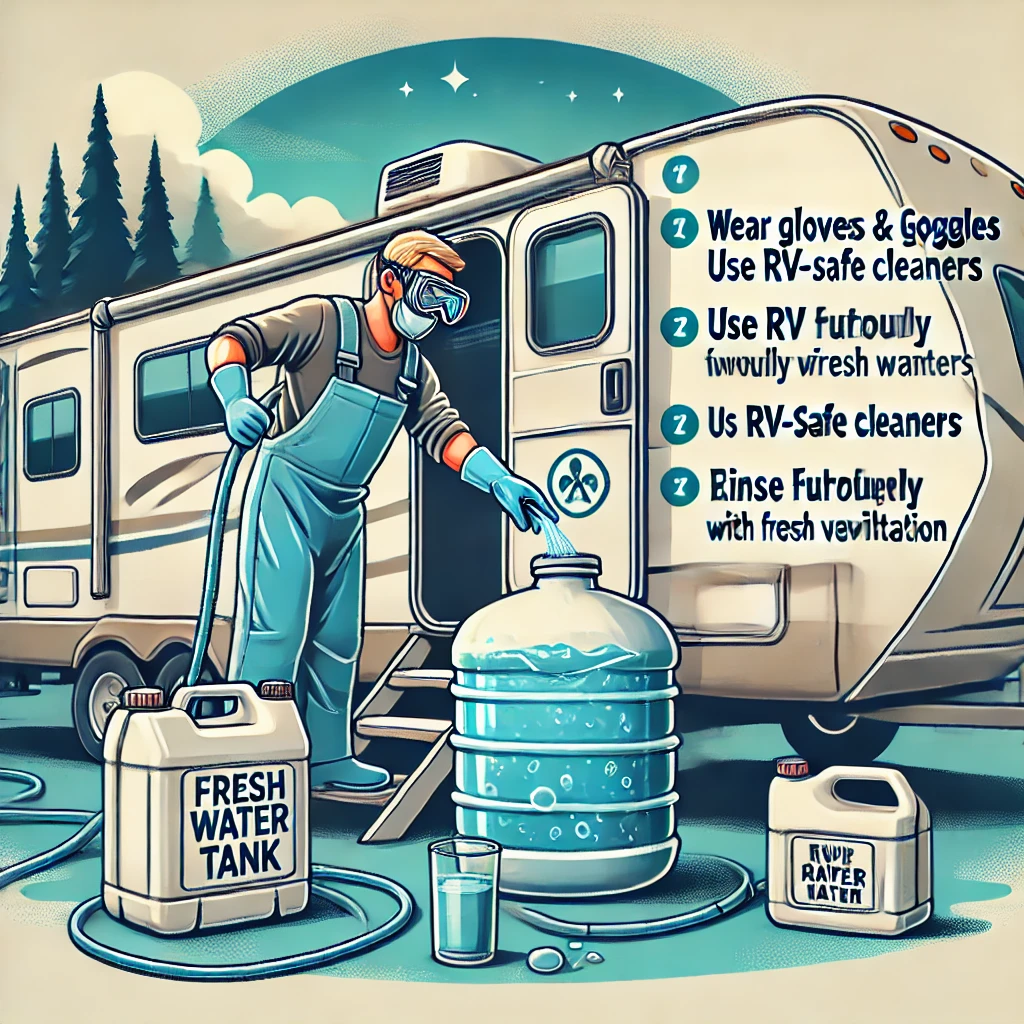
Why Safety Precautions Are Important
Improper cleaning can lead to chemical exposure, equipment damage, or contamination of your water supply. Taking simple safety steps protects your health and ensures the longevity of your RV’s water system.
1. Wear Protective Gear
Why?
Bleach and other cleaning agents can irritate the skin, eyes, and respiratory system.
What to Use:
- Gloves: Wear rubber gloves to protect your hands from harsh chemicals.
- Safety Goggles: Prevent splashes from entering your eyes.
- Mask: Use a mask if you’re sensitive to chemical fumes.
2. Ventilate the Area
Why?
Chemical fumes, especially from bleach, can accumulate in enclosed spaces like your RV.
How to Do It:
- Open all windows and doors while cleaning.
- Use fans to circulate air for better ventilation.
3. Handle Chemicals with Care
Why?
Incorrect mixing or overuse of chemicals can damage the tank or harm your health.
Best Practices:
- Avoid Overdosing: Use 1/4 cup of bleach per 15 gallons of water.
- Never Mix Chemicals: Mixing bleach with other cleaning agents, like vinegar, can release toxic fumes.
- Label Solutions: Clearly label any leftover cleaning solutions to avoid accidental misuse.
4. Ensure Proper Draining
Why?
Residual cleaning agents can harm your water system or leave unpleasant tastes and smells.
How to Do It:
- Fully drain the cleaning solution from the tank.
- Rinse multiple times with clean water until no odors or residues remain.
5. Use RV-Safe Equipment
Why?
Non-RV-safe tools or hoses can introduce contaminants into the system.
What to Use:
- Food-Grade Hoses: Only use hoses designed for potable water.
- Tank Wands: Ensure cleaning wands are specifically made for RV tanks.
6. Prevent Electrical Hazards
Why?
Water and electrical components in your RV can pose risks during cleaning.
Precautions:
- Turn off the water pump and all electrical appliances before cleaning.
- Keep water and cleaning agents away from electrical panels.
7. Protect Nearby Surfaces
Why?
Spills or splashes from cleaning solutions can damage surfaces in and around your RV.
What to Do:
- Use a funnel when pouring cleaning agents into the tank.
- Wipe up any spills immediately.
8. Check Your Tools Before Use
Why?
Using damaged or improper equipment can lead to leaks or contamination.
Best Practices:
- Inspect hoses and connectors for cracks or wear.
- Clean tools before and after use to prevent cross-contamination.
9. Dispose of Cleaning Solutions Responsibly
Why?
Improper disposal can harm the environment or damage sewer systems.
How to Dispose:
- Drain the cleaning solution into a sewer or designated RV dump station.
- Avoid draining it onto the ground or near water sources.
10. Stay Informed
Why?
Every RV system is different, and following manufacturer guidelines ensures safe cleaning.
What to Do:
- Review your RV owner’s manual for specific instructions.
- Consult professionals if you’re unsure about the cleaning process.
More related info will be available on Flamingo Motorhomes.

