Keeping your RV’s black tank clean is crucial for maintaining hygiene and preventing unpleasant odors. Regular cleaning not only ensures smooth operation but also extends the life of your RV’s waste system. how to clean a black tank in an rv. Let’s dive into the details.
Why Cleaning Your RV’s Black Tank is Essential
The black tank in your RV holds waste from your toilet. Over time, waste buildup and odors can become a serious issue if not addressed. Cleaning it properly eliminates blockages, prevents sensor malfunctions, and keeps your RV smelling fresh.
Tips for Maintaining Your RV’s Black Tank
1. Use RV-Safe Toilet Paper
Regular toilet paper can clog the system. Stick to RV-specific toilet paper to avoid problems.
2. Add Tank Treatments Regularly
Use enzyme-based treatments to break down waste and control odors.
3. Avoid Leaving the Valve Open
Leaving the black tank valve open while camping can lead to waste buildup, commonly called the “poop pyramid.” Keep it closed until it’s time to dump.
Factors Affecting the Need to Clean Your RV’s Black Tank
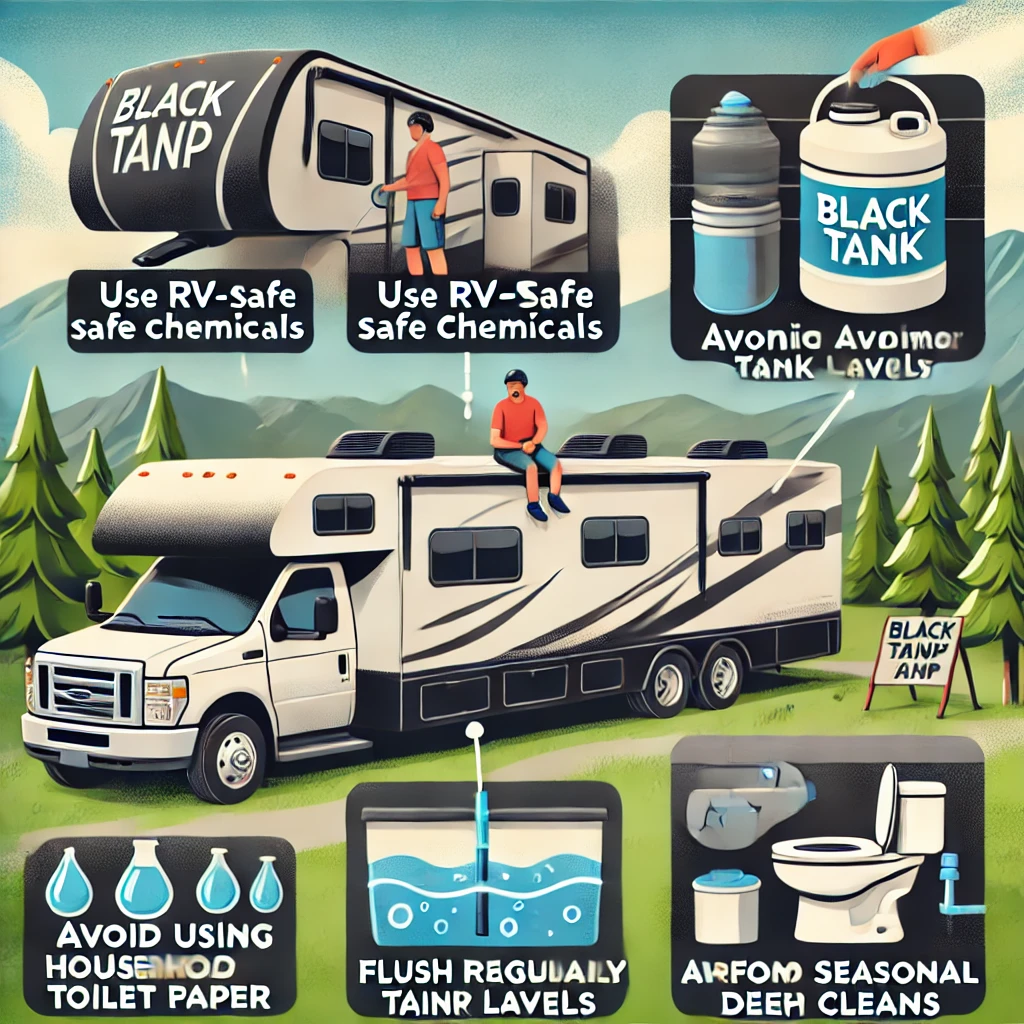
Cleaning your RV’s black tank regularly is vital for keeping it functional and odor-free. Several factors can influence how often you need to clean the tank. Understanding these factors can help you maintain a well-functioning waste system and avoid costly repairs.
1. Frequency of Use
The more frequently you use your RV, the faster the black tank fills up. Full-time RVers or frequent weekend travelers will need to clean their tanks more often compared to occasional users.
2. Tank Size
Larger tanks can hold more waste and allow for longer intervals between cleanings. However, smaller tanks fill up quickly, requiring more frequent attention to prevent overflows and odors.
3. Type of Toilet Paper Used
Using non-RV-safe toilet paper can lead to clogs and buildup in the tank, making cleaning more urgent. Always opt for RV-specific toilet paper that dissolves quickly and prevents blockages.
4. Weather Conditions
- Hot Weather: High temperatures can accelerate bacterial growth, leading to unpleasant odors and the need for more frequent cleaning.
- Cold Weather: While odors may be less noticeable, waste and water can freeze in extreme cold, making regular cleaning essential to avoid damage.
5. Lack of Proper Maintenance
Neglecting to use black tank treatments or not flushing the tank thoroughly after each use can cause waste buildup, sensor malfunctions, and stubborn odors. Regular maintenance can reduce the need for deep cleaning.
6. Incorrect Tank Usage
Leaving the black tank valve open while connected to a sewer system can lead to solid waste buildup, often referred to as the “poop pyramid.” This situation requires extensive cleaning to resolve.
7. Number of Occupants
More people using the RV’s toilet means the tank will fill up faster, necessitating more frequent cleanings.
Methods to Clean a Black Water Tank in an RV
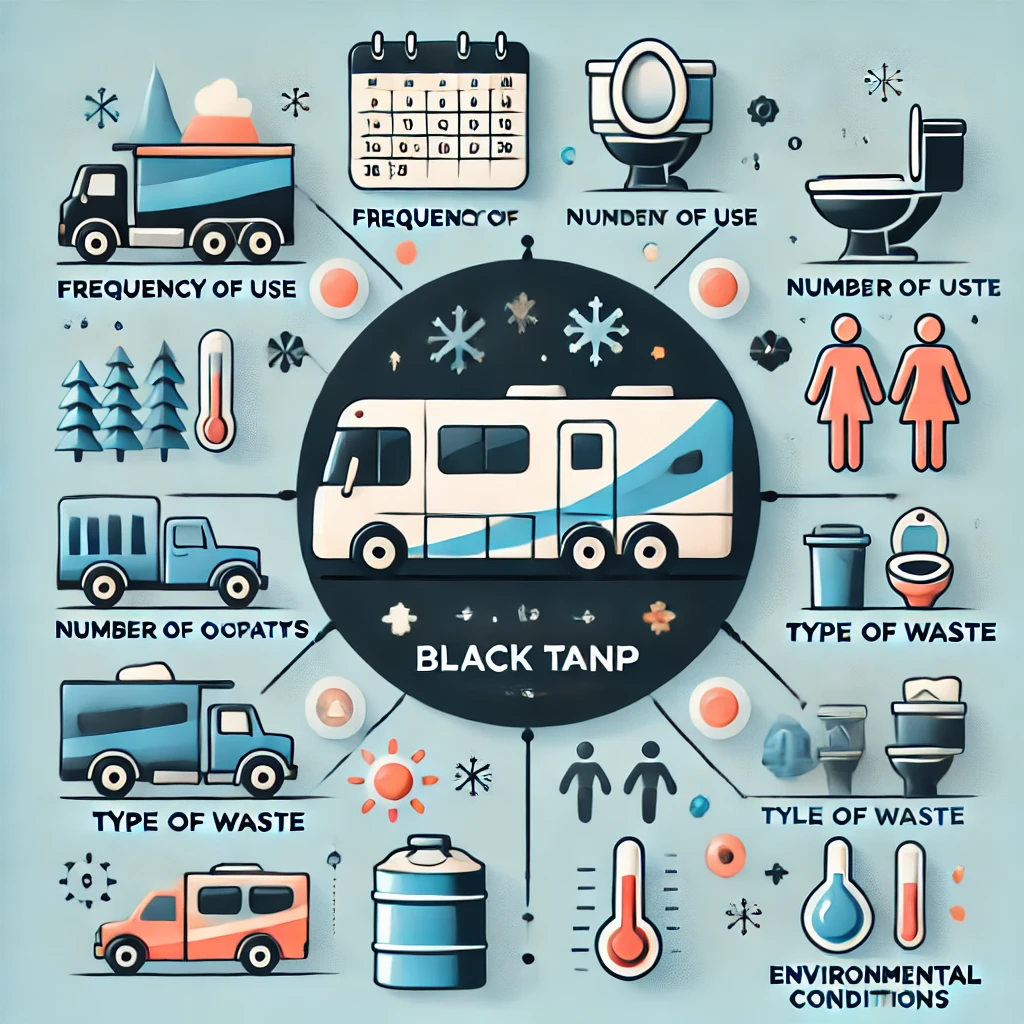
Maintaining your RV’s black water tank is crucial for a smooth, odor-free experience. Over time, waste buildup can cause clogs and unpleasant smells. Regular cleaning ensures your tank operates efficiently. Below, we outline the best methods to clean a black water tank in your RV.
1. Gravity Dump and Flush
The simplest method, this involves dumping waste at a designated RV dump station and flushing the tank.
- Steps to Follow:
- Connect your RV’s sewer hose to the dump station.
- Open the black tank valve and let it drain completely.
- Use a tank flush system or wand to rinse the interior thoroughly.
- Best For: Routine cleaning after trips.
2. The Ice Cube Method
This unconventional method uses ice to scrub the interior of the tank as you drive.
- How It Works:
- Empty the black tank.
- Add several bags of ice cubes and water through the toilet.
- Drive your RV for 15–30 minutes to allow the ice to scrape off debris inside the tank.
- Best For: Breaking up stubborn waste buildup.
3. Cleaning with Enzyme Treatments
Enzyme-based cleaners break down waste and eliminate odors effectively.
- Steps to Use:
- After emptying the black tank, add water and an RV-safe enzyme cleaning solution through the toilet.
- Let it sit for several hours (or overnight) to break down residue.
- Dump and rinse thoroughly.
- Best For: Routine cleaning and odor control.
4. Power Flushing with a Tank Rinser
Using a dedicated black tank rinser ensures a thorough flush.
- How It’s Done:
- Attach the rinser to your RV’s black tank flush inlet.
- Let water spray inside the tank to dislodge debris.
- Repeat until the water runs clear.
- Best For: Deep cleaning after extended use.
5. Vinegar and Baking Soda Method
A natural and eco-friendly way to clean your tank.
- Process:
- Add a mixture of vinegar and baking soda to the tank with water.
- Let it sit for several hours to break down grime and neutralize odors.
- Dump and rinse the tank thoroughly.
- Best For: Light cleaning and deodorizing.
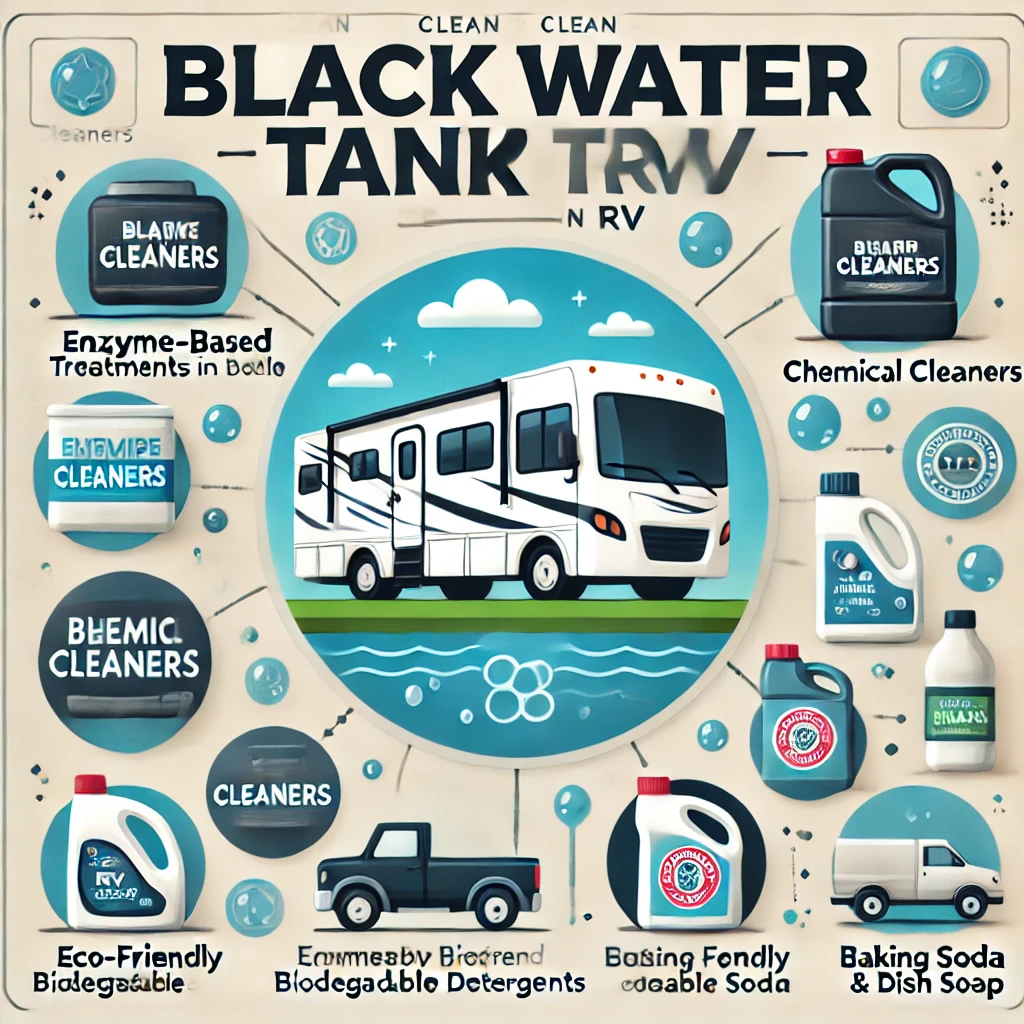
What Are the Detergents Used to Clean a Black Water Tank?
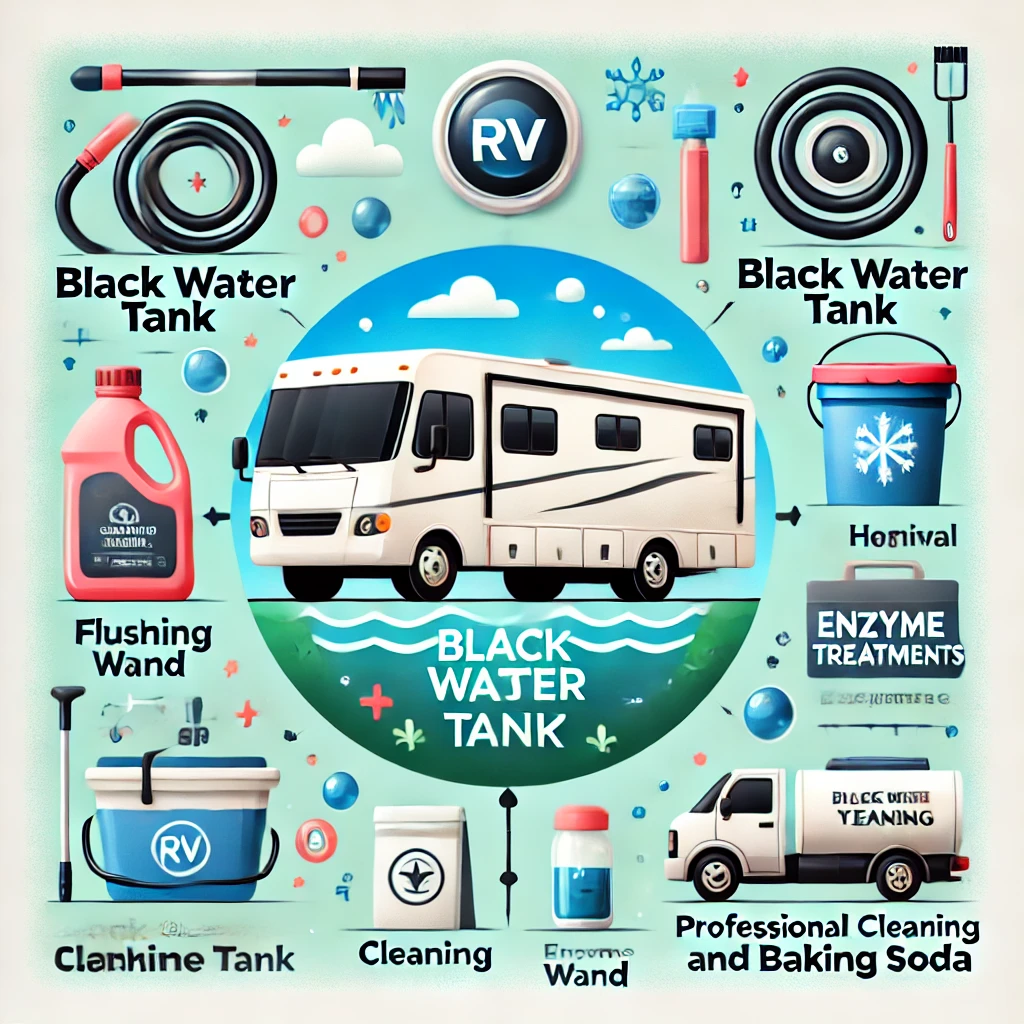
Cleaning your RV’s black water tank requires safe, effective, and RV-friendly detergents. Using the wrong cleaning products can damage your tank and harm the environment. Below is a list of recommended detergents to keep your black water tank clean and odor-free.
1. Enzyme-Based Tank Cleaners
Enzyme cleaners break down waste, toilet paper, and odors naturally.
- Why Use Them?
- Safe for the tank’s seals and plumbing.
- Prevents clogs by liquefying waste.
- Popular Brands:
- Camco TST Ultra-Concentrated Orange RV Toilet Treatment
- Happy Campers Organic RV Holding Tank Treatment
2. RV-Specific Tank Cleaners
Designed specifically for RV tanks, these detergents are highly effective and safe.
- Why Use Them?
- No harsh chemicals that can damage the tank.
- Easy to use and widely available.
- Popular Products:
- Thetford Aqua-Kem RV Holding Tank Cleaner
- Walex Porta-Pak Deodorizer
3. Dawn Dish Soap
Yes, you read that right! Dawn dish soap is gentle yet effective for cleaning black water tanks.
- How It Works:
- Breaks down grease and waste buildup.
- Helps eliminate odors.
- How to Use:
- Add a few drops into the tank with water. Drive the RV around to agitate the mixture before rinsing.
4. Baking Soda and Vinegar
An eco-friendly and affordable cleaning solution.
- Why Use Them?
- Neutralizes odors.
- Removes mild buildup and residue.
- How to Use:
- Add 1 cup of baking soda and 2 cups of vinegar to the tank with water. Let it sit for a few hours, then flush.
5. Bioactive Cleaners
Bioactive cleaners use natural bacteria to break down waste effectively.
- Why Use Them?
- Environmentally friendly.
- Great for long-term odor control.
- Popular Options:
- Unique RV Digest-It Holding Tank Treatment
Detergents to Avoid
- Bleach: Harsh chemicals can damage your tank’s seals and plumbing.
- Household Cleaners: Many contain ingredients that harm the tank and the environment.
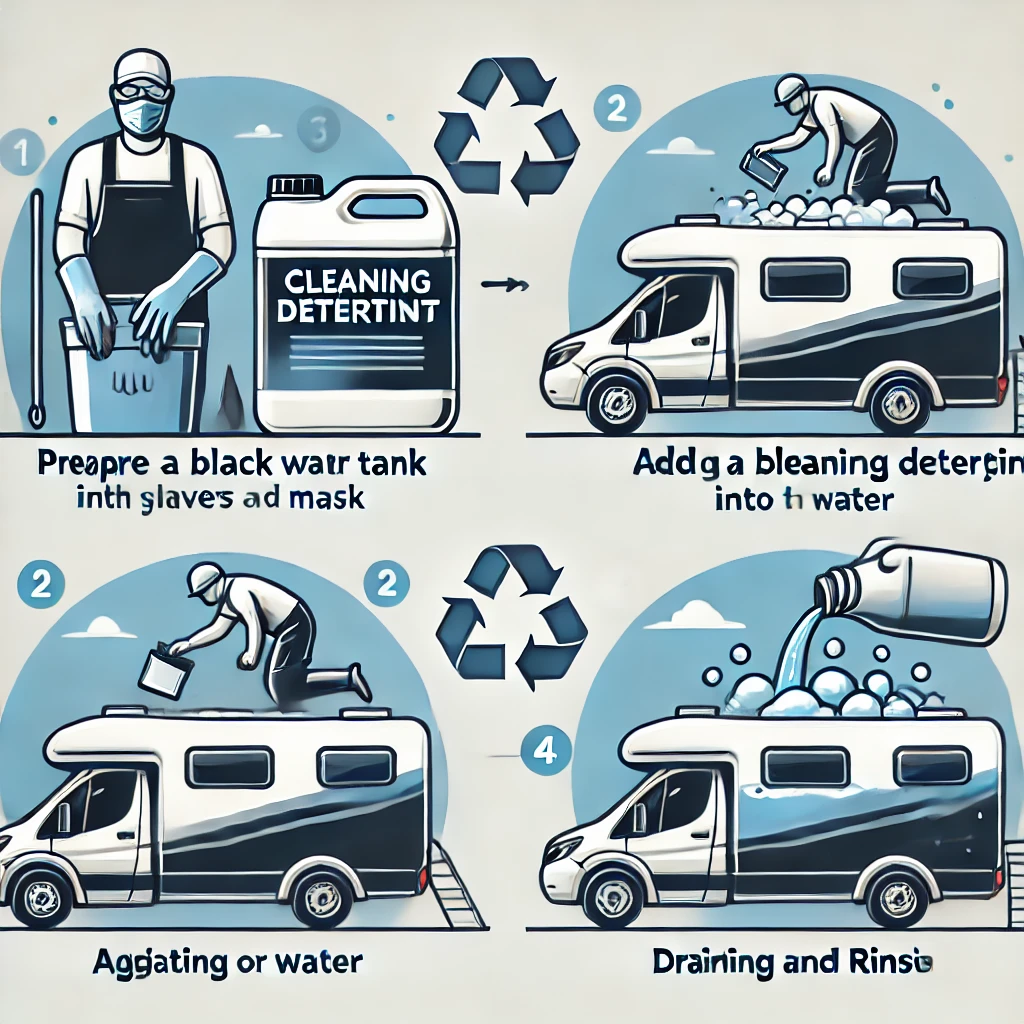
Steps to Clean a Black Water Tank Using Detergents
Proper cleaning of your RV’s black water tank requires the right detergents and a systematic approach. Follow these steps to ensure thorough cleaning while maintaining your tank’s integrity.
1: Gather Your Cleaning Supplies
Before starting, make sure you have:
- RV-safe detergent (enzyme-based, bioactive, or RV-specific cleaner)
- Disposable gloves
- Sewer hose
- Tank flushing attachment or wand
- Dedicated water hose
2: Empty the Black Water Tank
- Connect your RV’s sewer hose to the black tank outlet and a dump station.
- Open the black tank valve to allow the waste to drain completely.
- Close the valve once the tank is empty.
3: Add the Cleaning Detergent
- Pour the recommended amount of your chosen detergent into the toilet.
- Add water to the tank to dilute the detergent. Use about 2-3 gallons of water or as directed by the product.
4: Agitate the Tank
- Drive your RV for 15–30 minutes to allow the cleaning solution to coat the walls of the tank and loosen debris.
- Park your RV in a safe location before moving to the next step.
5: Flush the Tank
- Use a tank flushing wand or the RV’s built-in flushing system to rinse the interior.
- Keep flushing until the water runs clear, ensuring all residue and detergent are removed.
6: Perform a Final Rinse
- Add a small amount of fresh water to the tank and flush it again to eliminate any lingering detergent.
- Close the tank valve securely once the process is complete.
7: Add Maintenance Products (Optional)
- Add an enzyme-based or bioactive treatment to the empty tank.
- This helps prevent odors and waste buildup during your next trip.
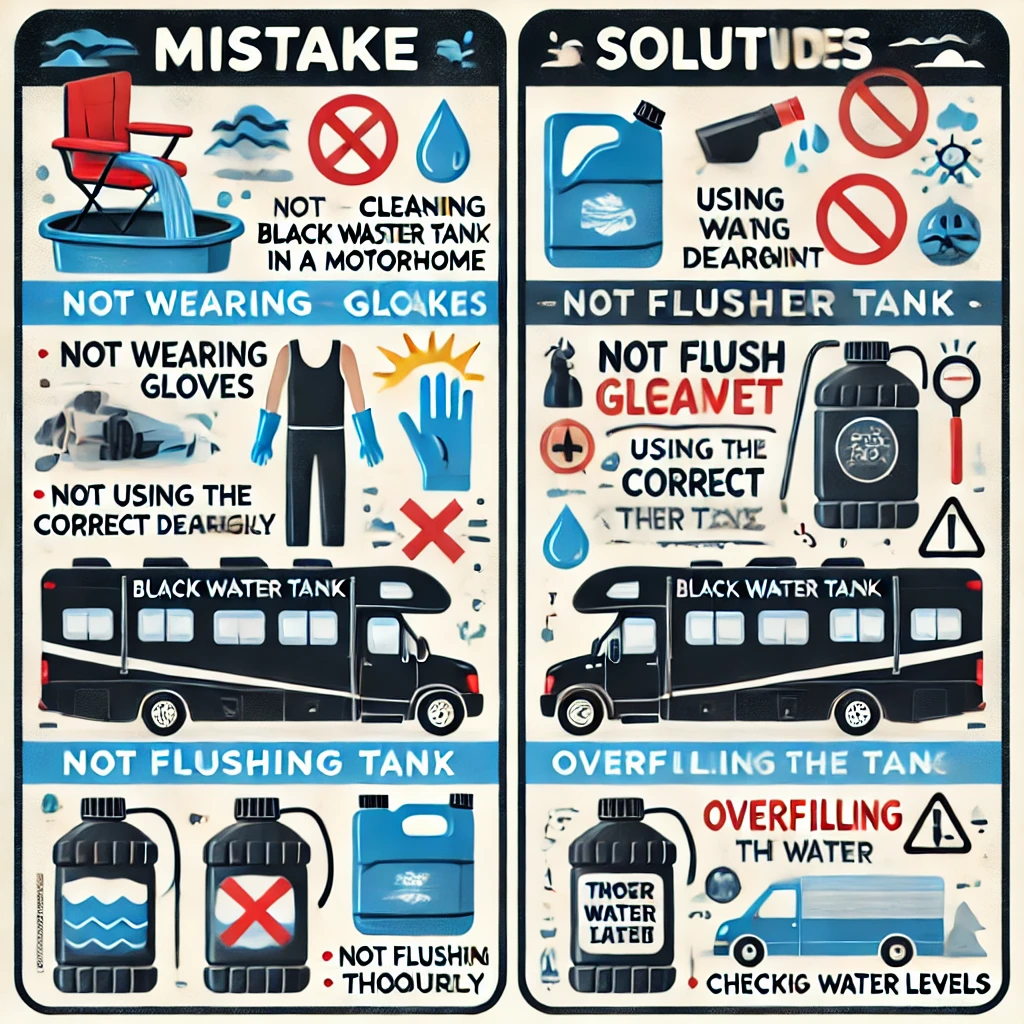
Common Mistakes When Cleaning a Black Water Tank and How to Fix Them
Cleaning an RV’s black water tank is essential, but mistakes can lead to unpleasant issues or damage. Below are some common mistakes people make during the cleaning process and practical solutions to fix or avoid them.
1. Not Using RV-Safe Cleaning Products
Mistake: Using household cleaners like bleach or drain cleaners can damage the tank and its seals.
Solution:
- Stick to RV-safe products such as enzyme-based or bioactive treatments.
- Avoid harsh chemicals that can corrode your tank.
2. Leaving the Black Tank Valve Open
Mistake: Keeping the black tank valve open at a campsite allows liquid waste to drain while solids remain, causing a “poop pyramid.”
Solution:
- Always keep the valve closed until the tank is at least two-thirds full before dumping.
- This ensures waste flows out properly and prevents buildup.
3. Forgetting to Flush the Tank Thoroughly
Mistake: Not flushing the tank after dumping can leave residue, leading to odors and clogged sensors.
Solution:
- Use a tank flush system, wand, or hose to rinse the tank thoroughly until the water runs clear.
- Regular flushing prevents buildup and keeps sensors functional.
4. Ignoring the Tank Sensors
Mistake: Dirty sensors can give inaccurate readings, causing confusion about when to dump or clean the tank.
Solution:
- Use cleaning solutions specifically designed to remove debris from sensors.
- Rinse the tank thoroughly after every trip to keep sensors clear.
5. Overloading the Tank with Water or Chemicals
Mistake: Adding too much water or detergent can dilute cleaning solutions, making them less effective.
Solution:
- Follow the recommended product instructions for proper water and chemical ratios.
- Generally, 2–3 gallons of water is sufficient for most treatments.
6. Not Driving After Adding Cleaning Solutions
Mistake: Leaving the RV stationary after adding cleaning products can prevent them from reaching all areas of the tank.
Solution:
- After adding the cleaner, drive your RV for 15–30 minutes to let the solution agitate and clean all tank surfaces.
7. Neglecting Regular Maintenance
Mistake: Waiting until odors or clogs appear before cleaning can cause long-term damage to your tank.
Solution:
- Clean your tank regularly, even during periods of light use.
- Use tank treatments consistently to break down waste and control odors.
Safety Precautions for Cleaning a Black Water Tank
Cleaning your RV’s black water tank is essential, but it’s also important to take proper safety measures to protect yourself and your RV. Below are key precautions to follow during the cleaning process.
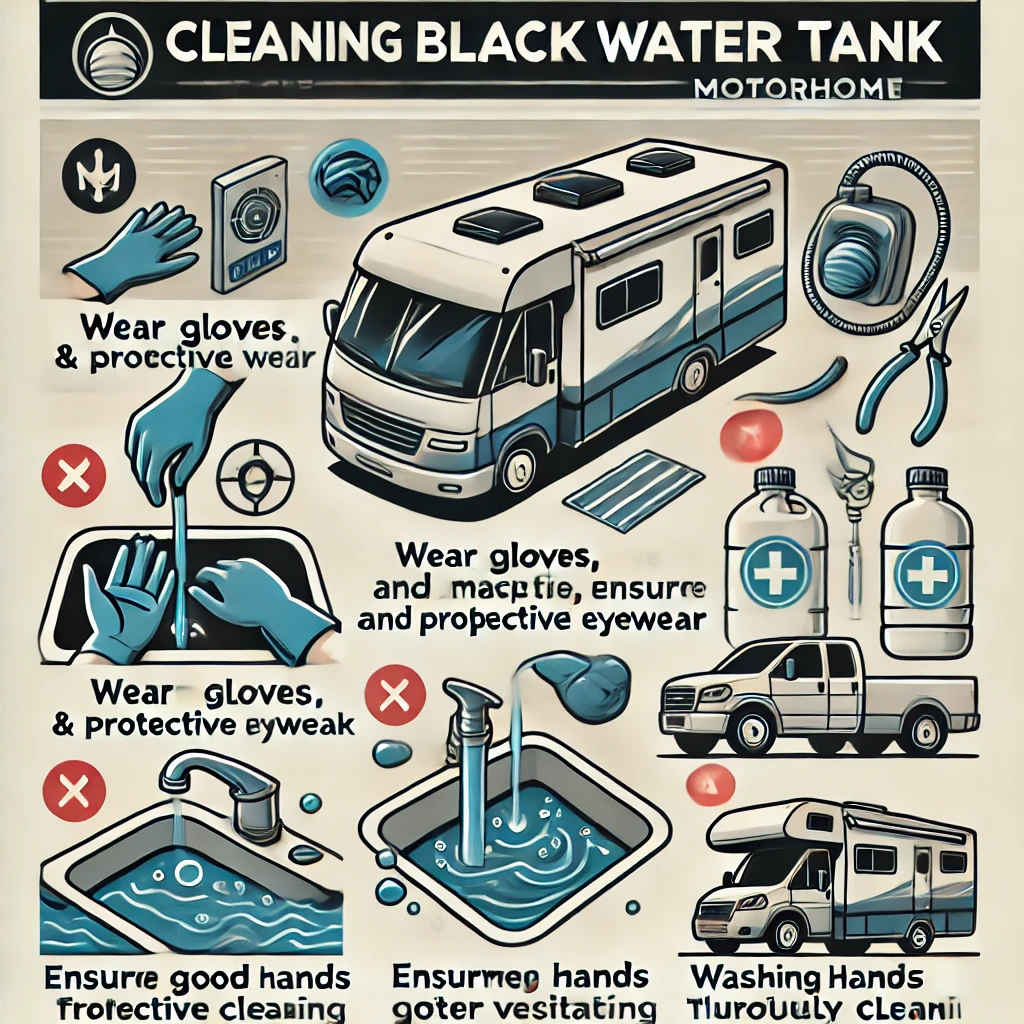
1. Wear Protective Gear
Why It’s Important: Handling waste involves exposure to harmful bacteria and unpleasant odors.
What to Use:
- Disposable gloves to avoid direct contact with waste.
- Safety goggles to protect your eyes from splashes.
- A mask if you’re sensitive to odors.
2. Use Dedicated Equipment
Why It’s Important: Cross-contamination can occur if the same tools are used for fresh water and waste systems.
What to Do:
- Keep a separate hose for flushing the black tank.
- Label hoses clearly to avoid mix-ups with drinking water lines.
3. Avoid Direct Contact with Waste
Why It’s Important: Direct exposure to sewage can lead to infections or illness.
What to Do:
- Always use a secure sewer hose with tight connections.
- Inspect hoses for leaks or damage before use.
4. Ventilate the Area
Why It’s Important: Fumes from the black tank can be overpowering and harmful in confined spaces.
What to Do:
- Open windows or vents in your RV when working inside.
- Clean the tank in a well-ventilated area to avoid inhaling fumes.
5. Avoid Using Harsh Chemicals
Why It’s Important: Chemicals like bleach can damage your tank and harm the environment.
What to Use Instead:
- RV-safe detergents or enzyme-based cleaners.
- Avoid mixing cleaning agents, which could create toxic fumes.
6. Ensure Proper Tank Handling
Why It’s Important: Mishandling the tank valves or hoses can lead to spills.
What to Do:
- Securely attach the sewer hose to the dump station before opening the valve.
- Open the black tank valve slowly to prevent splashing.
7. Sanitize After Cleaning
Why It’s Important: Proper sanitation prevents the spread of bacteria and odors.
What to Do:
- Wash your hands thoroughly with soap and water after handling the tank.
- Sanitize gloves and equipment before storing them.
8. Use Dump Stations Responsibly
Why It’s Important: Improper disposal of waste can cause environmental harm.
What to Do:
- Always use designated RV dump stations.
- Avoid dumping waste in unauthorized areas.
More related info will be available on Flamingo Motorhomes.

