Keeping your RV water lines free of water during the off-season is crucial to prevent freezing and costly damage. In this guide, we’ll explain step-by-step how to blow out RV water lines to keep your system safe and ready for your next adventure.
Why Blow Out RV Water Lines?
When temperatures drop, any leftover water in your RV’s pipes can freeze and expand, causing cracks and leaks. Blowing out the water lines ensures they are dry, preventing damage and making winterization easier.
Tools You’ll Need to Blow Out RV Water Lines
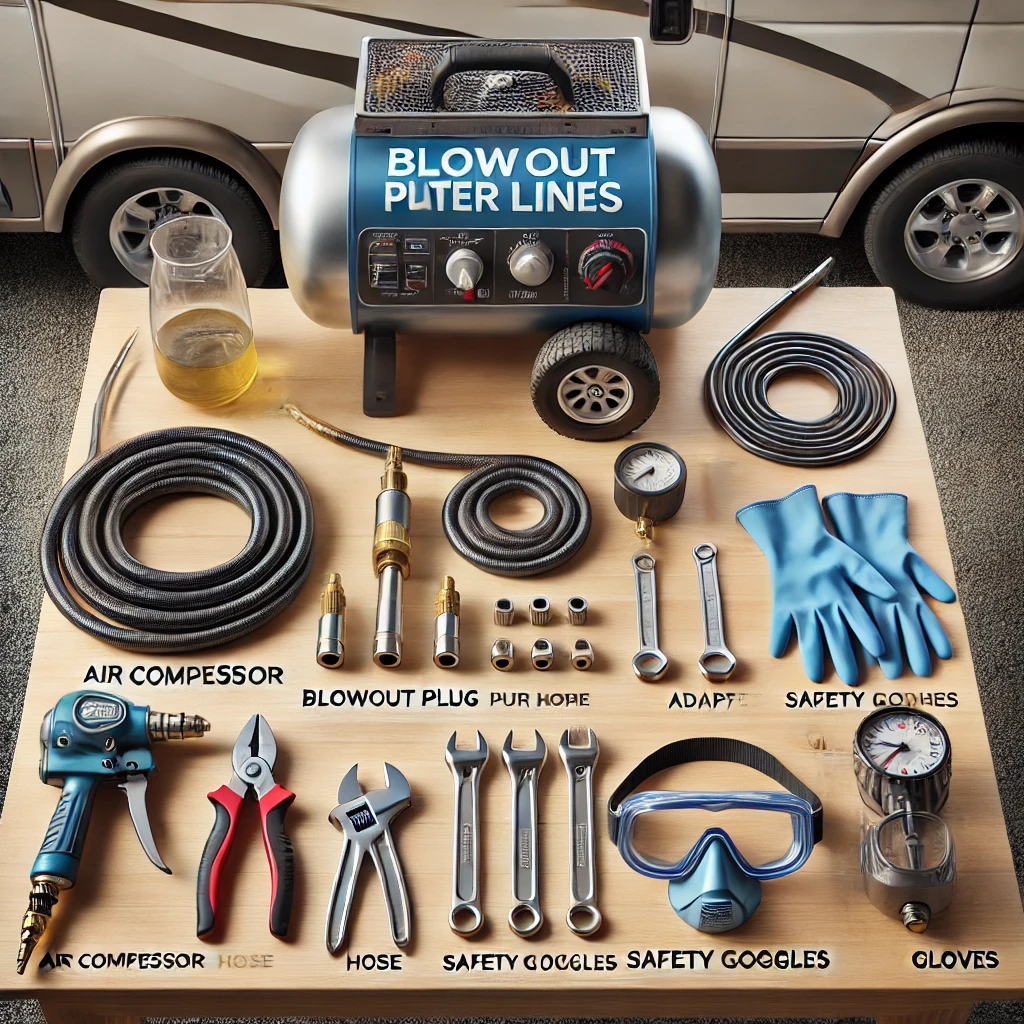
Before you begin, gather the following tools:
- An air compressor with adjustable pressure
- RV blowout plug or adapter
- A water hose
- A towel or bucket (to catch water)
Having these tools on hand will make the process smooth and effective.
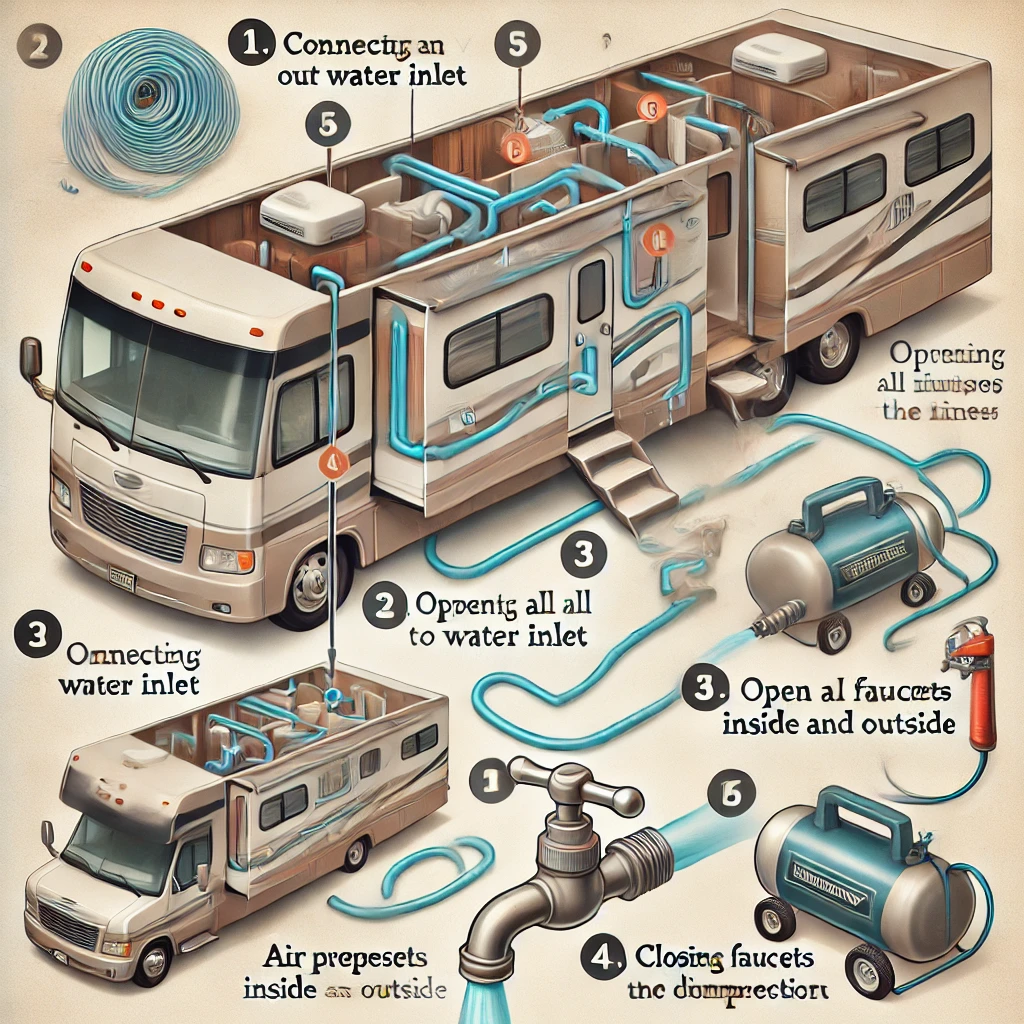
Step-by-Step Guide to Blow Out RV Water Lines
1: Drain the Freshwater System
- Turn off your RV’s water pump.
- Open all faucets, showers, and valves, including the low-point drains, to release as much water as possible.
- Empty the fresh water tank and water heater completely.
💡 Tip: Always bypass the water heater before continuing to protect it from high-pressure air.
2: Attach the Air Compressor
- Connect the RV blowout plug to your city water connection.
- Attach your air compressor hose to the blowout plug.
- Set the air pressure to 30-40 PSI (higher pressure can damage your plumbing).
3: Blow Out the Water Lines
- Turn on the air compressor and open one faucet at a time, starting with the one farthest from the compressor.
- Allow air to push out all remaining water until only air comes out.
- Repeat this process for all faucets, showers, and toilets.
4: Check and Double-Check
- After blowing out all the lines, inspect each faucet and valve for any lingering water.
- Don’t forget outdoor showers and water hookups.
Extra Tips for Success
- Don’t Forget the Toilet: Flush the toilet to clear water from the valve and bowl.
- Check the Water Pump: Briefly turn on the pump to remove trapped water.
- Protect with RV Antifreeze: For added safety, consider adding RV antifreeze to the system, especially in harsh winters.
Frequently Asked Questions About Blowing Out RV Water Lines
Is Blowing Out RV Water Lines Better Than Using Antifreeze?
Both methods work well. Blowing out the lines is clean and chemical-free, while antifreeze adds extra protection against freezing. Combining the two is ideal in extreme climates.
How Often Should I Blow Out RV Water Lines?
You should blow out your RV water lines before winter storage or any time your RV will be unused in freezing temperatures.
Methods to Blow Out RV Water Lines: Choose the Best Option
Winterizing your RV is essential for preventing frozen pipes and costly repairs. There are different methods to blow out RV water lines, and choosing the best one depends on your preferences and tools. Below, we’ll outline the most common methods and help you decide which is the most effective.
Why Blow Out RV Water Lines?
When water remains in your RV’s plumbing during freezing weather, it can expand and damage the system. Blowing out the water lines ensures they are completely dry, reducing the risk of cracks or leaks during winter storage.
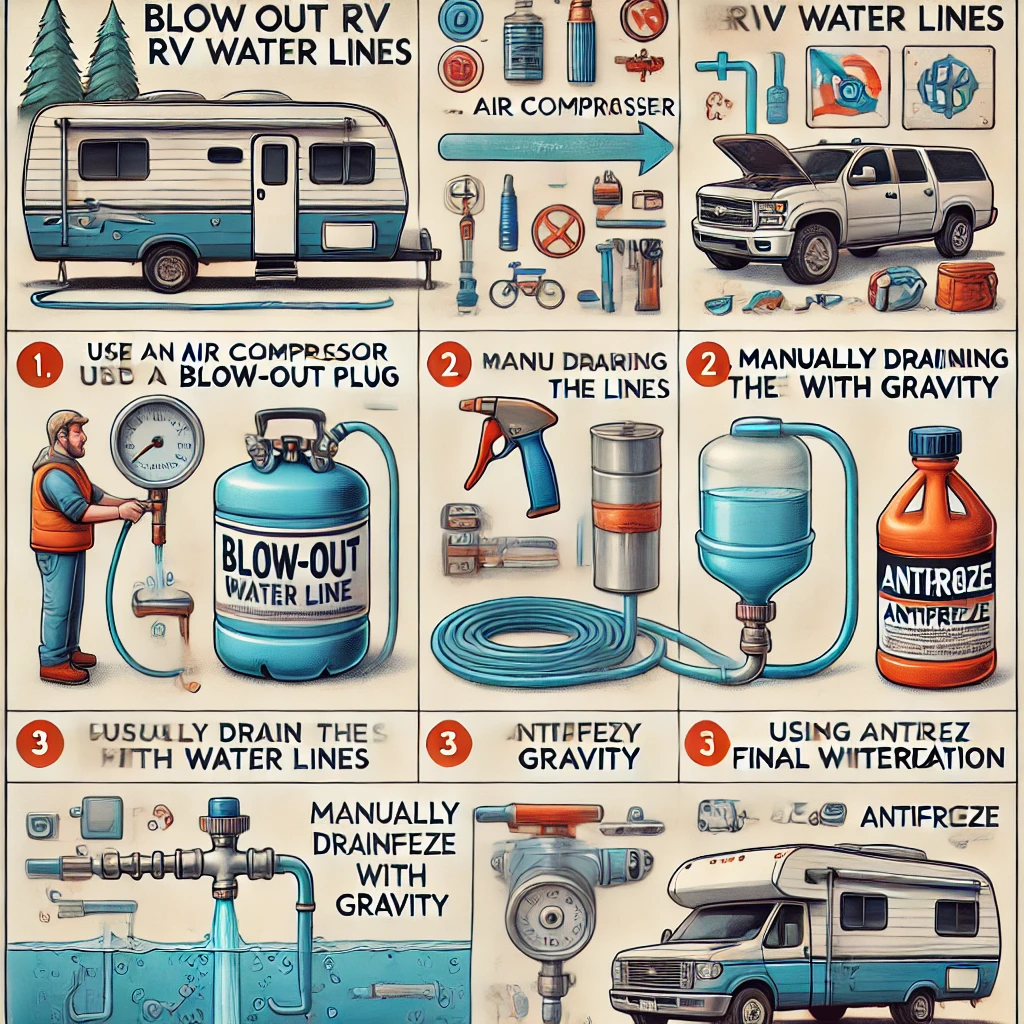
Methods to Blow Out RV Water Lines
1. Using an Air Compressor
This is the most popular and effective method. You’ll need an air compressor, an RV blowout plug, and a water hose.
Steps:
- Drain all water from the system.
- Attach the blowout plug to your city water connection.
- Connect the air compressor hose to the plug.
- Set the pressure to 30-40 PSI (too much pressure can damage your pipes).
- Open all faucets and valves, one at a time, to let the air force out the water.
💡 Best for: RV owners who prefer a chemical-free method and have access to an air compressor.
2. Manual Pump Method
If you don’t have an air compressor, you can use a manual hand pump with an adapter to blow out the lines.
Steps:
- Attach the pump to your city water connection.
- Open the faucets.
- Pump air manually to push out any remaining water.
💡 Best for: RV owners without an air compressor or looking for a budget-friendly solution.
3. RV Antifreeze Method
Though not technically “blowing out,” this method involves replacing water with non-toxic RV antifreeze.
Steps:
- Drain the water system.
- Use a bypass kit to keep antifreeze out of your water heater.
- Add antifreeze to the system using a siphon or pump.
- Open faucets until antifreeze flows through.
💡 Best for: Extreme climates where additional freeze protection is needed.
Best Method to Blow Out RV Water Lines
The air compressor method is the best choice for most RV owners. It effectively removes all water without chemicals, making it clean and efficient. For added protection, combine this method with the RV antifreeze method in harsh winters.
How to Blow Out Lines of Different Classes of RVs
Winterizing your RV is essential to protect its plumbing system during freezing temperatures. Different RV classes—Class A, Class B, Class C, travel trailers, and fifth wheels—have unique setups, which may require slightly different approaches. Here’s a complete guide on how to blow out lines of different classes of RVs, ensuring your water system stays safe.
Why Blow Out RV Water Lines?
Blowing out the water lines removes all remaining water from the plumbing system, preventing freezing, cracks, and costly repairs. It’s a critical step for winterizing any RV.
Tools Needed for Blowing Out RV Water Lines
- Air Compressor (with adjustable pressure)
- RV Blowout Plug or adapter
- Water Hose
- Wrench (optional, for tight fittings)
- Bucket or towel (to catch water)
💡 Tip: Always set your air compressor to 30-40 PSI to avoid damaging the plumbing system.
Blowing Out Water Lines by RV Class
Class A Motorhomes
Class A motorhomes are large and have complex plumbing systems, often including multiple bathrooms, a kitchen, and an outdoor shower.
Steps:
- Drain the System: Empty the fresh water tank, low-point drains, and water heater.
- Attach the Compressor: Use an RV blowout plug at the city water connection.
- Blow Out Lines: Start with the farthest faucet (e.g., rear bathroom) and open it. Gradually work toward the closest faucet.
- Outdoor Features: Don’t forget the outdoor shower and any auxiliary water lines.
💡 Key Focus: Large systems may take longer. Work methodically to ensure all water is removed.
Class B Camper Vans
Class B RVs have smaller and simpler plumbing systems, often limited to a single sink, shower, and toilet.
Steps:
- Drain all tanks, including the fresh water tank and water heater.
- Attach an air compressor to the city water inlet using a blowout plug.
- Open each faucet (including the shower) one at a time while the compressor runs.
- Flush the toilet to clear its valve.
💡 Key Focus: Compact systems make this quick, but ensure no lines are overlooked, such as outdoor utility hookups.
Class C Motorhomes
Class C RVs are mid-sized and typically have a single bathroom and a kitchen.
Steps:
- Drain the water heater, fresh water tank, and low-point drains.
- Use an air compressor with a blowout plug attached to the city water connection.
- Open the farthest faucet and work toward the closest, ensuring all water is cleared.
- Don’t forget the toilet, shower, and outdoor shower.
💡 Key Focus: Mid-sized plumbing systems require attention to both indoor and outdoor water lines.
Travel Trailers and Fifth Wheels
These RVs often have one bathroom, a kitchen, and sometimes outdoor water features.
Steps:
- Drain all water tanks and bypass the water heater.
- Attach the compressor to the city water connection.
- Blow out the lines, starting with the farthest faucet and moving inward.
- Open outdoor kitchen faucets or utility hookups, if available.
💡 Key Focus: Check outdoor features like sprayers or external sinks, which are common in these RV types.
Pro Tips for All RV Classes
- Bypass the Water Heater: Prevent high-pressure air from damaging the tank.
- Flush the Toilet: Ensure the toilet valve and bowl are free of water.
- Inspect All Faucets: Check every valve, including outdoor and auxiliary water lines.
Common Mistakes When Blowing Out RV Water Lines and How to Avoid Them
Blowing out RV water lines is essential for winterizing your RV, but even experienced RV owners can make mistakes during the process. Understanding these errors and their solutions will ensure your RV’s plumbing remains safe and damage-free. Here’s a detailed guide on common mistakes when blowing out RV water lines and how to fix them.
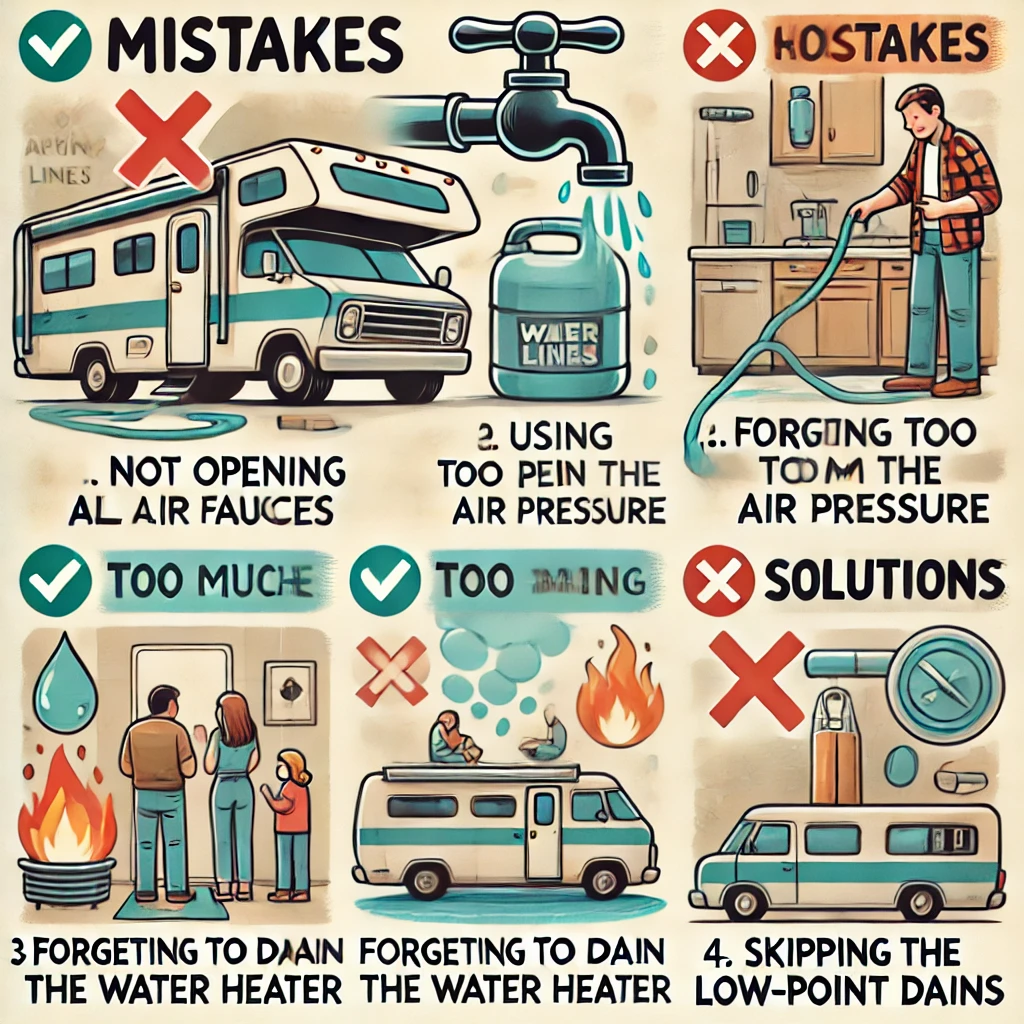
1. Forgetting to Drain the Water Heater
Mistake: Skipping the step of draining the water heater can leave water inside, leading to freezing and damage.
Solution:
- Always bypass the water heater before blowing out the lines.
- Open the water heater drain plug or valve to remove all water.
- Use a tank rinser to ensure no water remains.
💡 Tip: Check your RV’s manual for instructions on bypassing the water heater.
2. Using Excessive Air Pressure
Mistake: Setting the air compressor to a pressure above 40 PSI can damage the RV’s plumbing system.
Solution:
- Adjust the air compressor to 30-40 PSI before starting.
- Use a pressure regulator if your compressor lacks precise settings.
💡 Tip: Higher pressure might clear water faster, but it risks bursting pipes and fittings.
3. Not Opening All Faucets and Valves
Mistake: Leaving some faucets, outdoor showers, or low-point drains closed can trap water in the system.
Solution:
- Open all faucets, including the kitchen sink, bathroom sinks, showerheads, and outdoor showers.
- Don’t forget low-point drains, utility faucets, or any auxiliary water lines.
💡 Tip: Work from the farthest faucet from the compressor to the closest for thorough clearing.
4. Skipping the Toilet and Outdoor Features
Mistake: Overlooking the toilet, outdoor shower, or water hookup leaves water in those components, leading to freezing and damage.
Solution:
- Flush the toilet several times during the process to blow out any trapped water.
- Open outdoor showers and sprayers to clear them completely.
- Disconnect and drain hoses or external water filters.
💡 Tip: Keep a checklist of all water outlets in your RV to avoid missing any.
5. Not Checking for Remaining Water
Mistake: Assuming all water is cleared without double-checking can lead to leftover water freezing in pipes.
Solution:
- Inspect each faucet, valve, and drain after blowing them out.
- Run the air compressor a second time if necessary to ensure no water is left.
💡 Tip: Use a flashlight to check hard-to-see valves and low-point drains.
6. Relying Only on Blowing Out Lines
Mistake: Blowing out water lines without adding RV antifreeze in freezing climates increases the risk of residual water freezing.
Solution:
- After blowing out the lines, add non-toxic RV antifreeze to sinks, shower drains, and the toilet bowl for extra protection.
💡 Tip: Use RV antifreeze for traps and areas where complete water removal is challenging.
7. Failing to Drain Freshwater Tanks Completely
Mistake: Leaving water in the fresh water tank can cause freezing and damage to the tank or pump.
Solution:
- Fully drain the fresh water tank and turn on the water pump briefly to clear any residual water.
- Open the tank’s low-point drain to ensure complete drainage.
💡 Tip: Run the pump only for a few seconds to avoid running it dry.
Safety Precautions When Blowing Out RV Water Lines
Blowing out RV water lines is a crucial step in winterizing your RV, but it requires careful attention to ensure safety. Here are the essential safety precautions when blowing out RV water lines to protect both you and your RV’s plumbing system.
1. Use the Correct Air Pressure
Why It’s Important: Excessive air pressure can damage the plumbing system, causing leaks or burst pipes.
Precaution:
- Set the air compressor to 30-40 PSI.
- Never exceed 50 PSI, even for larger RVs.
- Use a pressure regulator for accurate control.
💡 Tip: Check your RV owner’s manual for recommended pressure settings.
2. Bypass the Water Heater
Why It’s Important: Applying air pressure to the water heater without bypassing it can damage the tank and valves.
Precaution:
- Install a water heater bypass kit before blowing out the lines.
- Ensure the heater is completely drained before starting.
💡 Tip: Always remove the drain plug or anode rod to release trapped water.
3. Wear Safety Gear
Why It’s Important: High-pressure air and water can spray unexpectedly, potentially causing injury.
Precaution:
- Wear safety goggles to protect your eyes.
- Use gloves to shield your hands from cold water or sharp fittings.
💡 Tip: Keep a towel or bucket handy to manage water sprays.
4. Turn Off Power Sources
Why It’s Important: Electrical appliances in your RV can be damaged or cause shocks if not powered off during the process.
Precaution:
- Turn off the water heater and water pump before starting.
- Disconnect your RV from external power sources.
💡 Tip: Double-check that the propane supply to the water heater is also turned off.
5. Inspect All Connections
Why It’s Important: Loose or improperly attached blowout plugs and hoses can cause leaks or sudden air bursts.
Precaution:
- Securely attach the air compressor hose to the RV blowout plug.
- Check all fittings for tightness before starting the compressor.
💡 Tip: Use a wrench to tighten connections, but avoid over-tightening, which can cause damage.
6. Work in a Well-Ventilated Area
Why It’s Important: Confined spaces can be unsafe, especially if your RV has lingering odors or propane residue.
Precaution:
- Perform the task outdoors or in a well-ventilated area.
- Avoid working near open flames or ignition sources.
💡 Tip: Open RV doors and windows for extra airflow during the process.
7. Double-Check Before Using Antifreeze
Why It’s Important: Improper use of antifreeze can lead to contamination or damage to certain components.
Precaution:
- Only use non-toxic RV antifreeze approved for potable water systems.
- Flush out any remaining water thoroughly before adding antifreeze.
💡 Tip: Label containers to avoid mixing RV antifreeze with automotive antifreeze.
8. Inspect for Residual Water
Why It’s Important: Even a small amount of water left in pipes can freeze and cause damage.
Precaution:
- Check all faucets, drains, and valves after blowing out the lines.
- Repeat the process if any water is still present.
💡 Tip: Pay extra attention to low-point drains and outdoor water connections.
Final Thoughts
Following these safety precautions when blowing out RV water lines ensures a damage-free winterization process. Proper preparation, careful execution, and thorough inspection are key to protecting your RV’s plumbing system and staying safe. With these steps, you can confidently prepare your RV for winter storage.
More related info will be available on Flamingo Motorhomes.