Winterizing your RV is crucial to protect its plumbing system during cold weather. How much antifreeze to winterize rv? Knowing the correct amount of antifreeze to use can save you time and money while ensuring your RV is safe from freezing temperatures.
How Much Antifreeze Does Your RV Need?
The amount of antifreeze required depends on your RV’s size and plumbing system complexity. Generally:
- Small RVs or camper trailers: 1 to 2 gallons of RV antifreeze.
- Medium-sized RVs or travel trailers: 2 to 3 gallons.
- Large RVs or fifth-wheel campers: 3 to 4 gallons.
For RVs with washing machines or ice makers, you may need an additional gallon.
Why Use RV-Specific Antifreeze?
RV antifreeze is non-toxic and safe for potable water systems. Avoid using automotive antifreeze, as it can damage your plumbing and is harmful to the environment.
Tips to Save Antifreeze
- Bypass the water heater: This reduces the amount of antifreeze required.
- Use a blow-out plug: Compressed air can clear water from the lines, lowering the antifreeze needed.
Factors That Force You to Use Antifreeze to Winterize an RV
Winterizing your RV is essential to prevent freezing damage during cold months. Using antifreeze is one of the most effective ways to protect your RV’s plumbing system. Here are the key factors that make antifreeze a must-have for winterizing your RV.
1. Freezing Temperatures
When temperatures drop below 32°F (0°C), the water in your RV’s plumbing system can freeze. Frozen water expands, causing pipes to crack, fittings to break, and damage to water tanks. RV antifreeze is designed to stay liquid in extreme cold, protecting your system.
2. Protecting Water Lines and Pumps
Water left in the pipes, pumps, and valves can freeze and expand, leading to costly repairs. Using antifreeze ensures all components stay safe, even in freezing weather.
3. Climate and Location
If you live in or travel to areas with harsh winters, such as northern states or high-altitude regions, winterizing with antifreeze is essential. Even a single unexpected freeze can cause damage.
4. Preventing Tank Damage
Freshwater, gray water, and black water tanks are vulnerable to freezing. Antifreeze prevents water in the tanks and traps from turning into ice, avoiding structural damage.
5. Cost of Repairs vs. Prevention
Repairs for frozen pipes, cracked tanks, or a damaged water pump can be expensive. Investing in antifreeze is a small price to pay compared to the potential cost of replacing plumbing components or repairing leaks.
6. Peace of Mind During Storage
If your RV is in storage over the winter, using antifreeze eliminates the worry of unseen freezing damage. It provides reliable protection for months, regardless of fluctuating temperatures.
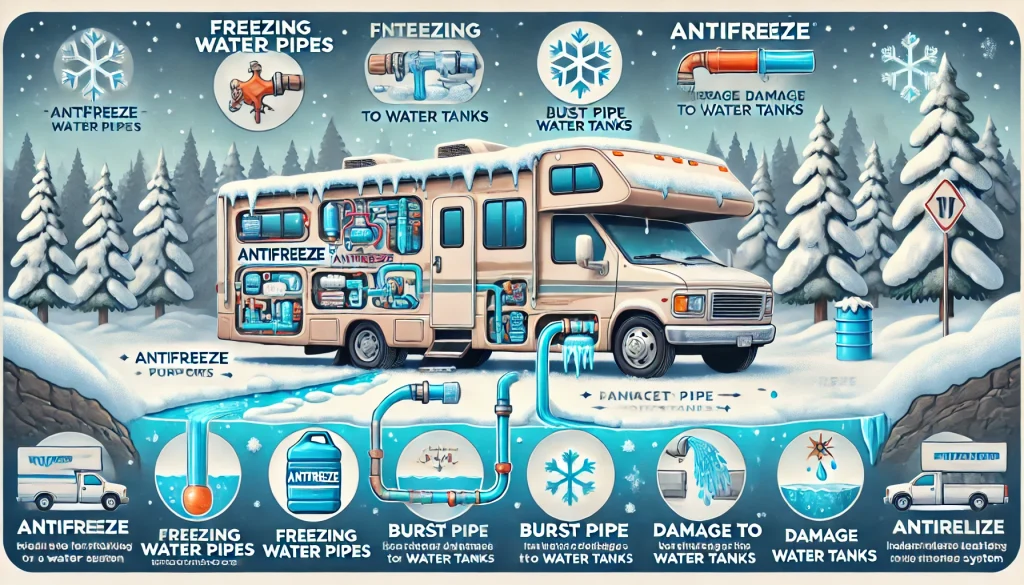
Methods to Antifreeze an RV
Winterizing your RV by using antifreeze is a crucial step in protecting its plumbing system during freezing temperatures. Here are the most effective methods to apply antifreeze and ensure your RV is ready for winter storage.
1. Pump Antifreeze Through the Water System
This is the most common and reliable method for winterizing an RV.
Steps:
- Drain the water system: Empty the fresh, gray, and black water tanks. Open all faucets and low-point drains to remove residual water.
- Bypass the water heater: Use a water heater bypass kit to avoid filling the water heater with antifreeze.
- Connect the antifreeze: Attach the antifreeze bottle to the water pump using a siphon hose or a pump converter kit.
- Run the pump: Turn on the water pump and open each faucet (hot and cold) until pink antifreeze flows through. Don’t forget the shower, toilet, and outdoor faucets.
2. Blow Out the Water Lines with Compressed Air
This method uses compressed air to clear water from the plumbing system before adding minimal antifreeze.
Steps:
- Drain the system: Empty all tanks and open faucets.
- Attach a blow-out plug: Connect the plug to the city water inlet and attach an air compressor.
- Clear the lines: Set the air compressor to no more than 30–40 PSI and blow air through the lines until no water comes out.
- Add antifreeze: Pour antifreeze into the drains and toilet to protect P-traps and holding tanks.
3. Hybrid Method: Air and Antifreeze
This method combines both blowing out water lines and using antifreeze for added security.
Steps:
- Blow out the lines with compressed air as described above.
- Pump antifreeze through the system afterward to ensure complete freeze protection.
4. Gravity Fill Method
For smaller or older RVs without a water pump, gravity filling might be necessary.
Steps:
- Drain the system completely.
- Pour RV antifreeze directly into the freshwater tank.
- Open each faucet to pull antifreeze through using gravity flow.
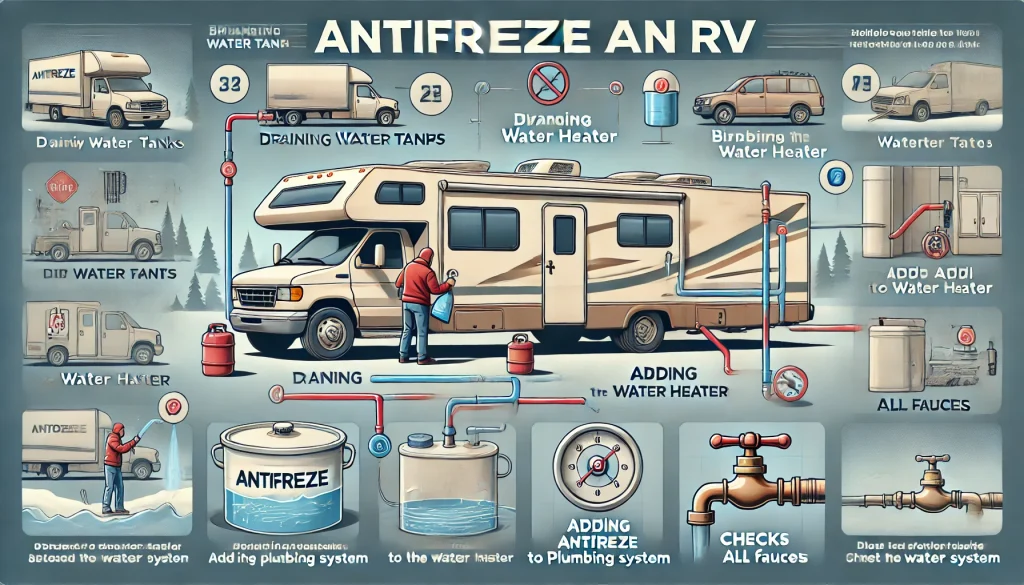
Steps to Antifreeze and Winterize Your RV
Winterizing your RV with antifreeze is crucial to protect its plumbing system from freezing temperatures. Follow these step-by-step instructions to safeguard your RV and ensure it’s ready for use when spring arrives.
Step 1: Gather Necessary Supplies
Before starting, ensure you have:
- RV-specific antifreeze (1-4 gallons, depending on your RV size)
- A water heater bypass kit (if not already installed)
- A siphon hose or pump converter kit
- A wrench or screwdriver (if needed)
Step 2: Drain All Water Systems
- Turn off the water pump and disconnect the RV from any external water source.
- Drain the freshwater tank, gray water tank, and black water tank.
- Open all faucets, showerheads, and low-point drains to remove residual water.
- Drain the water heater (be sure it’s turned off and cooled before draining).
Step 3: Bypass the Water Heater
Install a water heater bypass kit or activate the bypass valve if your RV is equipped with one. This step prevents the water heater from filling with antifreeze, saving you several gallons.
Step 4: Pump Antifreeze into the System
- Connect the antifreeze bottle to the water pump using a siphon hose or converter kit.
- Turn on the water pump.
- Open each faucet, starting with the closest and moving to the farthest, until pink antifreeze flows through both hot and cold water lines.
- Flush the toilet until antifreeze is visible.
- Don’t forget outdoor shower faucets, if applicable.
Step 5: Protect the P-Traps and Drains
Pour a small amount of antifreeze (approximately 1 cup) into each sink, shower, and toilet. This protects the P-traps and prevents freezing in the holding tanks.
Step 6: Check for Missed Areas
- Double-check all water lines and faucets for antifreeze.
- Ensure the city water inlet is also winterized by using a small amount of antifreeze.
Step 7: Final Checks
Turn off the water pump and make sure no water remains in the system. Leave all faucets slightly open to relieve pressure and avoid damage during freezing conditions.
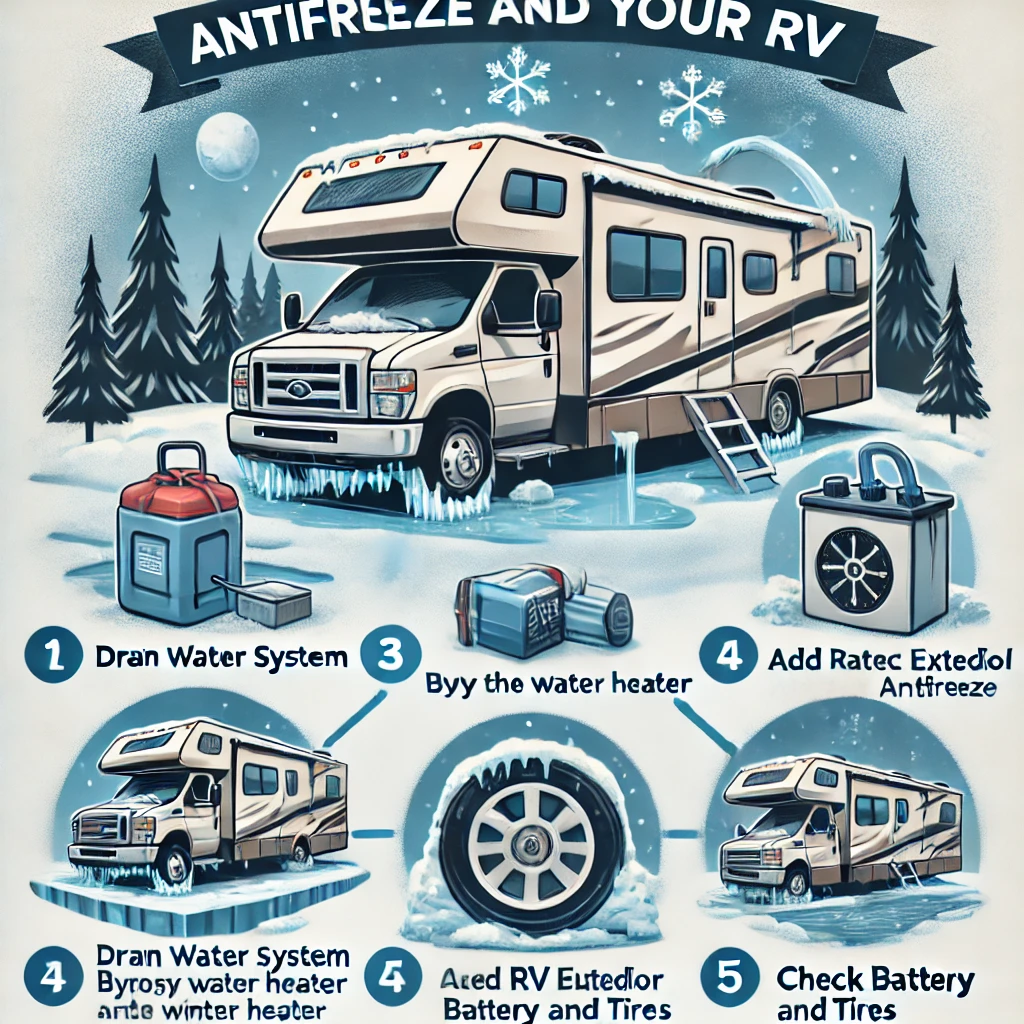
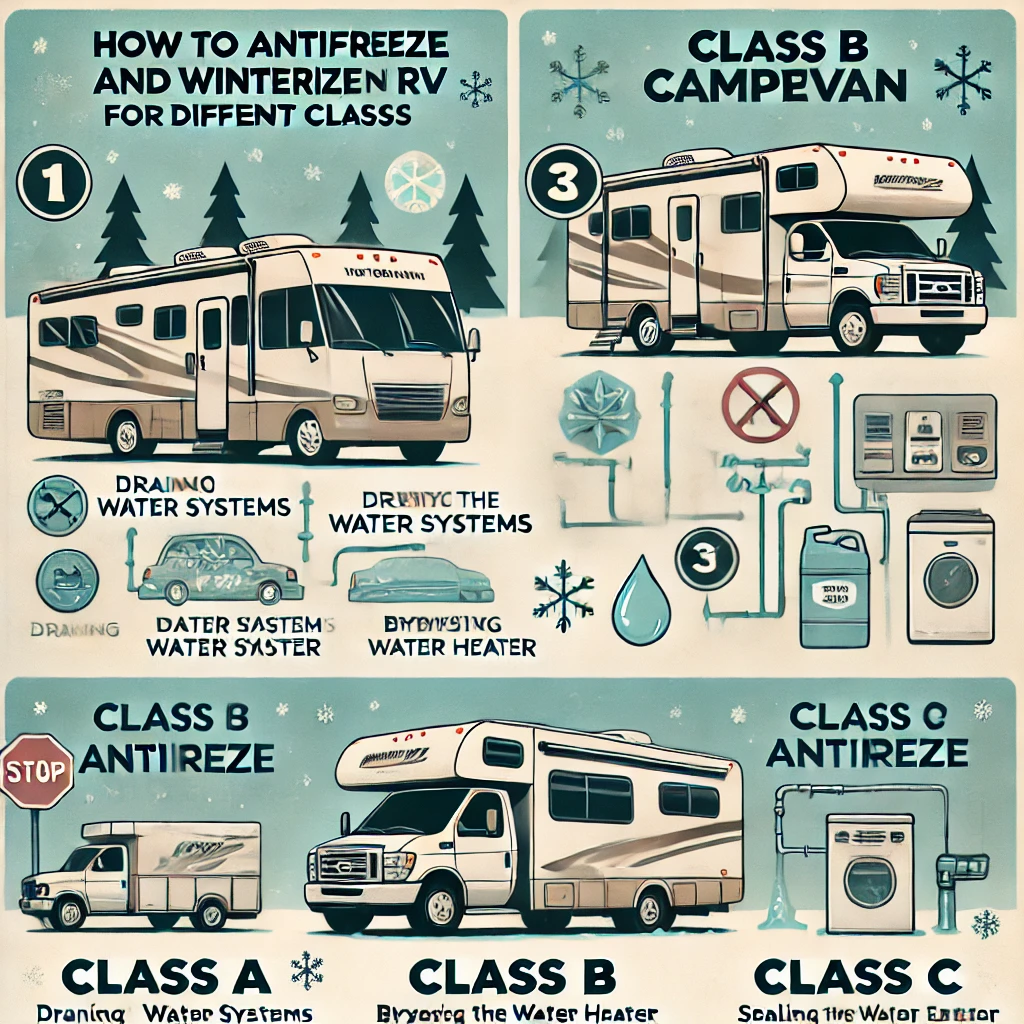
How to Antifreeze and Winterize an RV for Different Classes
Winterizing your RV with antifreeze is essential to prevent costly damage caused by freezing temperatures. Each RV class—Class A, Class B, Class C, travel trailers, and fifth wheels—has specific considerations due to their plumbing systems. Here’s a breakdown of how to winterize RVs for different classes.
Class A Motorhomes
Class A motorhomes often have extensive plumbing systems, including washing machines and ice makers.
Steps:
- Drain all water tanks: Empty fresh, gray, and black water tanks completely.
- Bypass the water heater: Install or activate the water heater bypass to save antifreeze.
- Use the water pump: Attach a siphon hose or pump converter kit to the water pump. Pump antifreeze into the system, ensuring it flows through all faucets, showerheads, and the toilet.
- Handle additional appliances: Winterize washing machines, ice makers, and dishwashers separately by following their specific manufacturer instructions.
Class B Motorhomes (Camper Vans)
Class B motorhomes typically have smaller plumbing systems, making the process simpler.
Steps:
- Drain water tanks and lines: Remove all water from the system, including low-point drains.
- Bypass the water heater: If applicable, bypass the water heater to conserve antifreeze.
- Pump antifreeze: Use the water pump to distribute antifreeze through the plumbing system, including the sink, shower, and toilet.
Class C Motorhomes
Class C motorhomes have mid-sized systems and may include outdoor showers or extra plumbing.
Steps:
- Drain all tanks: Make sure the fresh, gray, and black water tanks are fully emptied.
- Bypass the water heater: Use a bypass valve or install a bypass kit.
- Distribute antifreeze: Pump antifreeze through all water lines, ensuring it reaches outdoor showers and additional faucets.
Travel Trailers
Travel trailers often have straightforward systems, but their water lines may be more exposed to cold temperatures.
Steps:
- Drain the system completely: Empty all water tanks and lines.
- Bypass the water heater: Activate the bypass valve to avoid wasting antifreeze.
- Pump antifreeze through the lines: Open each faucet until pink antifreeze flows. Don’t forget the toilet and shower.
- Add antifreeze to traps: Pour antifreeze into the sinks and shower drains to protect P-traps.
Fifth Wheel Campers
Fifth wheels can have more complex plumbing systems with extra features like outdoor kitchens or washers.
Steps:
- Drain tanks and lines: Empty fresh, gray, and black water tanks thoroughly.
- Bypass the water heater: Use a bypass kit to minimize antifreeze use.
- Winterize all water lines: Pump antifreeze through all faucets, showers, and toilets. Don’t forget outdoor kitchen sinks or auxiliary water hookups.
General Tips for All RV Classes
- Use RV-specific antifreeze to ensure safety for potable water systems.
- Always double-check for any overlooked water lines or appliances.
- Leave faucets slightly open after winterizing to relieve pressure.
More related info will be available on Flamingo Motorhomes.

