Replacing motorhome tires is a crucial maintenance task that ensures your vehicle’s safety and performance on the road. Whether you’re an experienced motorhome owner or a beginner, learning how to replace motorhome tires can save you time and money.

When to Replace Your Motorhome Tires: A Complete Guide
Replacing your motorhome tires is essential for safety and performance. Knowing the right time to change them prevents accidents and ensures a smooth journey. In this guide, we’ll cover key signs, timelines, and tips to help you decide when to replace your motorhome tires.
Why Replacing Motorhome Tires Is Critical
Safety First
Old or damaged tires can lead to blowouts, poor traction, and longer braking distances. Replacing tires on time keeps your journeys safe and stress-free.
Improved Fuel Efficiency
Worn tires can reduce fuel efficiency due to increased rolling resistance. Fresh tires improve mileage and save money.
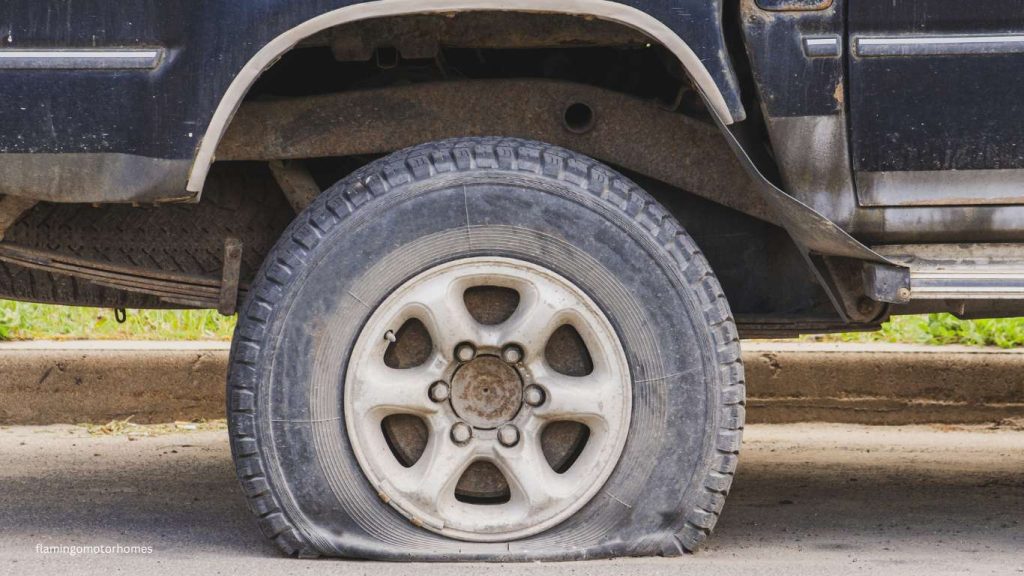
How Often Should You Replace Motorhome Tires?
General Timeframe
Most motorhome tires should be replaced every 6 to 8 years, even if they appear fine. Tire rubber degrades over time, reducing safety.
Usage-Based Replacement
If you frequently drive long distances or carry heavy loads, your tires may wear out faster. Replace them when tread depth falls below 1.6mm, the legal minimum in most countries.
Key Signs Your Motorhome Tires Need Replacement
1. Cracks and Bulges
Inspect sidewalls for visible cracks, bulges, or cuts. These indicate weakened rubber, making the tyre prone to failure.
2. Uneven Tread Wear
Uneven wear can signal misalignment or under-inflation. If wear is excessive, it’s time for new tires.
3. Low Tread Depth
Use a tread depth gauge to check. If tread depth is less than 3mm, consider replacing the tires for better grip.
4. Vibrations While Driving
Excessive vibrations may indicate tire damage or internal issues.
Tips to Extend the Life of Your Motorhome Tires
Regular Maintenance
- Check tyre pressure monthly and adjust according to your motorhome’s specifications.
- Rotate tyres every 5,000–7,500 miles to promote even wear.
Protect From UV Damage
Park your motorhome in shaded areas or use tire covers to prevent sun exposure that accelerates rubber degradation.
Avoid Overloading
Overloading stresses your tires, causing premature wear. Always follow your motorhome’s weight limit.
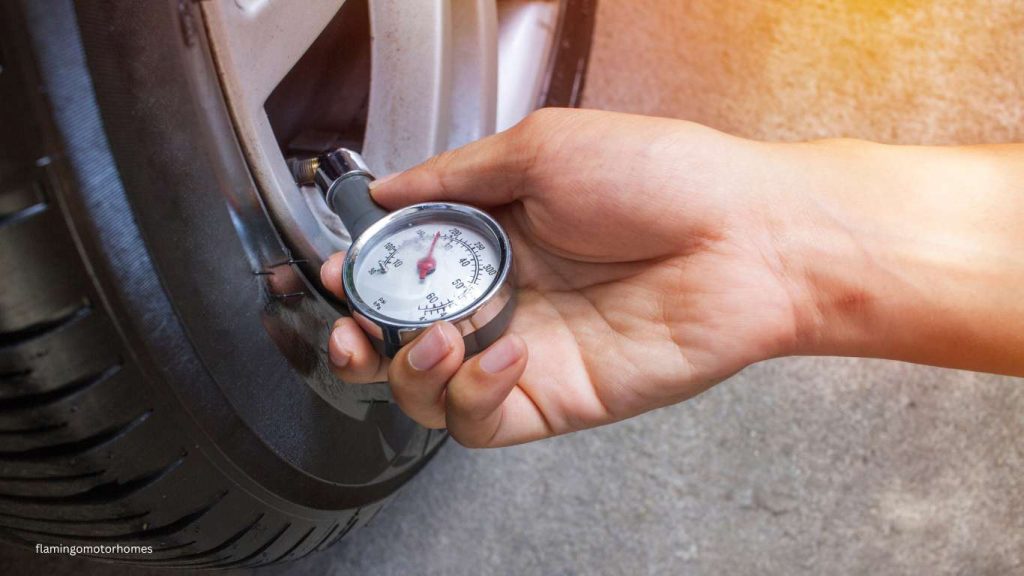
The Dangers of Delaying Tire Replacement
Driving on old or damaged tires increases the risk of blowouts, skidding, and accidents. Regularly inspect your tires and replace them promptly to avoid these risks.
Essential Equipment for Motorhome Tire Maintenance
Proper tire maintenance for your motorhome requires the right tools and equipment. Having these on hand ensures you can manage inspections, repairs, and replacements efficiently. Here’s a guide to the essential equipment you need for maintaining motorhome tires.
Why the Right Equipment Matters
Enhances Safety
Using proper tools minimizes the risk of injury during tire maintenance and ensures tasks are performed correctly.
Saves Time and Money
With the right equipment, you can perform basic maintenance at home, reducing dependence on professional services.
Essential Tools for Motorhome Tire Maintenance
1. Tire Pressure Gauge
- Purpose: Measures tire pressure accurately.
- Tips for Use:
- Check pressure when tires are cold for precise readings.
- Use a digital or analog gauge, depending on your preference.
2. Air Compressor or Tire Inflator
- Purpose: Re-inflates tires to the recommended pressure.
- Features to Look For:
- Portable models for easy storage in your motorhome.
- Built-in pressure gauge for convenience.
3. Tread Depth Gauge
- Purpose: Measures the depth of tire treads to ensure they meet safety standards.
- Tips for Use:
- Use regularly to monitor tread wear.
- Replace tires when tread depth falls below 3mm for safety.
4. Hydraulic Jack
- Purpose: Lifts your motorhome off the ground to change or inspect tires.
- Tips for Use:
- Choose a heavy-duty jack rated for your motorhome’s weight.
- Always position the jack under manufacturer-recommended lifting points.
5. Wheel Chocks
- Purpose: Prevents your motorhome from rolling while lifting or inspecting tires.
- Tips for Use:
- Place them in front of and behind the tires for added stability.
- Use on a flat surface for maximum safety.
6. Lug Wrench
- Purpose: Loosens and tightens lug nuts during tire changes.
- Recommended Features:
- Cross or telescopic models for better leverage.
- Ensure compatibility with your lug nut size.
7. Torque Wrench
- Purpose: Ensures lug nuts are tightened to the proper torque specification.
- Tips for Use:
- Refer to your motorhome’s manual for torque settings.
- Avoid overtightening, which can damage the wheel assembly.
8. Tire Covers
- Purpose: Protects tires from UV rays and weather damage when parked.
- Benefits:
- Extends tire lifespan.
- Prevents cracking and rubber degradation.
9. Portable Tire Repair Kit
- Purpose: Temporary fix for minor punctures while on the road.
- Includes:
- Plug tools.
- Rubber sealant or patches.
10. Wheel Alignment and Balancing Tools (Optional)
- Purpose: Ensures even tire wear and smooth driving.
- Usage:
- Ideal for DIY enthusiasts with experience.
- Consider professional services for accurate alignment and balancing.
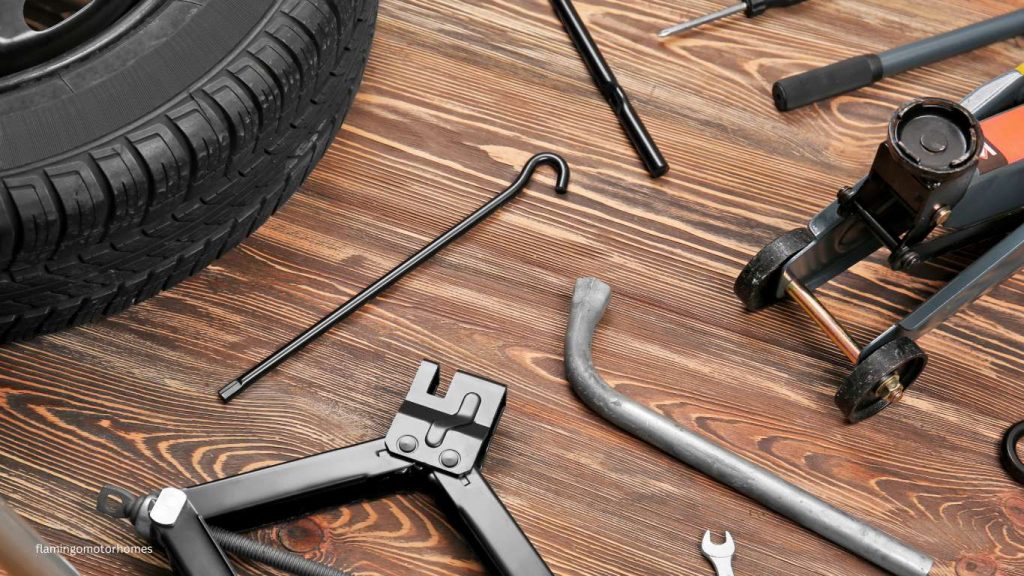
Additional Accessories
- Tire Cleaner and Brush: Keeps tires free from dirt, grime, and road salt.
- Valve Core Remover: Assists in replacing or cleaning valve cores.
- Spare Tire Carrier: Safely stores a spare tire for emergencies.
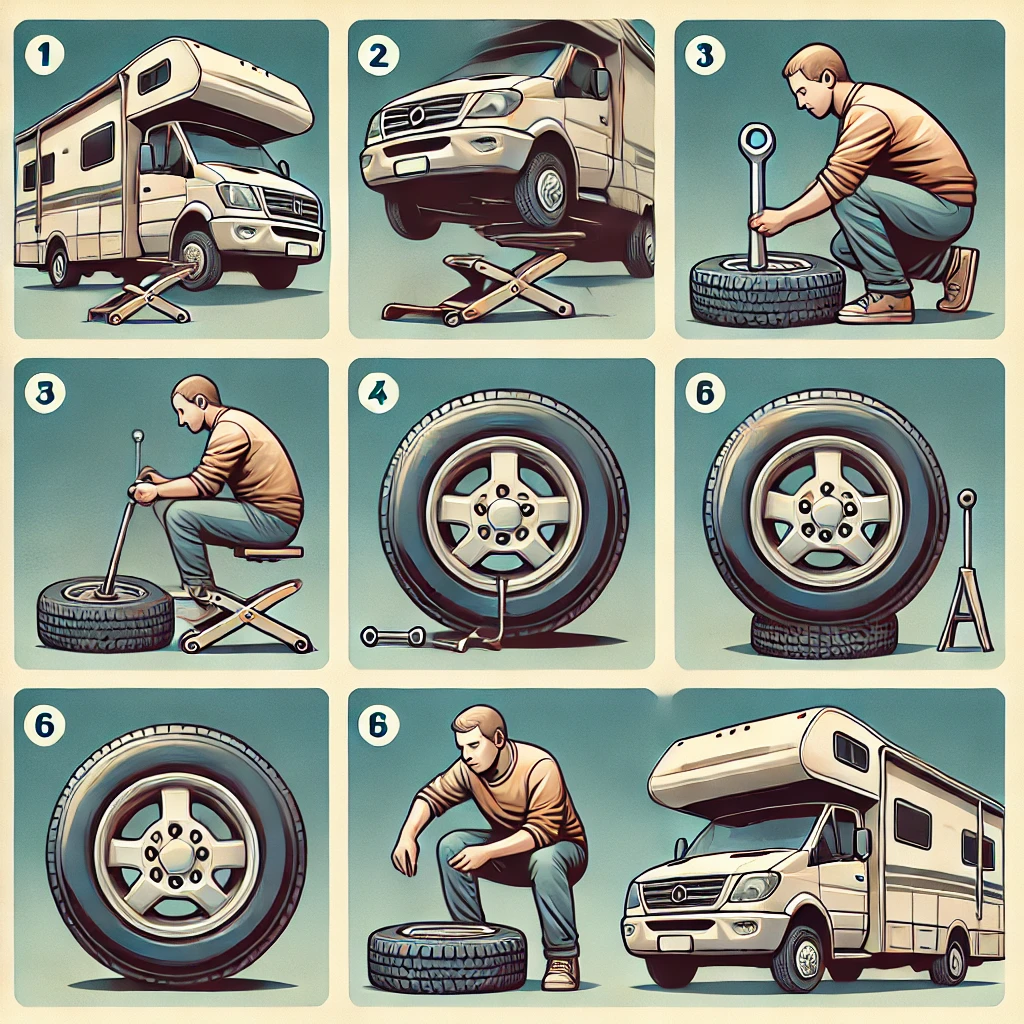
Follow these simple steps for a hassle-free tire replacement.
Why Replacing Motorhome Tires Is Essential
Safety First
Worn-out tires compromise grip and stability, especially in wet or uneven conditions. Replacing them on time keeps you and your passengers safe.
Prolongs Your Motorhome’s Lifespan
Regular tire replacement prevents excess strain on the suspension system, safeguarding your motorhome from costly damage.
Step-by-Step Guide to Replacing Motorhome Tires
Step 1: Park on a Flat Surface
- Ensure your motorhome is parked on a level area.
- Engage the parking brake and use wheel chocks for added stability.
Step 2: Loosen the Lug Nuts
- Use the lug wrench to slightly loosen the lug nuts on the tire you’re replacing.
- Do not remove them completely at this stage.
Step 3: Jack Up Your Motorhome
- Position the hydraulic jack under the manufacturer-recommended lift point.
- Raise the motorhome until the tire is off the ground.
Step 4: Remove the Tire
- Fully unscrew the loosened lug nuts.
- Carefully remove the old tire and set it aside.
Step 5: Mount the New Tire
- Align the new tire with the wheel hub.
- Replace the lug nuts and hand-tighten them in a crisscross pattern.
Step 6: Lower the Motorhome and Tighten the Lug Nuts
- Slowly lower the motorhome until the tire touches the ground.
- Use a torque wrench to tighten the lug nuts to the recommended specifications.
Step 7: Double-Check Everything
- Ensure all lug nuts are secure.
- Repeat the process for any additional tires.
How to Choose the Best Tires for Your Motorhome
Selecting the right tires for your motorhome is crucial for safety, performance, and longevity. With so many options on the market, it’s important to consider various factors such as the type of terrain, climate, and your motorhome’s specific requirements. Here’s a comprehensive guide to help you choose the best tyres for your motorhome.
Why Choosing the Right Tires Matters
Ensures Safety
The right tires enhance your grip on the road, improving braking, handling, and overall stability.
Increases Comfort
Proper tires ensure a smooth ride, reducing vibrations and road noise.
Prolongs Tire and Vehicle Life
Quality tires can extend your motorhome’s lifespan by reducing wear and tear on the suspension and wheel components.
Key Factors to Consider When Choosing Tires
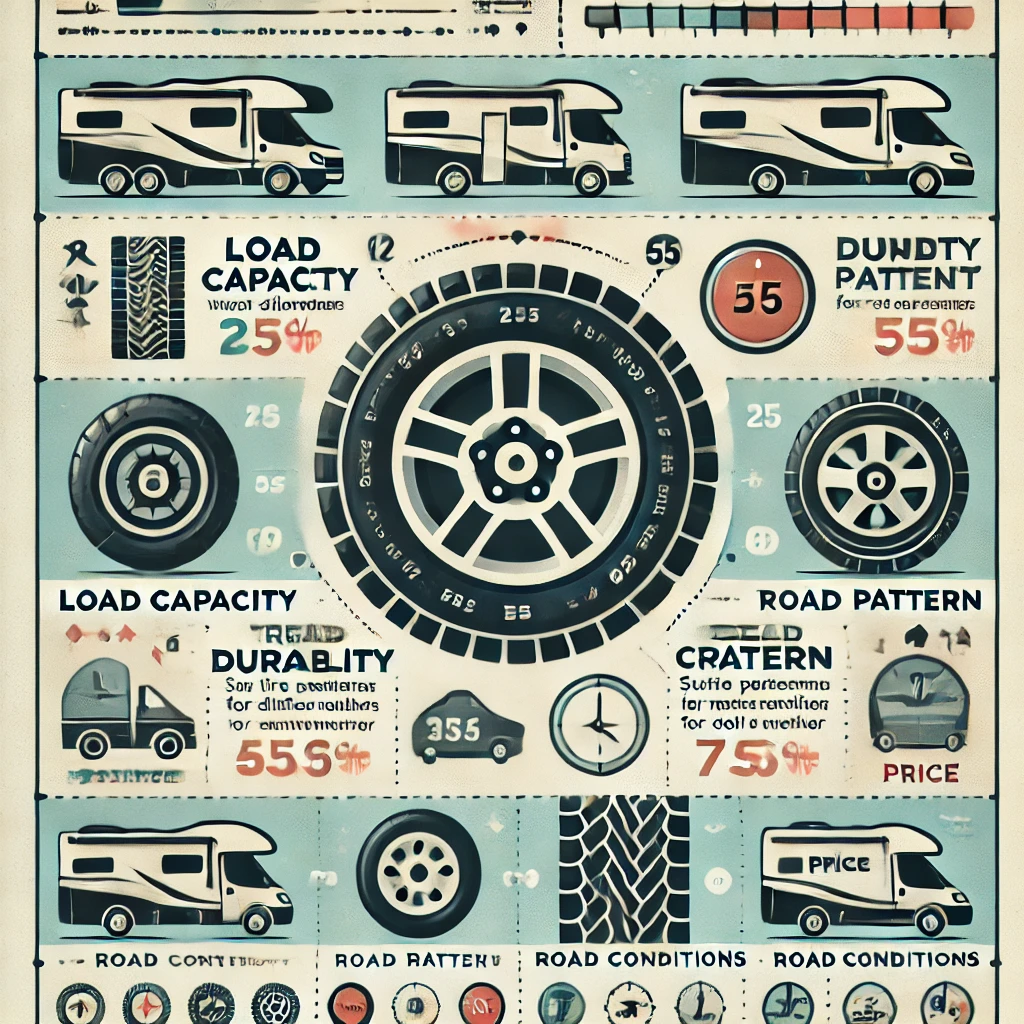
1. Motorhome Class and Weight
- Class A (Large Motorhomes): These require heavy-duty tires that can support a higher weight capacity (up to 30,000 lbs.). Look for commercial-grade tires with reinforced sidewalls for durability and load capacity.
- Class B (Van Conversion Motorhomes): Lighter and smaller, Class B motorhomes typically require tires with a load index that matches their weight and typical driving conditions.
- Class C (Mid-Sized Motorhomes): These require tires that can handle moderate weight and provide a balance of comfort and durability for both city and highway driving.
Tip: Always check the maximum load capacity listed on the tires to ensure they can safely support your motorhome’s weight, including cargo and passengers.
2. Tire Size and Specifications
Motorhome tires come in various sizes, and it’s essential to select the right one based on your motorhome’s specifications.
- Size Codes: The tire size is usually listed in a format such as 225/75R16. The first number (225) is the tire width in millimeters, the second number (75) is the aspect ratio (height to width), and “R” stands for radial construction.
- Load Rating: This indicates the maximum load the tire can carry safely. Always choose a tire with a load rating that matches or exceeds your motorhome’s requirements.
Tip: Refer to your motorhome’s manual for the recommended tire size and specifications.
3. Tire Type (All-Season, Winter, or All-Terrain)
- All-Season Tires: These tires are ideal if you’re planning to drive in moderate conditions year-round. They offer a balanced performance on dry, wet, and slightly snowy roads.
- Winter Tires: If you plan to travel in colder climates, winter tires provide better traction on snow and ice due to their special tread patterns and rubber compounds designed for low temperatures.
- All-Terrain Tires: If you plan to travel off-road or explore campgrounds with rough terrain, all-terrain tires offer superior durability and traction on dirt roads and gravel.
4. Tread Pattern
- Highway Terrain (HT): Ideal for smooth highways and long-distance travel. These tires provide a quiet and comfortable ride with better fuel efficiency.
- All-Terrain (AT): These tires feature more aggressive tread patterns and are better suited for mixed driving, including gravel or dirt roads. They may produce more noise and slightly reduce fuel efficiency compared to HT tires.
- Mud-Terrain (MT): Best for extreme off-road conditions with thick, deep treads that offer superior traction in muddy, rocky, or sandy environments.
Tip: Choose a tread pattern based on how much off-road driving you intend to do. Highway Terrain is the best choice for most road-centric motorhome owners.
5. Tire Age and Condition
Tires naturally degrade over time due to exposure to the sun, moisture, and temperature fluctuations, even if they’re not used frequently. Always check the manufacture date printed on the sidewall (the last four digits represent the week and year of manufacture).
- Age Recommendation: Most experts recommend replacing motorhome tires every 6-10 years, regardless of their condition, as rubber can dry out and lose effectiveness.
- Visual Inspection: Look for cracks, bulges, or any signs of excessive wear. If the tire is damaged or has a low tread depth, it’s time to replace it.
Tip: Check the condition of your tires regularly, and replace them as necessary to ensure safety and optimal performance.
6. Tire Brands and Quality
Not all tire brands are created equal. It’s worth investing in reputable tire brands known for producing high-quality motorhome tires. Look for well-known names like Michelin, Goodyear, Bridgestone, and Continental, which have a track record of durability and safety.
Methods to Replace Tires on Different Classes of Motorhomes
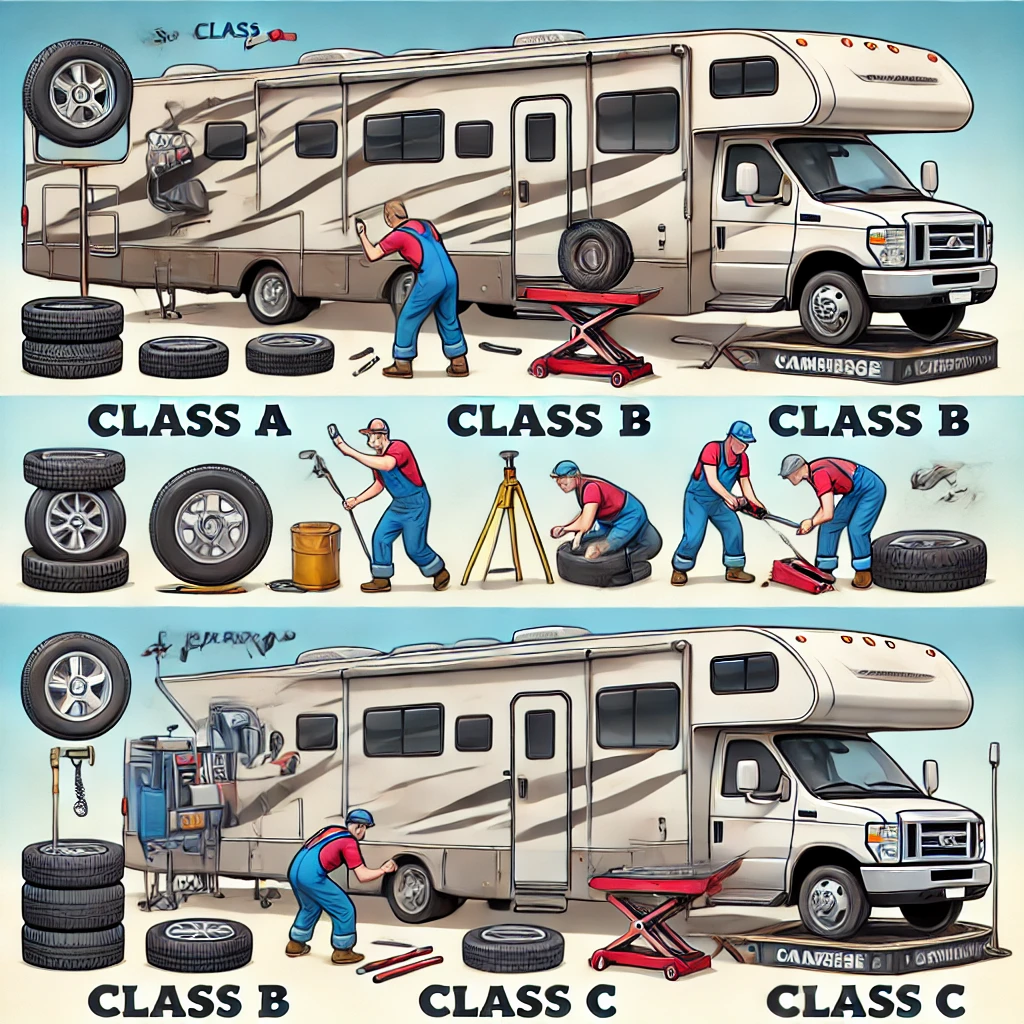
Replacing tires on a motorhome depends on its class—Class A, Class B, or Class C. Each method of motorhome class varies in size, weight, and design, requiring specific tools and techniques for safe and efficient tire replacement. This guide provides detailed methods for each class of motorhome.
Methods by Motorhome Class
Class A Motorhomes
Class A motorhomes are the largest, often weighing 15,000–30,000 lbs.
Tire Replacement Method:
- Heavy-Duty Hydraulic Jack: Use a jack rated for at least 15 tons to lift the motorhome safely.
- Positioning the Jack: Place it under the axle or the designated lifting point specified in the manual.
- Teamwork: Due to the size and weight of Class A tires, two people may be needed to handle the tire safely.
- Torque Specifications: Tighten lug nuts to the manufacturer’s specified torque value, typically 400–600 lb.-ft.
Special Considerations:
- Use commercial-grade tools, such as an impact wrench, to loosen large lug nuts.
- Consider roadside assistance for emergencies, as DIY replacement may be challenging.
Class B Motorhomes
Class B motorhomes are compact, built on van chassis, and weigh 6,000–9,000 lbs.
Tire Replacement Method:
- Standard Hydraulic Jack: A 2–3-ton jack is sufficient for Class B motorhomes.
- Lifting Points: Place the jack under the frame near the tire being replaced.
- Single-Handed Replacement: Class B tires are lighter and can usually be replaced by one person.
- Lug Nut Tightening: Use a torque wrench to tighten lug nuts to 100–150 lb-ft.
Special Considerations:
- Keep a compact air compressor in your vehicle for inflating the spare tire if needed.
- Ensure the spare tire matches the specifications of the replaced tire.
Class C Motorhomes
Class C motorhomes are mid-sized, built on truck chassis, and weigh 10,000–12,000 lbs.
Tire Replacement Method:
- Medium-Duty Hydraulic Jack: Use a jack rated for 5–10 tons.
- Axle Lifting: Position the jack under the rear axle or the frame near the front tires.
- Moderate Weight Handling: Class C tires are heavier than Class B but manageable for one person with proper tools.
- Torque Specifications: Tighten lug nuts to 200–300 lb.-ft.
Special Considerations:
- Always carry a full-size spare tyre, as Class C motorhomes often travel longer distances.
- Use wheel chocks to stabilize the motorhome during tyre replacement.
The Best Method for Changing Your Motorhome Tires
Changing the tires on your motorhome is an essential skill for any RV owner. Whether you’re on the road or preparing for an adventure, knowing the right procedure ensures your safety and the longevity of your motorhome. Here’s the best method for changing your motorhome tires, with step-by-step instructions to ensure everything is done correctly.
Why It’s Important to Follow the Right Method
Safety First
A proper tire change minimizes the risk of accidents and ensures the vehicle is stable and secure.
Prevents Damage
Using the correct method prevents damage to your motorhome’s suspension, axle, and other components.
Increases Tire Lifespan
By ensuring the tires are correctly installed, you promote even wear, extending their lifespan.
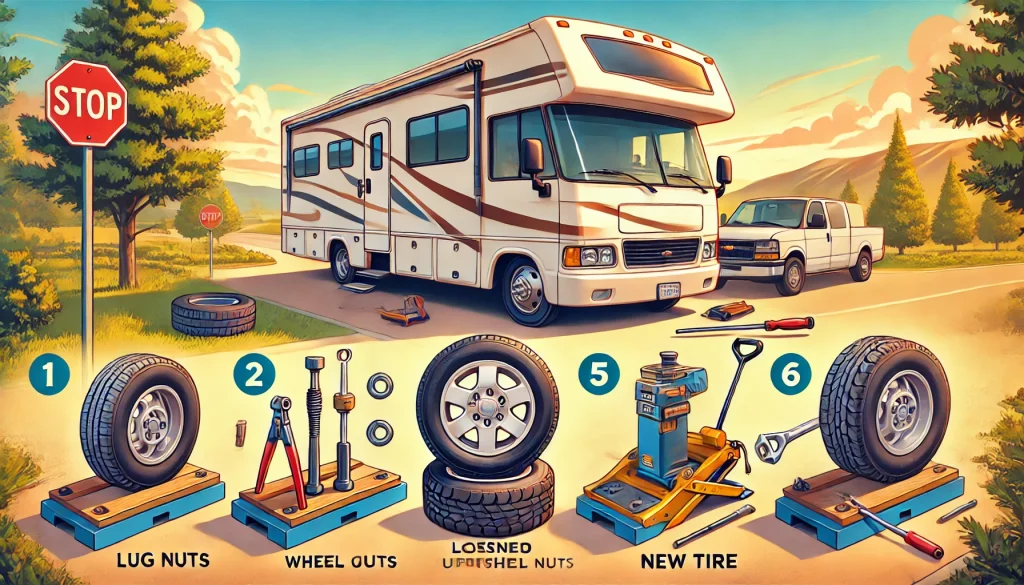
Step-by-Step Guide to Changing Your Motorhome Tires
1. Prepare Your Motorhome for Tire Change
Why It Matters:
This step ensures your motorhome is stable and prevents accidents while changing the tire.
What to Do:
- Park on a Flat, Stable Surface: Ensure the ground is even to prevent the motorhome from rolling.
- Apply the Parking Brake: Engage the parking brake and turn off the engine to ensure the vehicle doesn’t move during the process.
- Use Wheel Chocks: Place chocks or blocks on the opposite side of the motorhome from the tire you are replacing to secure it.
2. Gather the Necessary Tools and Equipment
Why It Matters:
Using the right tools is essential for a safe, efficient tire change.
What to Do:
- Hydraulic Jack: Ensure the jack is rated for the weight of your motorhome.
- Lug Wrench: A proper-sized wrench to fit the lug nuts.
- Torque Wrench: For tightening the lug nuts to the manufacturer’s specifications.
- Spare Tire: Ensure the spare is in good condition and properly inflated.
- Safety Gear: Gloves, reflective vest, and safety glasses.
3. Loosen the Lug Nuts Before Lifting the Vehicle
Why It Matters:
Loosening the nuts while the tire is still on the ground prevents the wheel from spinning.
What to Do:
- Loosen (Don’t Remove) the Lug Nuts: Use the lug wrench to slightly loosen the nuts in a counterclockwise direction, but don’t remove them completely.
4. Lift the Motorhome Using a Jack
Why It Matters:
Lifting the vehicle securely ensures that you can safely replace the tire without putting stress on the suspension.
What to Do:
- Position the Jack Under the Lifting Point: Refer to the motorhome’s manual to find the correct jack points on the frame.
- Lift the Motorhome: Slowly raise the vehicle until the flat tire is off the ground.
5. Remove the Lug Nuts and the Flat Tire
Why It Matters:
Once the motorhome is lifted, it’s safe to fully remove the lug nuts and replace the flat tire.
What to Do:
- Remove the Lug Nuts: Now that the vehicle is elevated, use the lug wrench to completely remove the loosened lug nuts.
- Remove the Flat Tire: Carefully take the flat tire off the wheel hub, making sure it’s not damaged or stuck.
6. Install the Spare Tire
Why It Matters:
Proper installation of the new tire is crucial for maintaining vehicle stability and safety.
What to Do:
- Align the Spare Tire: Position the spare tire onto the wheel hub, ensuring it aligns with the lug bolt holes.
- Hand-Tighten the Lug Nuts: Place the lug nuts onto the bolts and hand-tighten them. Do not fully tighten them yet.
7. Lower the Motorhome and Tighten the Lug Nuts
Why It Matters:
Lowering the vehicle before fully tightening the lug nuts ensures an even and secure fit.
What to Do:
- Lower the Vehicle Slowly: Gradually lower the motorhome back to the ground using the jack, ensuring the tire is fully touching the surface.
- Tighten the Lug Nuts in a Star Pattern: Use a torque wrench to tighten the lug nuts in a crisscross/star pattern. This ensures even pressure across the tire. Tighten to the manufacturer’s recommended torque value (typically between 100–600 lb-ft, depending on the vehicle).
8. Double-Check Your Work
Why It Matters:
Double-checking ensures the tire is securely fastened and ready for driving.
What to Do:
- Inspect the Tyre: Check that the spare tyre is properly installed, and all lug nuts are tight.
- Check Tyre Pressure: Ensure the spare tyre is properly inflated to the recommended PSI.
- Test Drive: If possible, take the motorhome for a short drive to ensure the tyre is secure and the vehicle handles well.
Common Mistakes During Tire Replacement and How to Avoid Them
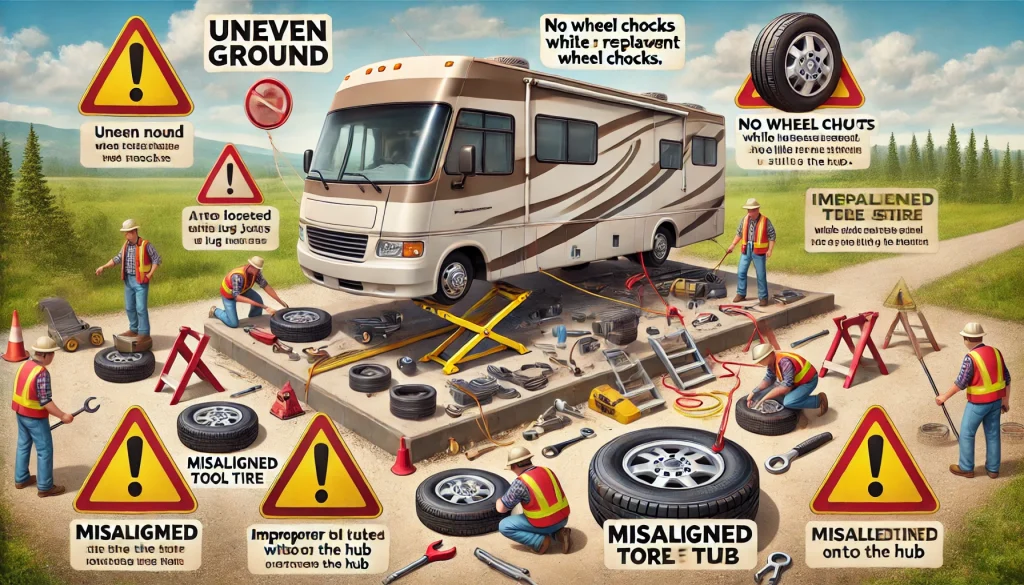
Replacing motorhome tires is a critical task that requires precision and the right approach. However, many common mistakes can compromise safety and tire performance. Here’s a guide to the frequent errors made during tire replacement and how to avoid them.
Why Avoiding Mistakes Matters
Safety First
Errors during tire replacement can lead to accidents, including tire blowouts or vehicle instability.
Maximizing Tire Life
Proper installation ensures even wear, better performance, and a longer tire lifespan.
Common Mistakes in Tire Replacement
1. Using the Wrong Tools
- Mistake: Using an inadequate jack, an incorrect lug wrench size, or a poorly calibrated torque wrench.
- Impact: Leads to improper tightening of lug nuts or instability during lifting.
- Solution:
- Always use tools rated for your motorhome’s size and weight.
- Carry a properly sized lug wrench and a torque wrench for precise tightening.
2. Not Securing the Motorhome Properly
- Mistake: Failing to use wheel chocks or the parking brake before lifting the vehicle.
- Impact: The motorhome may roll or shift, leading to accidents or injuries.
- Solution:
- Always park on a flat, stable surface.
- Use wheel chocks on the opposite side of the tire being replaced.
3. Improper Jack Placement
- Mistake: Placing the jack under an unstable or weak point, such as the body or an unsupported frame section.
- Impact: Damage to the motorhome and risk of the vehicle collapsing.
- Solution:
- Refer to the owner’s manual for designated jack points.
- Position the jack securely under the axle or frame support.
4. Overtightening or Under tightening Lug Nuts
- Mistake: Using excessive force or insufficient torque when tightening lug nuts.
- Impact: Over-tightening can strip threads or damage the wheel assembly, while under-tightening can cause wheels to loosen while driving.
- Solution:
- Use a torque wrench to tighten lug nuts to the manufacturer’s specifications.
- Check the torque values in the manual, typically 100–600 lb-ft depending on motorhome size.
5. Ignoring Tire Pressure
- Mistake: Failing to check or adjust the tire pressure after replacement.
- Impact: Incorrect pressure can cause uneven wear, poor handling, or reduced fuel efficiency.
- Solution:
- Use a reliable tire pressure gauge to ensure proper inflation.
- Inflate tires to the manufacturer’s recommended PSI, considering the load weight.
6. Forgetting to Inspect the Spare Tire
- Mistake: Installing an old or underinflated spare tire without checking its condition.
- Impact: The spare may fail during use, leaving you stranded.
- Solution:
- Inspect the spare tire regularly for wear, damage, and proper inflation.
- Replace the spare if it shows signs of ageing or cracking.
7. Failing to Align and Balance the Wheels
- Mistake: Skipping wheel alignment and balancing after replacing tires.
- Impact: Causes uneven tread wear, vibration while driving, and poor handling.
- Solution:
- Visit a professional service to align and balance the wheels after replacement.
8. Neglecting Safety Equipment
- Mistake: Not wearing gloves, safety goggles, or reflective gear when replacing tires, especially roadside.
- Impact: Increases the risk of injury or accidents in low-visibility situations.
- Solution:
- Keep safety gear in your motorhome.
- Use reflective triangles and vests when working on the roadside.
9. Not Double-Checking Work
- Mistake: Rushing the replacement process and failing to recheck lug nut tightness or jack positioning.
- Impact: Loose components or improperly secured tires can cause issues during travel.
- Solution:
- Double-check all steps before driving.
- Perform a test drive to ensure the tire is secure and the vehicle handles properly.
10. Ignoring Manufacturer Recommendations
- Mistake: Using tyres, tools, or replacement methods that don’t comply with the motorhome manufacturer’s guidelines.
- Impact: Reduces vehicle performance and voids warranties.
- Solution:
- Always follow the motorhome manual for tyre specifications and replacement techniques.
More related information will be available on Flamingo Motorhomes

